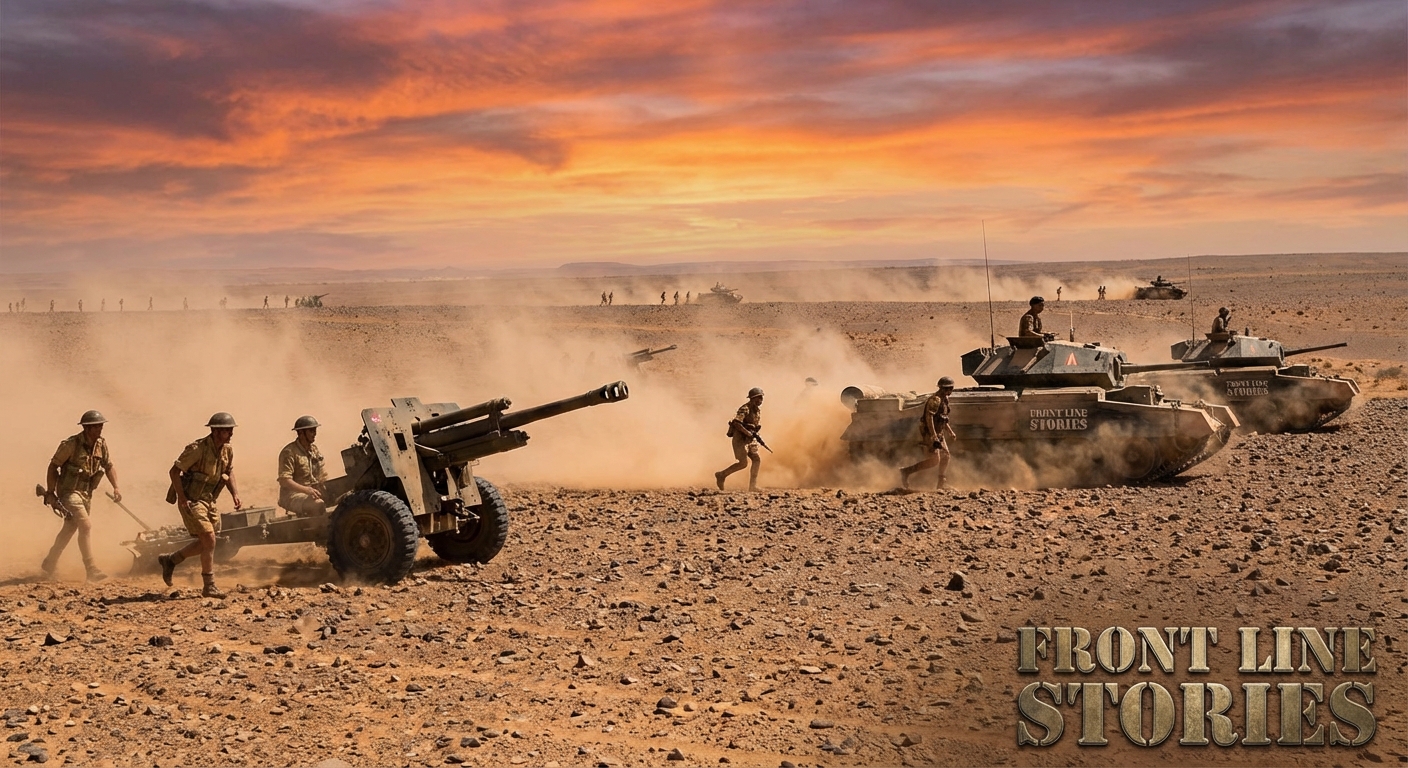
Second Battle of El Alamein
El Alamein was not a lightning victory. It was a deliberate attritional battle in a narrow desert corridor where artillery weight, minefield breaching, and relentless pressure finally broke an Axis army already strained by supply limits it could not escape.
How the battle was set up
By autumn 1942 the Axis advance into Egypt had stalled near El Alamein, where the Mediterranean Sea to the north and the Qattara Depression to the south compressed the battlefield into a relatively narrow front. There was no room for the wide turning movements that had defined much of the desert war.
That geography favored the side that could build methodically and sustain firepower. Montgomery reshaped the Eighth Army for a deliberate offensive, emphasizing artillery, deception, minefield clearance, and reserve management rather than romantic dash.
Rommel's forces still possessed tactical skill and experienced anti-tank defenses, but they were starved of fuel, vehicles, and replacement capacity. El Alamein became the contest where tactical agility finally met strategic exhaustion.
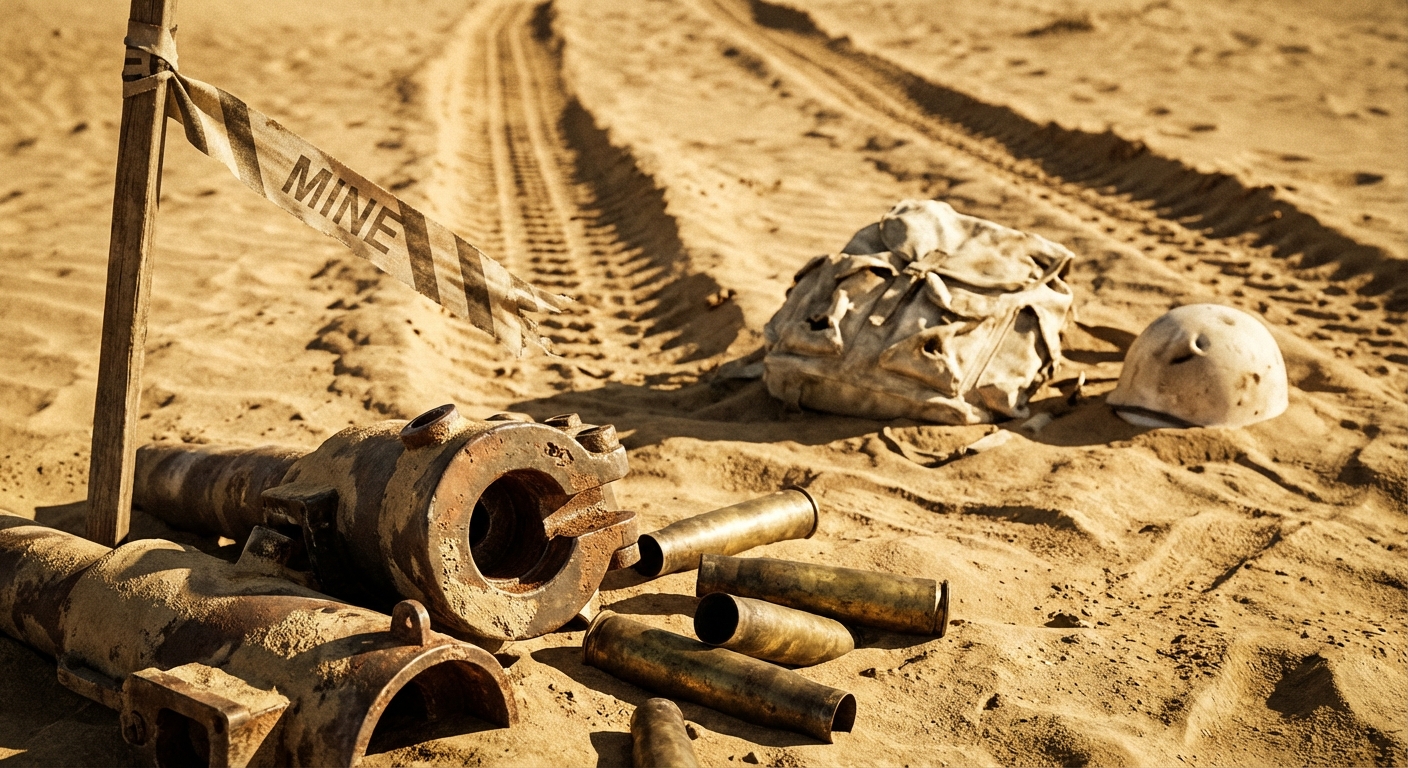
The battlefield was a hard desert strip bounded by impassable constraints. Mine belts, anti-tank gun lines, dust, and darkness mattered as much as dunes. Mobility remained important, but the corridor forced attacks into prepared defensive systems rather than sweeping maneuvers around them.
Who fought, with what, and why it mattered
Eighth Army
British, Australian, New Zealand, South African, Indian, Free French, and other Commonwealth formations fought in a deeply layered force supported by substantial artillery, armor, engineers, and an increasingly favorable logistical base.
Panzerarmee Afrika
German and Italian units, including Afrika Korps elements and Italian armored and infantry formations, defended from prepared positions with dangerous anti-tank belts but suffered from severe supply shortages and limited operational depth.
Combat system
The attackers relied on artillery plans, engineer breach lanes, and repeated pressure. The defenders relied on minefields, anti-tank screens, and local armored counterblows.
The fighting system behind the headlines
Montgomery's method is sometimes caricatured as slow, but at El Alamein the method fit the problem. The objective was not elegant maneuver; it was to grind open lanes through layered defenses and keep enough combat power intact to exploit the eventual crack.
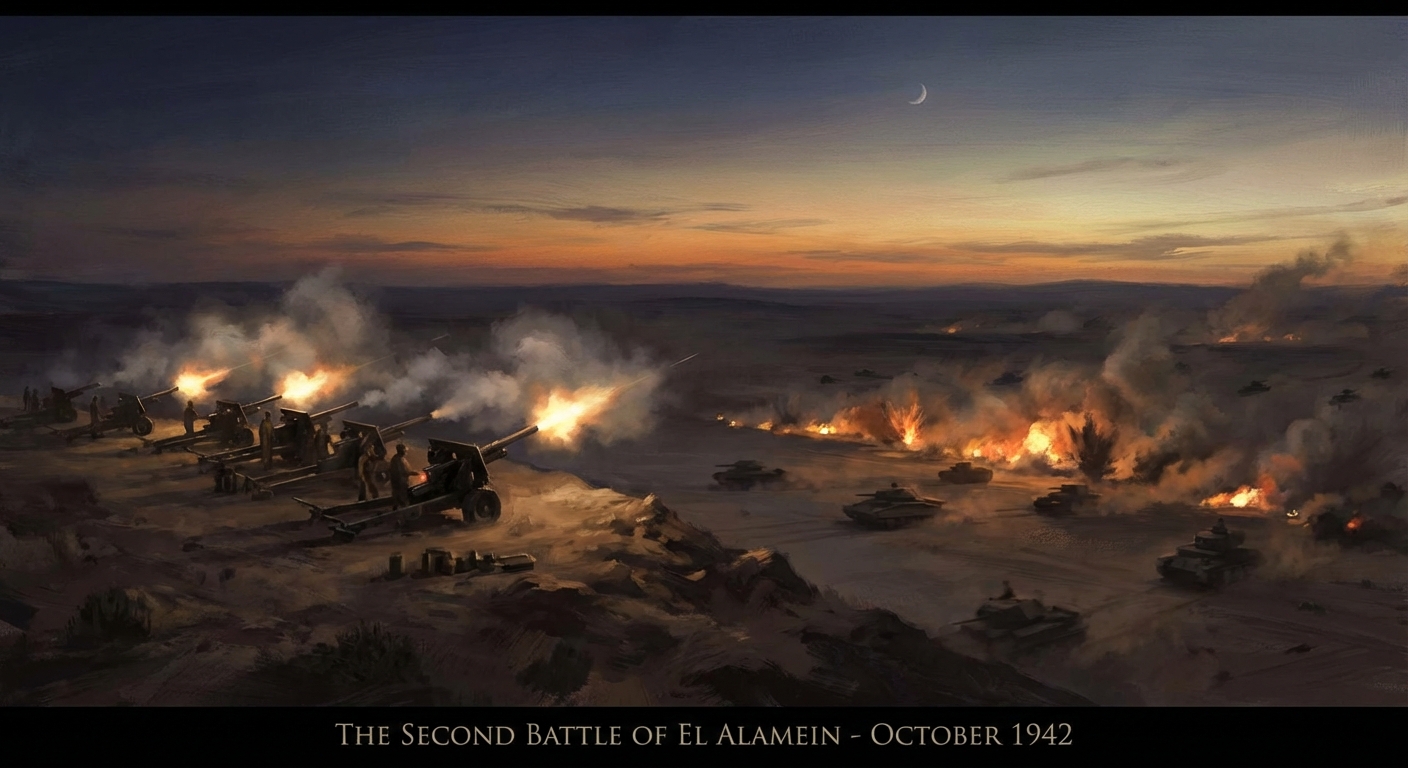
Operation Lightfoot opened the battle with a massive artillery barrage and infantry assault intended to clear paths through minefields for armor. Progress was uneven and costly. The battle then settled into repeated attacks, probing, and attritional wearing-down of Axis reserves.
The decisive effect came with Operation Supercharge. By then the Axis line had been thinned, fuel shortages were acute, and the defense could no longer absorb another concentrated blow. Once the line split, retreat replaced maneuver.
Phases of the fight
Phase I, preparation and deception
Before the offensive, the Allies built overwhelming artillery and supply stocks while deception efforts masked the intended axis and timing.
Phase II, Operation Lightfoot
Night attacks on 23 October begin breaching efforts through mine belts and defensive zones, gaining ground but not immediate rupture.
Phase III, attritional struggle
For days, both sides trade local attacks and counterattacks as the Allies wear down Axis reserves and artillery positions.
Phase IV, Operation Supercharge and breakout
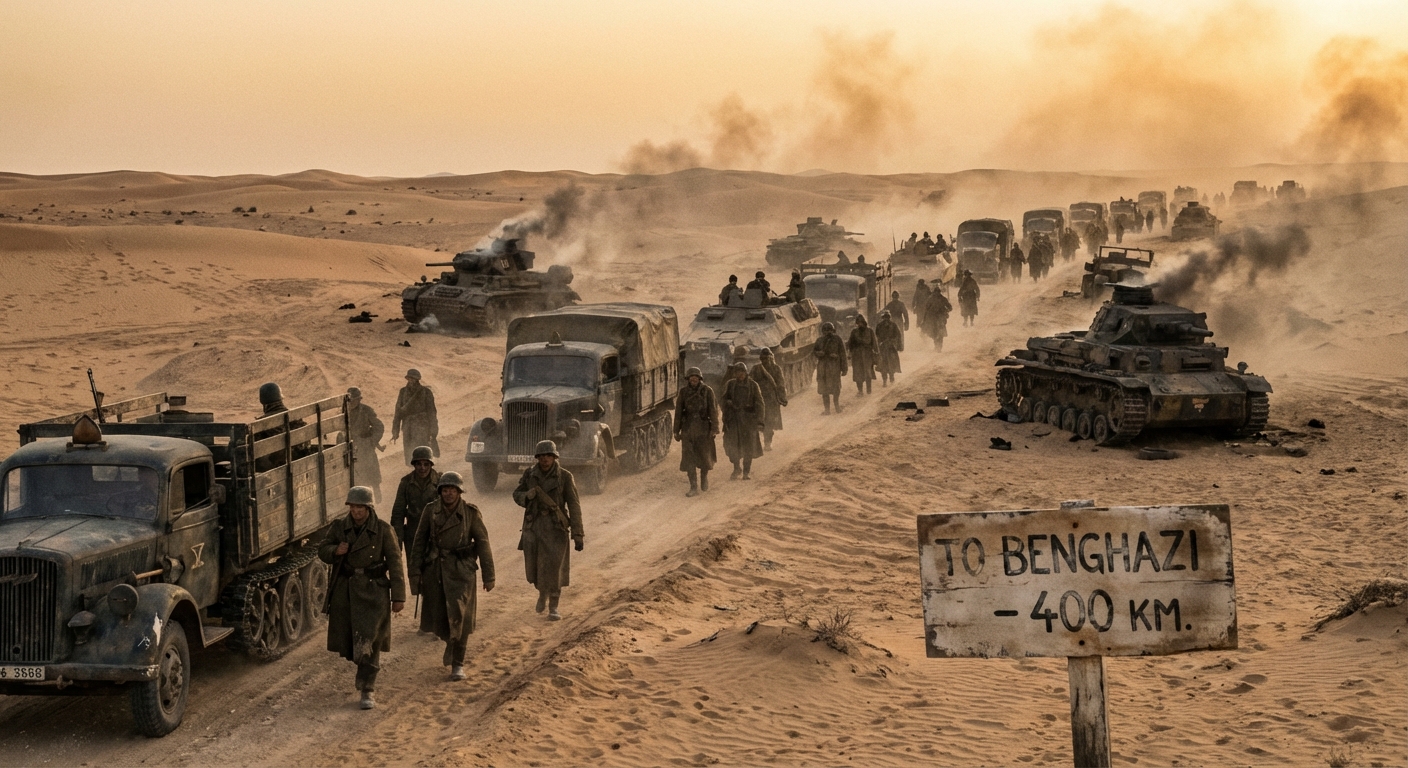
In early November, renewed Allied assaults finally crack the defense. The Axis begins retreating west, abandoning the dream of reaching the Nile.
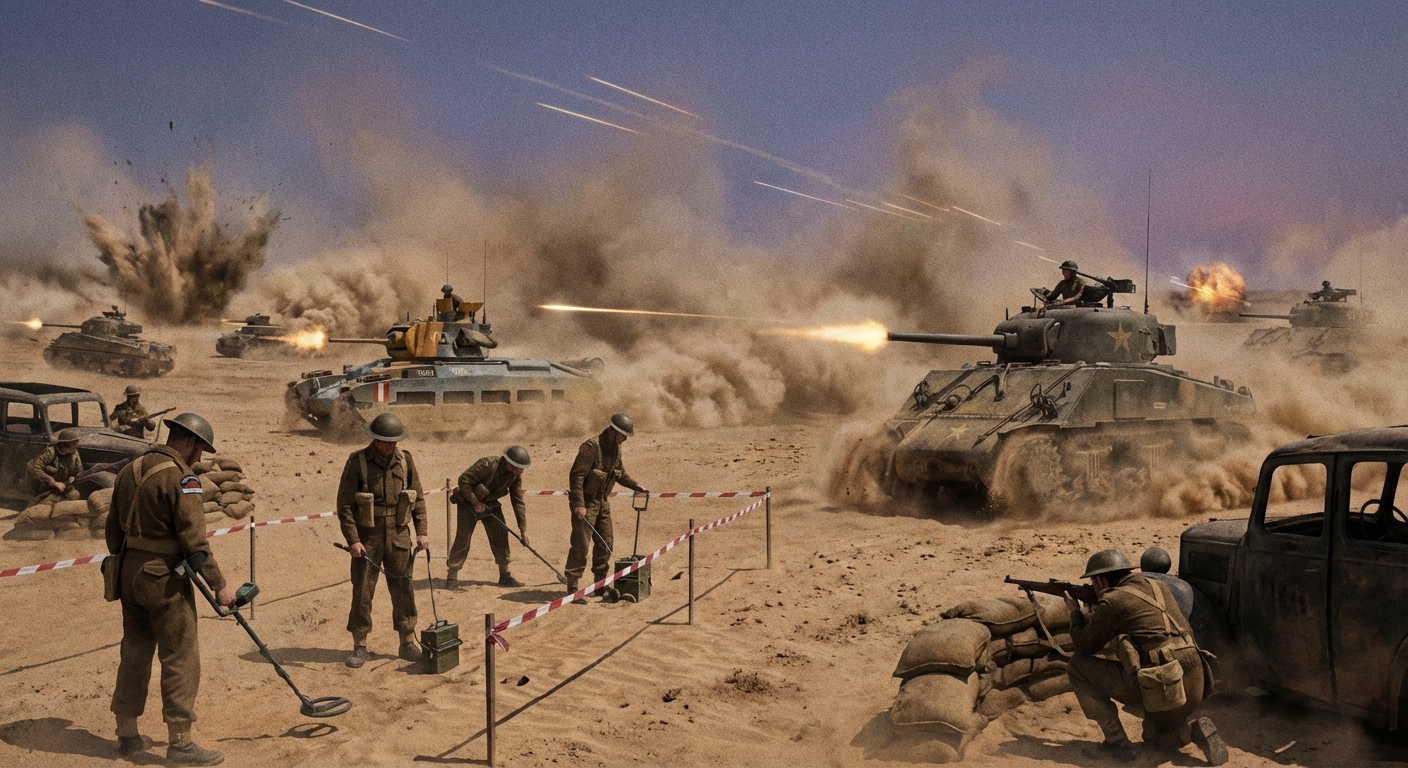
Supercharge breaks the defensive spine
The turning point was not the opening barrage but the moment Axis defenses could no longer regenerate after repeated pressure. Supercharge forced a system already hollowed by shortages and attrition into irreversible retreat.
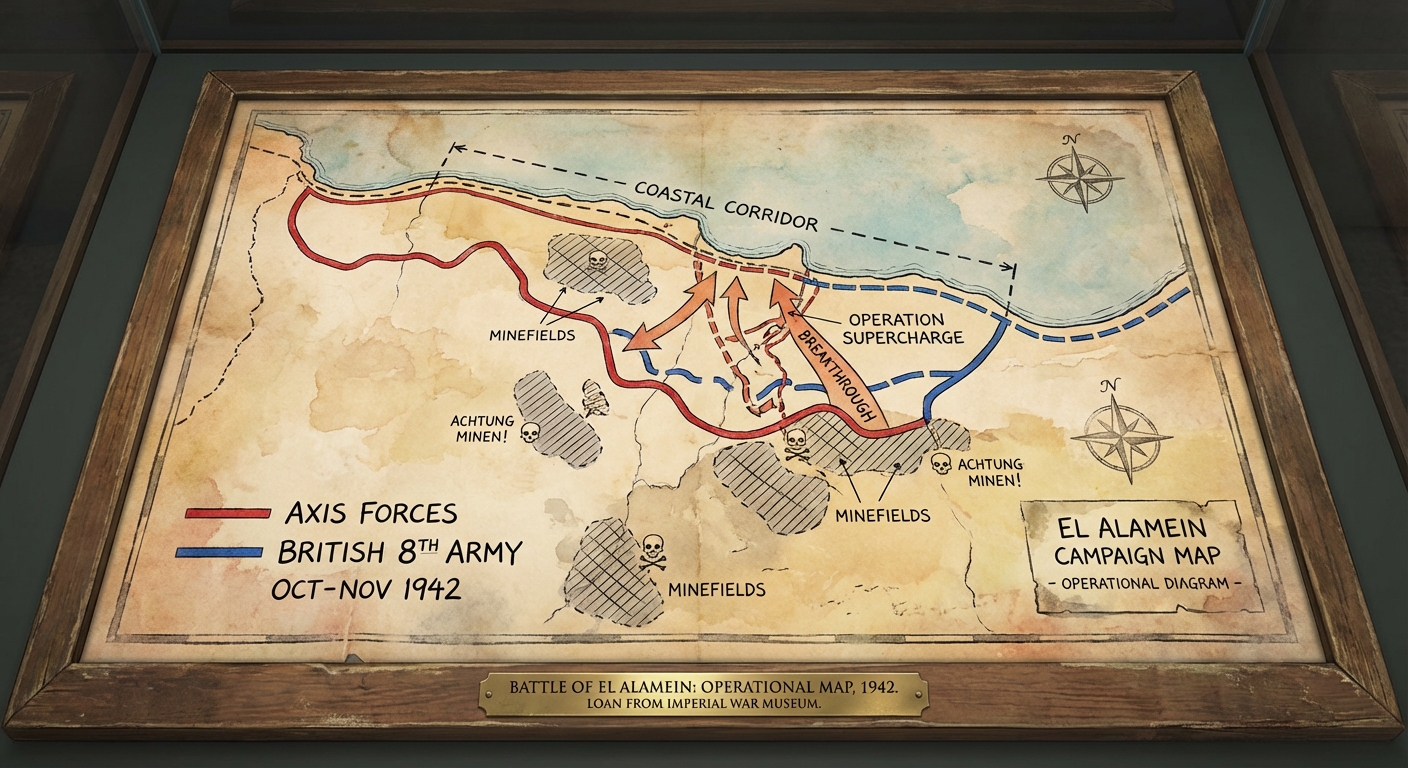
El Alamein secured Egypt and the Suez lifeline, shattered the aura of Axis invincibility in North Africa, and synchronized with Operation Torch to place Axis forces in the region under converging pressure. It marked the transition from desperate containment to sustained Allied advance.
Casualties, losses, and the price of decision
Both sides took significant casualties in men and armored vehicles, but the real asymmetry lay in replacement power. The Eighth Army could replenish. Panzerarmee Afrika could not. That made every tank, gun, and transport loss strategically heavier for the Axis.
The battle also consumed the offensive potential of the Axis in Egypt. After El Alamein, their remaining strength was increasingly about delaying defeat rather than creating opportunity.
Myth: El Alamein was a simple weight-of-numbers victory.
Reality: Material superiority mattered, but it had to be converted through careful breaching, command discipline, and sustained attacks against an experienced defense.
Myth: Rommel was beaten only by logistics.
Reality: Logistics was central, but Allied planning, artillery coordination, deception, and persistence were equally part of the result.
Myth: The desert war was all maneuver.
Reality: At El Alamein, the constricted front produced something closer to industrial attrition with minefields and artillery at the center.
What remained after the shooting stopped
El Alamein became a symbol of restored Allied confidence. Churchill captured the mood when he framed it as the end of the beginning, but the deeper military lesson is narrower and sharper: when geography constrains maneuver, preparation and sustainment can dominate charisma.
The battle remains essential for understanding how the British-led Allied command learned to turn superior resources into controlled battlefield decision rather than scattered opportunity. It was a campaign school in deliberate offensive warfare.
- Stephen Bungay, Alamein
- Barrie Pitt, The Crucible of War
- Niall Barr, Pendulum of War
- Primary angle: Eighth Army operational orders and Axis logistics reporting in late 1942.