The messenger arrived before first light.
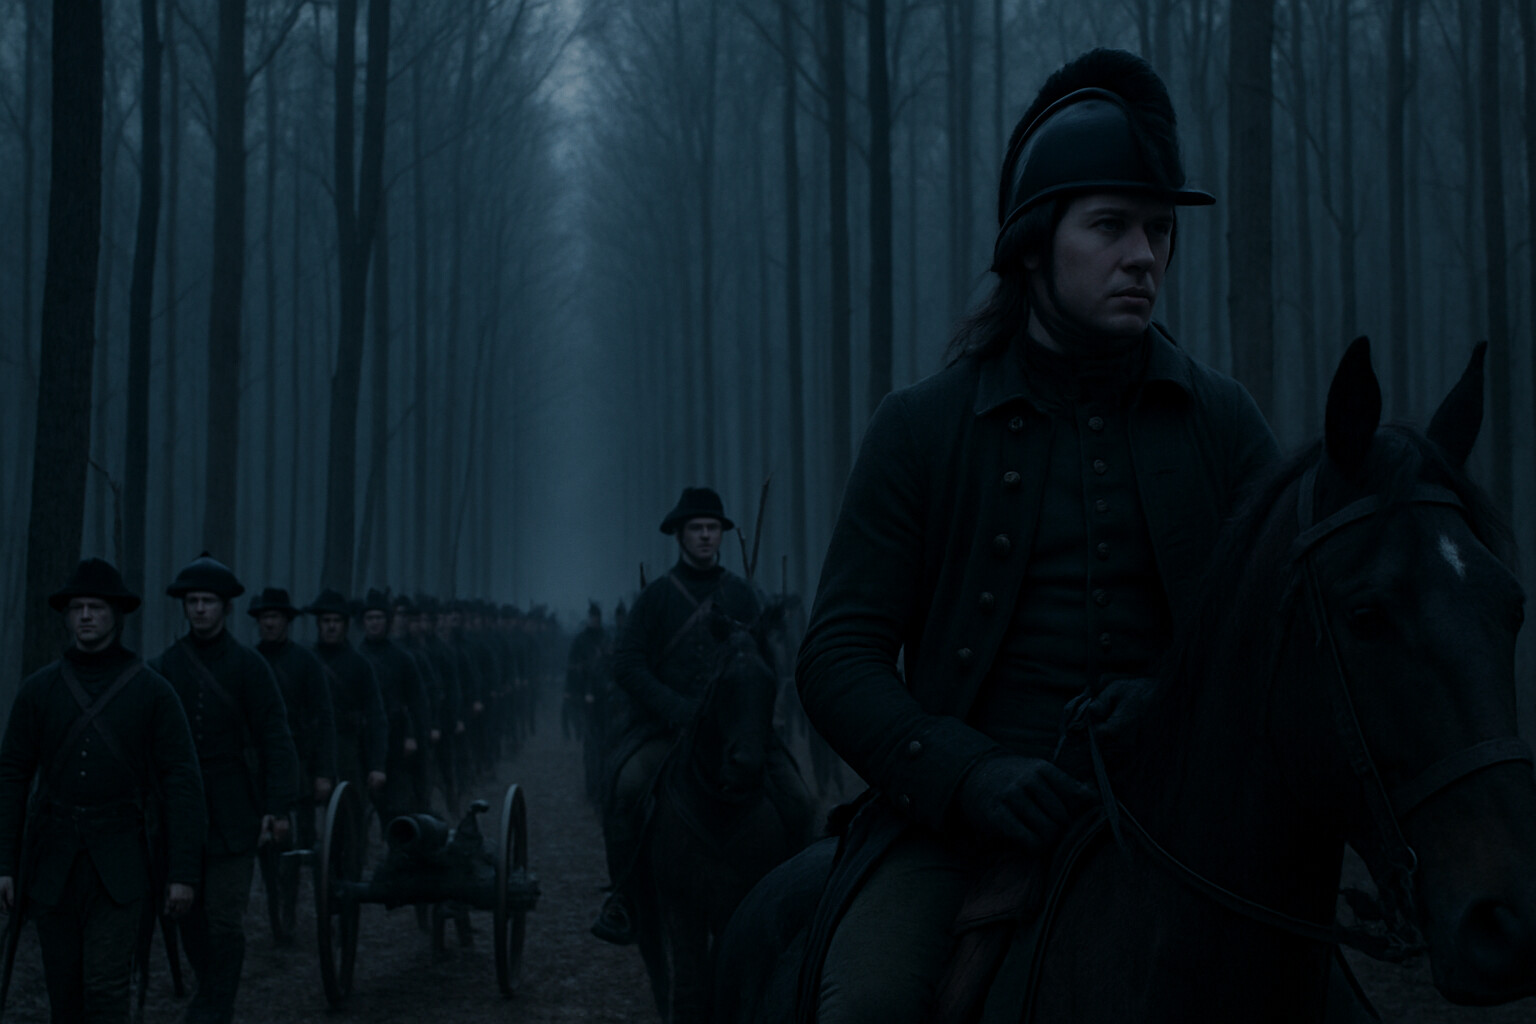
Somewhere behind the tree line to the southeast, Banastre Tarleton's column was moving—fast, as it always moved, men and horses pushed through the dark Carolina winter without pause. The British dragoon commander had been hunting Daniel Morgan for weeks across the backcountry of South Carolina, and now the gap between them had closed to a matter of hours.
Morgan made his decision at the Cowpens, a well-known grazing ground on the property of a local patriot named Hannah's Cowpens, along the Pacolet River watershed in what is now Cherokee County, South Carolina. He stopped running. He turned around. And in the gray dawn of January 17, 1781, he placed his men in a pasture of open hardwood forest and short grass, on gentle terrain with no swamp at his back and the Broad River three miles behind him. Then he waited for Tarleton to come.
What followed was not a lucky skirmish. It was a planned, executed, and tactically sophisticated battle—one that military historians have studied for more than two centuries as a near-perfect example of using the double envelopment against a confident, aggressive enemy.
---
**The Old Waggoner**
Daniel Morgan was fifty-five years old in January 1781, and he had been fighting for most of his adult life. Born around 1736 in New Jersey—the exact date and place remain uncertain—he had moved south as a young man and settled in the Shenandoah Valley of Virginia. He drove supply wagons during the French and Indian War, serving with British forces in 1755 during Braddock's disastrous campaign on the Monongahela, where he witnessed—and survived—one of the most catastrophic British defeats in North American history.
He also received one of the most famous floggings in the folklore of the Revolution. According to well-established tradition, a British officer struck Morgan with the flat of a sword during the war, and Morgan—insubordinate, large, and not easily intimidated—was subsequently sentenced to receive lashes as punishment for striking back. The number varies depending on the source; Morgan himself, later in life, reportedly joked that the British had miscounted and owed him one. The episode became part of his identity: the big Virginian who would not be broken.
By the outbreak of the Revolution, Morgan was a respected frontier captain. In 1775, he raised a company of Virginia riflemen and marched them to Boston in an extraordinary forced march, covering roughly six hundred miles in twenty-one days. The performance announced him as a soldier of unusual energy and competence.
He served in the failed invasion of Canada in 1775–1776, fought under Benedict Arnold at Quebec, and was captured when the assault collapsed in a blizzard on New Year's Eve 1775. After his exchange and return to service, he commanded a provisional rifle corps at Saratoga in 1777, where his riflemen and Colonel Henry Dearborn's light infantry played a decisive role at Freeman's Farm and Bemis Heights. Brigadier-General Horatio Gates later wrote approvingly of Morgan's performance, though the relationship between the two men was not always smooth.
Morgan was not an aristocratic officer. He had no formal military education. He was large, plain-spoken, frequently profane, and physically hard. He also had a genuine gift for irregular warfare, an instinctive understanding of how militia soldiers could and could not be relied upon, and the kind of personal authority that made rough backcountry men follow him.
By late 1780, that authority was critically needed. The American position in the South had nearly collapsed. The fall of Charleston in May 1780 and the destruction of Horatio Gates's Continental army at Camden in August had left the Southern Department in shambles. Major-General Nathanael Greene, who replaced Gates in December 1780, inherited an army that was undermanned, undersupplied, and demoralized. Greene made a controversial but ultimately decisive choice: he divided his small force, sending Morgan with roughly six hundred Continental regulars and militia to operate in the western part of South Carolina, while Greene himself operated to the east with the remainder.
This division violated the classic principle of concentration, and British commander Lord Cornwallis recognized it as an opportunity. He sent Tarleton to destroy Morgan.
---
**The Enemy: Tarleton and the Legion**
Banastre Tarleton was twenty-six years old and already famous—or infamous, depending on which side of the line you stood on. A Liverpudlian from a prosperous merchant family, he had purchased his commission in 1775 and arrived in North America eager for action. He was a gifted cavalry commander: fast, aggressive, willing to ride his men and horses to exhaustion to gain surprise and shock.
His reputation darkened at the Waxhaws in May 1780, when his cavalry overtook a column of retreating Virginia Continentals under Colonel Abraham Buford. What happened next was disputed then and remains disputed by historians today. American survivors and subsequent patriot accounts described a massacre of men attempting to surrender—an episode that gave the American backcountry the phrase "Tarleton's Quarter," meaning no quarter at all. British accounts challenged the characterization. Whatever the precise truth of Waxhaws, the story spread through the backcountry, and it preceded Tarleton like a shadow. For Morgan's militia recruits, Tarleton's Legion was not simply a British unit. It was something closer to a feared, hated, and personally motivating enemy.
Tarleton commanded the British Legion, a mixed force of loyalist cavalry and infantry raised primarily in the middle colonies and regarded as one of the most effective rapid-movement units in the British Southern Army. At Cowpens, his force included the Legion cavalry, the Legion infantry, the 7th Regiment of Foot (Royal Fusiliers), the 1st Battalion of the 71st Regiment of Foot (Fraser's Highlanders), a detachment of the 17th Light Dragoons, two three-pound battalion guns (grasshopper cannon), and a small number of other light troops. Historical estimates of his total strength at Cowpens vary; most scholarly accounts place it at approximately 1,100 men, though some researchers suggest slightly lower numbers for those actually engaged in the battle. The precise figure remains a subject of careful scholarly attention.
Cornwallis had instructed Tarleton to push Morgan aggressively, driving him either to battle or across the Broad River, where Cornwallis himself could intercept him. Tarleton had the confidence—many would say overconfidence—of an officer who had never lost a major engagement. He had demolished Gates at Camden. He had scattered American forces throughout the backcountry. He expected to do the same here.
He had not yet fought Daniel Morgan.
---
**The Cowpens: Geography and the Decision to Stand**
The Cowpens itself was an open, parklike terrain—a cattle range used by local farmers to graze livestock on the open range common to the colonial South. The trees were hardwoods, large and widely spaced, with little undergrowth. The ground rolled gently, rising in two low ridges that would define the fight. The grass was short. It was the kind of ground that seemed, at first look, to favor cavalry.
Most of Morgan's officers expected him to choose a position near a swamp or a river—something to anchor his flanks and protect against cavalry. He chose the opposite. The Broad River behind him offered no easy escape; a disorganized retreat would mean destruction at the crossing. Morgan reportedly told officers who questioned the choice that he wanted the river there precisely for that reason: to prevent his militia from simply running away. Whether he said these exact words, tradition varies; the strategic logic, however, is consistent with his plan.
Morgan's total force at Cowpens numbered approximately 1,000 men, though some scholarly estimates differ slightly. It was a mixed command: Continental regulars of the Maryland and Delaware lines, veteran officers, experienced militia from Virginia, North Carolina, South Carolina, and Georgia, and a small force of Continental dragoons under Lieutenant Colonel William Washington, grandnephew of the commander-in-chief.
The critical challenge was the militia. Militia soldiers in the Revolutionary War had a documented tendency to break under the pressure of a British bayonet charge—not from cowardice, but because they were lightly trained, sometimes improperly armed, and had no tactical framework for absorbing a formed assault. Morgan knew this with precision. At Camden, militia had simply fled, leaving the Continentals exposed. He built his plan around the fact of militia limitations rather than pretending they did not exist.
---
**The Plan: Three Lines and a Calculated Retreat**
Morgan's tactical arrangement was simple in concept and demanding in execution.
He placed his force in three successive lines across the gentle slope facing the British approach from the southeast.
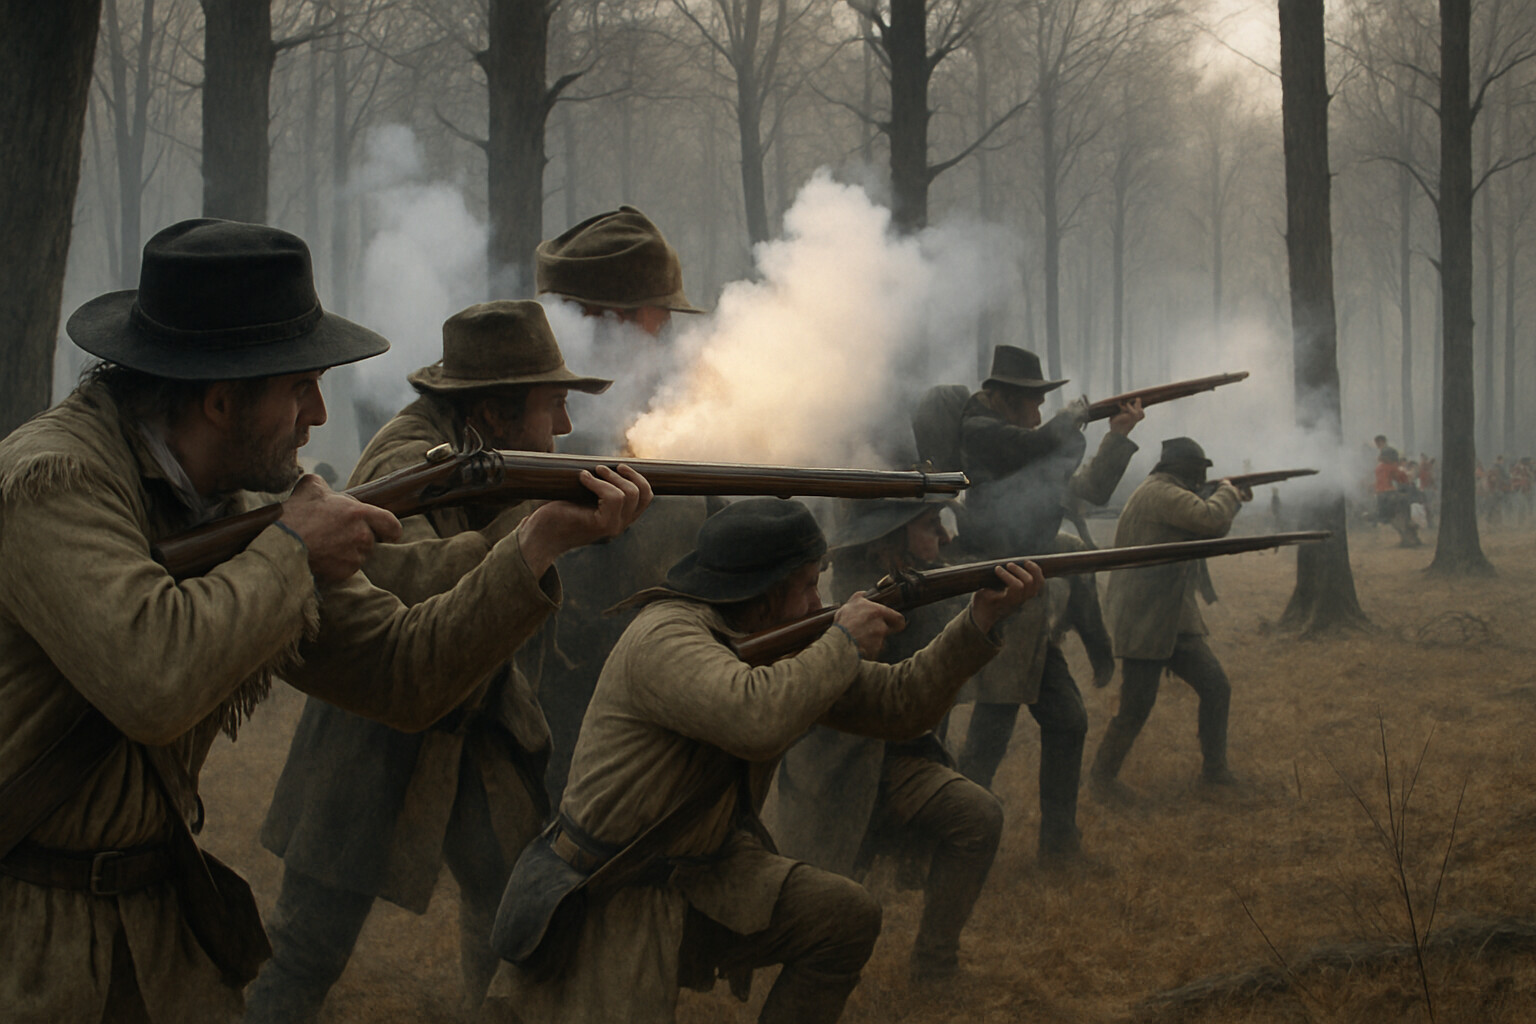
The first line—the skirmisher line—consisted of approximately 150 of his best-armed sharpshooters, many of them equipped with long rifles. Their assignment was specific: advance to meet the British, fire two well-aimed volleys, take a toll on British officers and NCOs, then withdraw to the left and rear, passing behind the second line. Morgan, according to multiple accounts of the battle, reportedly walked among these men the night before and told them in plain terms exactly what he expected: two shots. Aim for the epaulets—the officers. Then fall back in order. This instruction is attested in multiple contemporary and near-contemporary sources, though verbatim quotation should be approached with caution.
The second line—the main militia line—consisted of approximately 300 militia under Brigadier-General Andrew Pickens, a respected South Carolina militia leader. Their assignment mirrored the first line's: receive the advancing British, fire two or three disciplined volleys, then withdraw to the left and around the back of the Continental line to re-form. They were not being asked to stand and die. They were being asked to fight, inflict casualties, and then move to a specific location where they could rejoin the battle.
This was the key psychological insight of Morgan's plan: he told the militia they would retreat. He gave them permission and a route. He did not demand they perform an act of stoicism that their training had not prepared them for. He made their withdrawal part of the plan.
The third line—the Continental regulars—were positioned on the crest of the second low ridge, approximately 150 yards behind the militia line. These were the veterans of the Maryland and Delaware Continental Line, experienced soldiers who could fire by platoon volley and receive a charge without breaking. Their flanks were anchored, on the right, by a small force of militia riflemen under Colonel Andrew Howard positioned on a wooded spur, and on the left, by militia under Colonel John Twiggs. Behind the hill, concealed from Tarleton's approaching view, Morgan held William Washington's Continental dragoons and a mounted force of Georgia militia as his reserve.
The purpose of the three-line arrangement was cumulative attrition. Each line would cost Tarleton men, time, and momentum. By the time the British infantry reached the Continentals, they would have absorbed multiple volleys from two successive lines and marched or charged across several hundred yards of open ground. They would be disordered and tired. Then the Continentals would receive them.
What happened after that depended on timing, nerve, and the movements that Morgan had prepared but could not fully script in advance.
---
**The Morning of January 17**
Tarleton moved before dawn. He had been marching his men through the previous night across difficult ground, having received intelligence of Morgan's position. His troops were tired when they arrived at the Cowpens shortly after dawn, having covered perhaps eight miles of dark, cold road. The night temperature in the South Carolina backcountry in January is typically cold by regional standards, though precise weather records for that morning are not available in standard published histories.
The British formed quickly. Tarleton deployed his line with aggressive symmetry: the Legion infantry in the center, the 7th Regiment of Foot on the right, the light infantry and a detachment of the 71st Highlanders on the left. His two three-pound guns—light artillery pieces small enough to move with fast-moving columns—were positioned in the center to provide fire support. The Legion cavalry waited on the flanks, ready to envelop the American line once it broke. A reserve consisting of the 71st Highlanders and additional Legion cavalry was held back.
He advanced without significant reconnaissance. He was confident. He had the numbers, the cavalry, the artillery, and the reputation. He had also, according to later accounts, been urged by his own officers to allow the men rest before attacking. He declined. The decision to attack immediately, before his own troops could recover from their night march, would cost him.
The British advance guard moved forward and encountered Morgan's first skirmisher line. The riflemen fired. Officers went down. The skirmishers withdrew as instructed. The British pressed forward into the second line—Pickens's militia—who delivered their volleys and then began their own withdrawal, moving to the left and around behind the Continental line.
To Tarleton's cavalry and infantry, this looked like another Camden. The Americans were breaking. The Legion cavalry on the right surged forward to exploit the apparent collapse of the militia flank, pressing Pickens's men as they moved.
William Washington's Continental dragoons countercharged. The clash between the two cavalry forces on the American left drove back the British dragoons and bought Pickens's militia the time they needed to complete their withdrawal and begin reforming behind and to the left of the Continental line.
The British infantry, encouraged by what they read as a general American retreat, pressed forward with increasing aggression. They had absorbed casualties from two lines of fire. They were tired from the night march. They were now advancing uphill toward the Continental line on the second ridge, not yet fully aware that the militia they had chased off was moving around to their own flank.
---
**The Decisive Moment**
The Continental line received the British advance and opened fire. The exchange was severe. The 7th Foot and the Legion infantry pressed hard. The right flank of the American line—the militia under Colonel Howard on the wooded spur—received an order or perceived an order that caused them to face about and begin moving to the rear. Accounts differ on whether this was a misunderstood command or a deliberate tactical adjustment by Lieutenant Colonel John Eager Howard, who commanded the Continental infantry. What is documented is that Howard saw what was happening and chose to use it.
The British infantry, seeing the American right beginning to move, surged forward in what they read as another general American collapse. The line broke into a charge without orders, men running forward in pursuit.
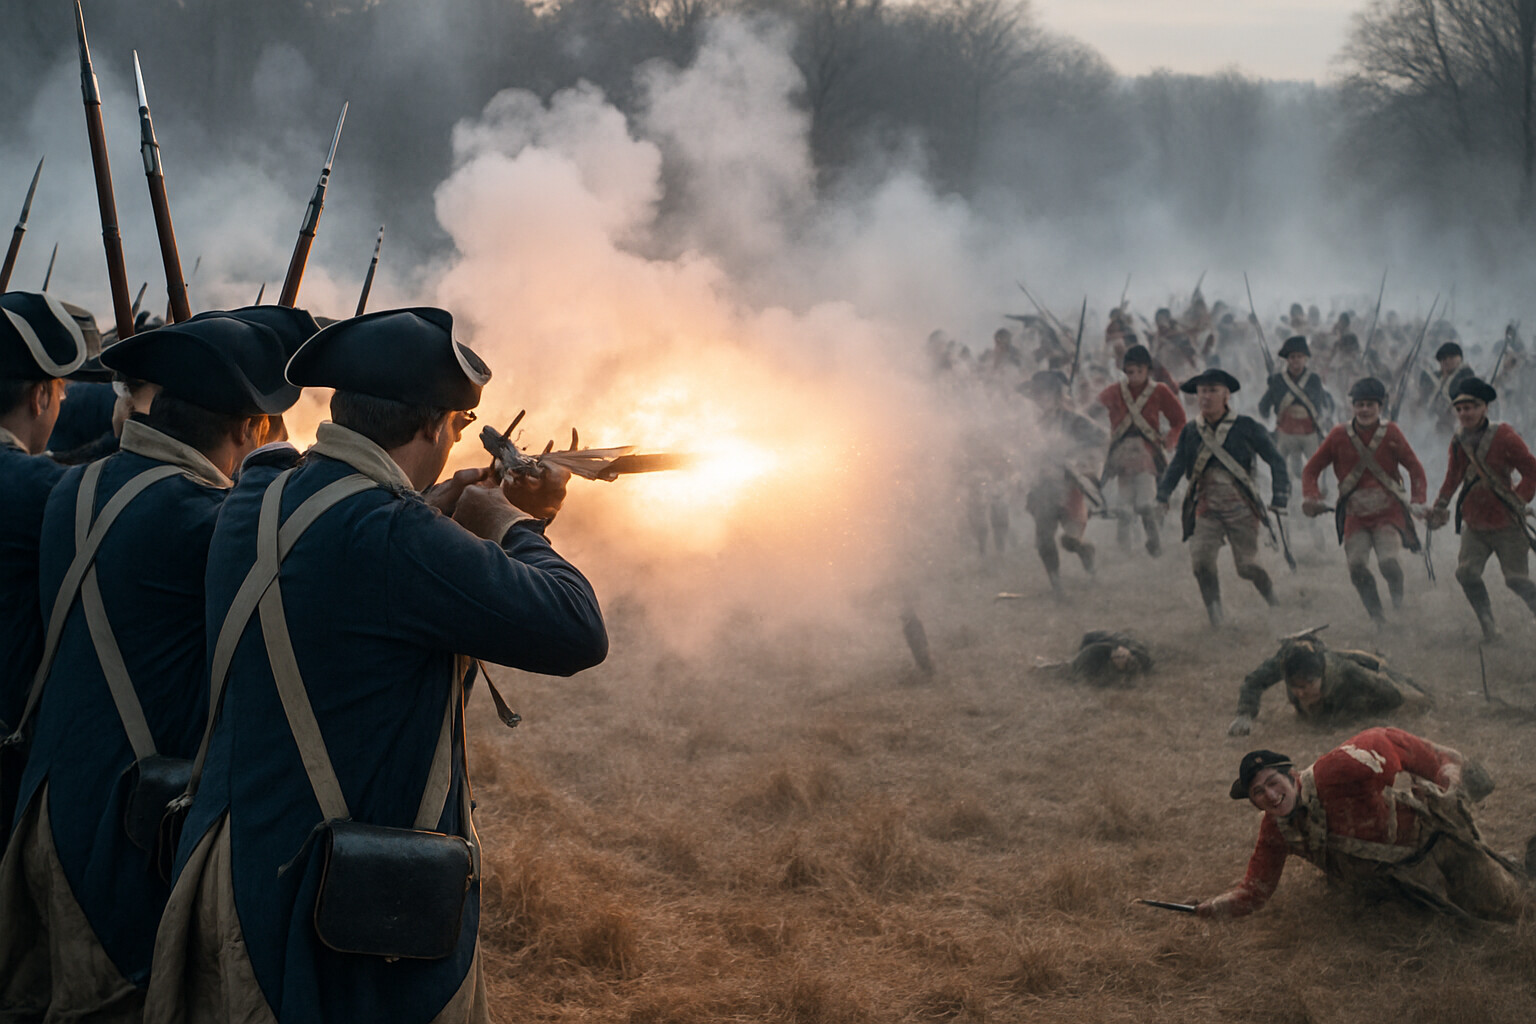
Morgan rode to Howard. Howard faced his men about and gave the order to fire.
The volley struck the pursuing British infantry at close range—some accounts say within fifty yards—while they were disordered, running, and without a formed front. The effect was devastating. At nearly the same moment, Pickens's reformed militia, having completed their circuit behind the Continental line, appeared on the British right flank. William Washington's dragoons closed from behind the British left. The encirclement was not geometrically perfect, but it was effectively complete.
The 71st Highlanders and the Legion cavalry reserve advanced from the British rear in an attempt to retrieve the situation. Washington's dragoons met the Legion cavalry. The Highlanders formed and advanced but found themselves facing a collapsing front and closing flanks simultaneously.
The British infantry in the center gave way. A substantial portion of Tarleton's force—most accounts estimate more than 800 men—surrendered or were captured. The 7th Foot and elements of the Legion infantry laid down their arms. The Highlanders' position became untenable. Tarleton himself, commanding the remnant of his cavalry, attempted a final countercharge with the Legion dragoons. Washington's men met them. In a cavalry melee that lasted only minutes, Tarleton was nearly taken. He escaped, but barely, with perhaps 200 horsemen. The battle was over in roughly one hour from the first shots fired.
American losses, according to standard scholarly accounts, were approximately 12 killed and 60 wounded. British losses, including prisoners, were approximately 110 killed, 200 wounded, and more than 500 captured—figures that vary somewhat across sources but consistently indicate a near-total destruction of Tarleton's mobile strike force. Both of the three-pound artillery pieces were captured. The British Legion's infantry effectively ceased to exist as a combat unit.
It was one of the most complete tactical victories of the American Revolutionary War.
---
**The Weapons and the Fighting**
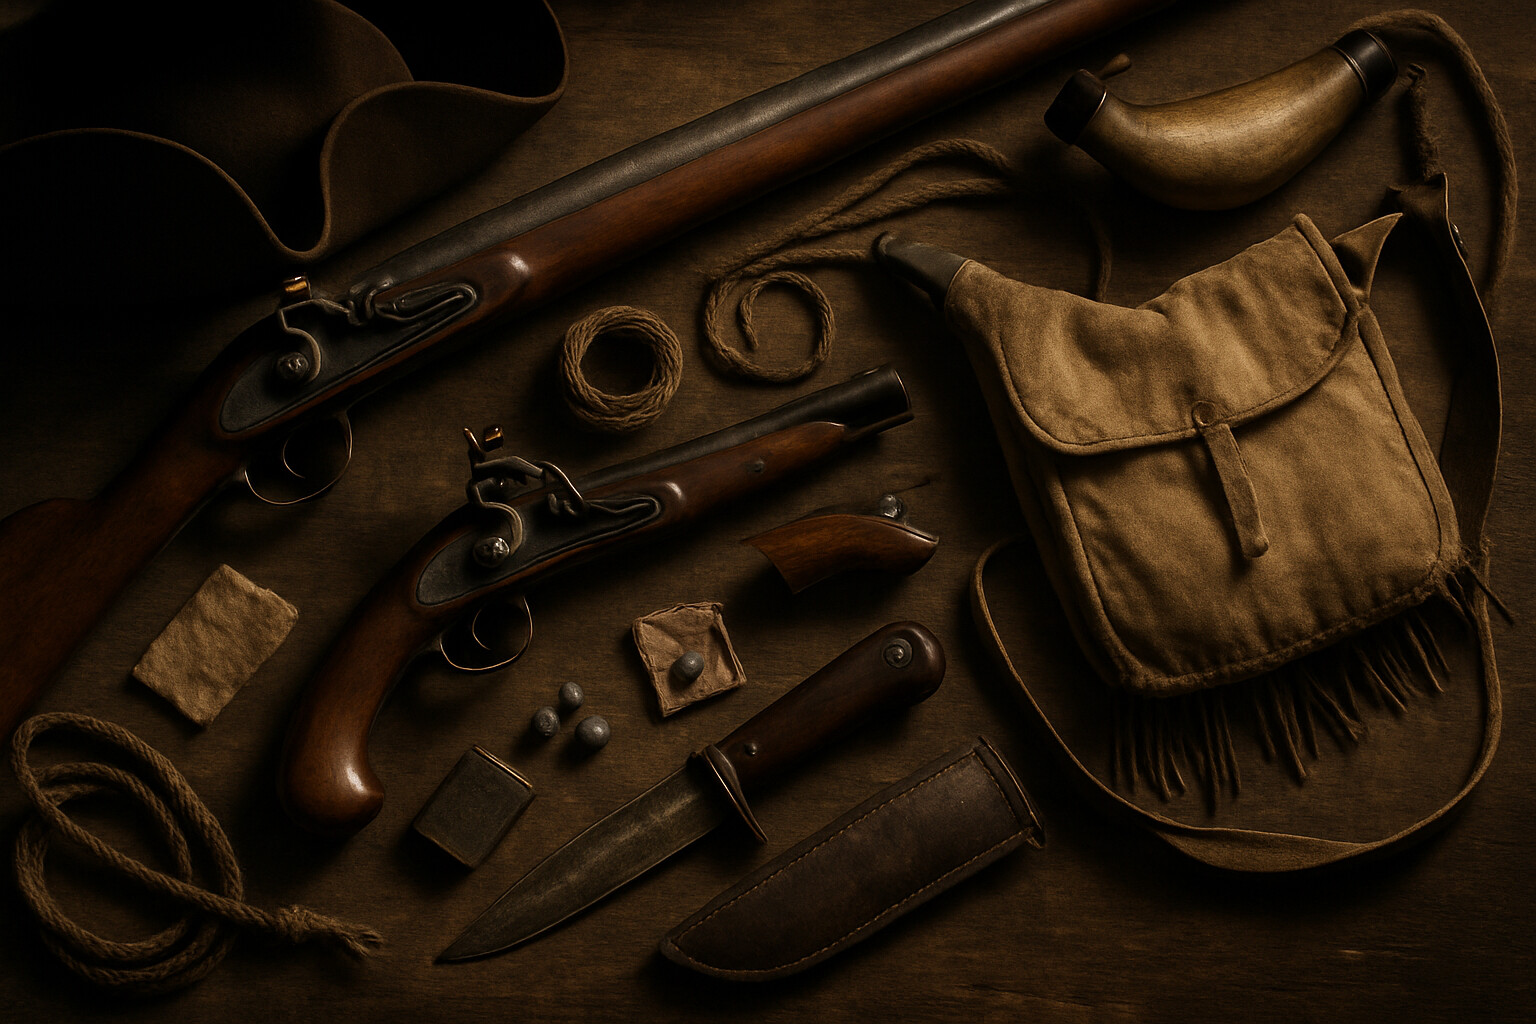
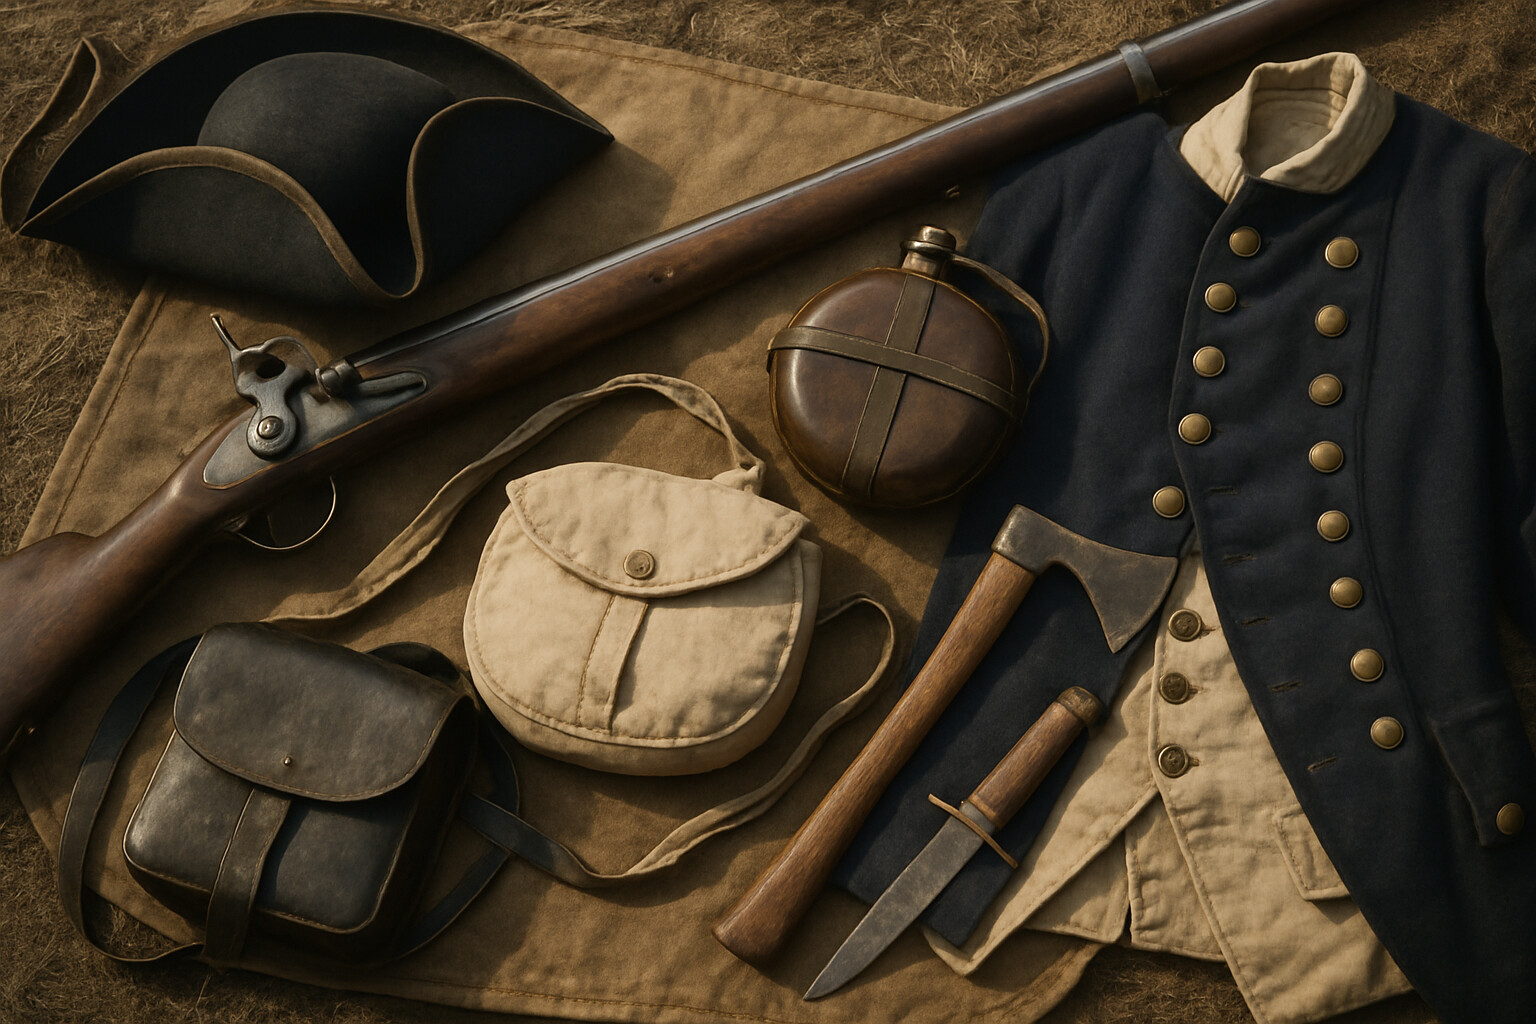
The battle was fought primarily with the tools available to eighteenth-century infantry: smoothbore muskets, long rifles, bayonets, swords, and light artillery.
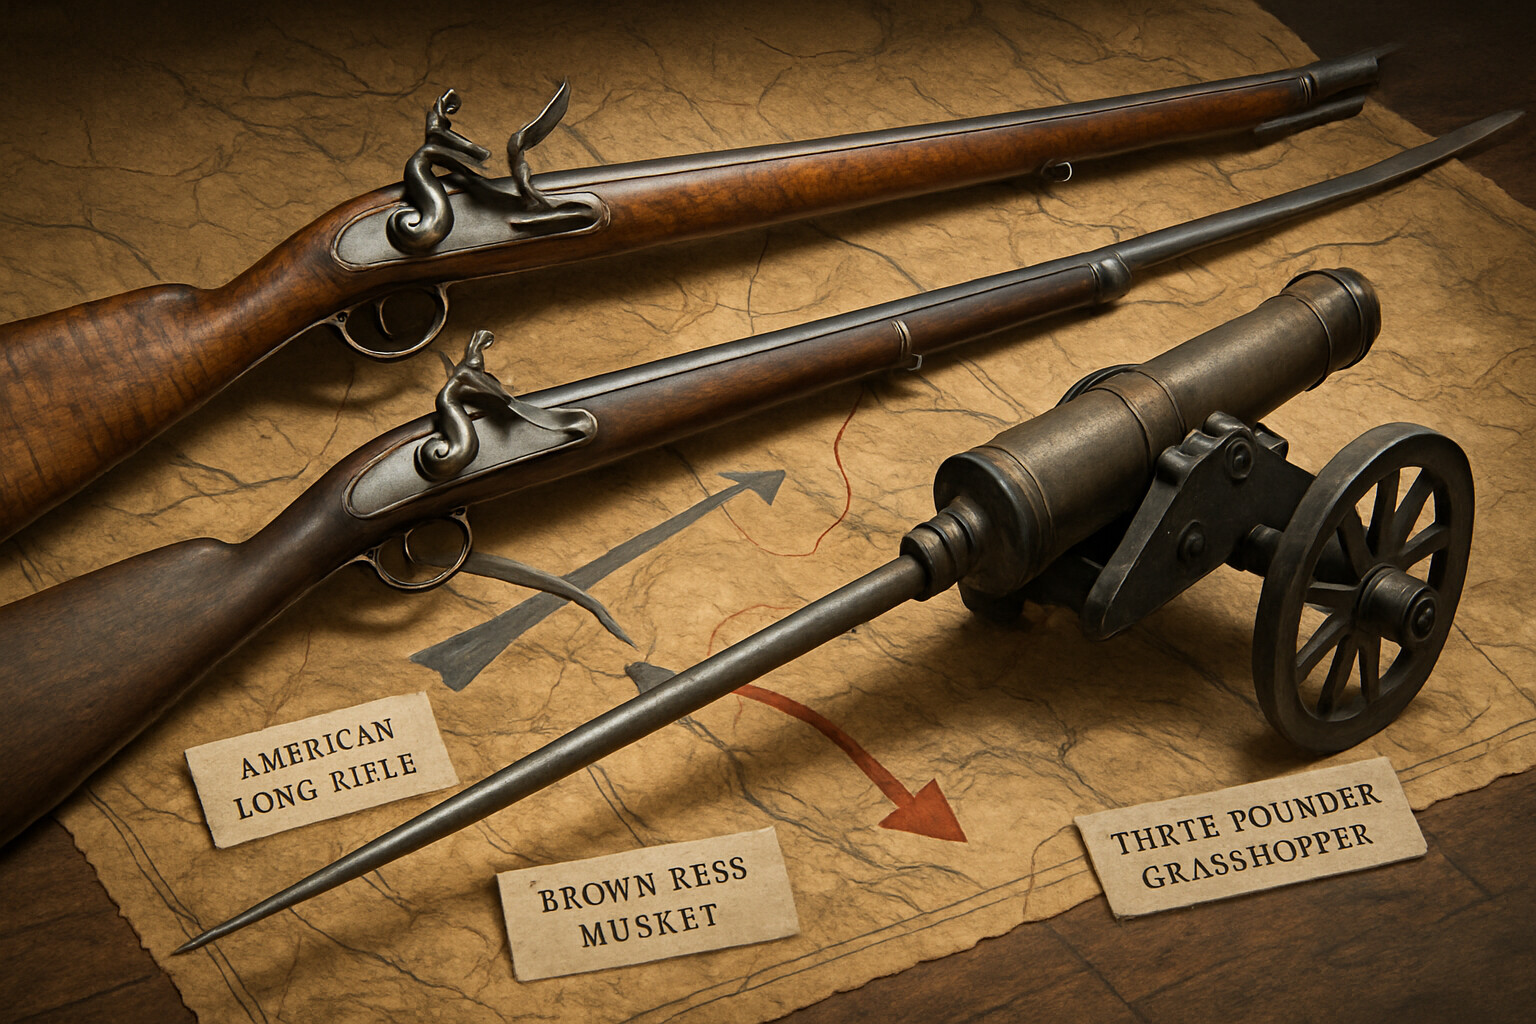
The standard British infantry arm was the Land Pattern Musket, universally called the "Brown Bess" by soldiers of the period. This was a .75-caliber smoothbore flintlock, accurate to roughly fifty to seventy-five yards against individual targets but capable of producing devastating fire in volley against formed ranks at closer range. British infantry tactics of the era were built around the volley and the bayonet charge; the musket was the delivery mechanism for the shock that would precede cold steel.
American Continentals used a mix of weapons including the Brown Bess and French-supplied muskets, particularly the Charleville Model 1763, which had been arriving through French military aid. Both weapons had similar tactical characteristics: short accurate range, faster loading under trained conditions than a rifle, and capable of being fitted with a bayonet.
Morgan's riflemen—particularly those in the skirmisher line—used long rifles of the American frontier pattern, sometimes called the Pennsylvania rifle or Kentucky rifle, though the term "Kentucky rifle" is largely a nineteenth-century coinage. These weapons, typically in calibers ranging from around .40 to .60, were capable of accurate fire at ranges well beyond the smoothbore musket: 150 to 200 yards in practiced hands. The tradeoff was loading time; a rifle took significantly longer to load than a smoothbore musket, making it unsuitable for rapid volley fire or bayonet combat. Morgan's use of riflemen as skirmishers—fire and withdraw, rather than stand and reload under bayonet pressure—was tactically sound precisely because it exploited the rifle's range advantage while avoiding its loading-time vulnerability.
The British three-pound grasshopper guns—so called because of the leg-like brackets on which they rested—were light battalion artillery intended for close support of infantry in open field action. They fired a three-pound iron ball and could also fire canister (a tin case filled with small iron balls that spread like a large shotgun round) at close range. At Cowpens, these guns fired into the American lines during the British advance but were captured before they could influence the decisive phase of the action. Their capture was tactically and symbolically significant.
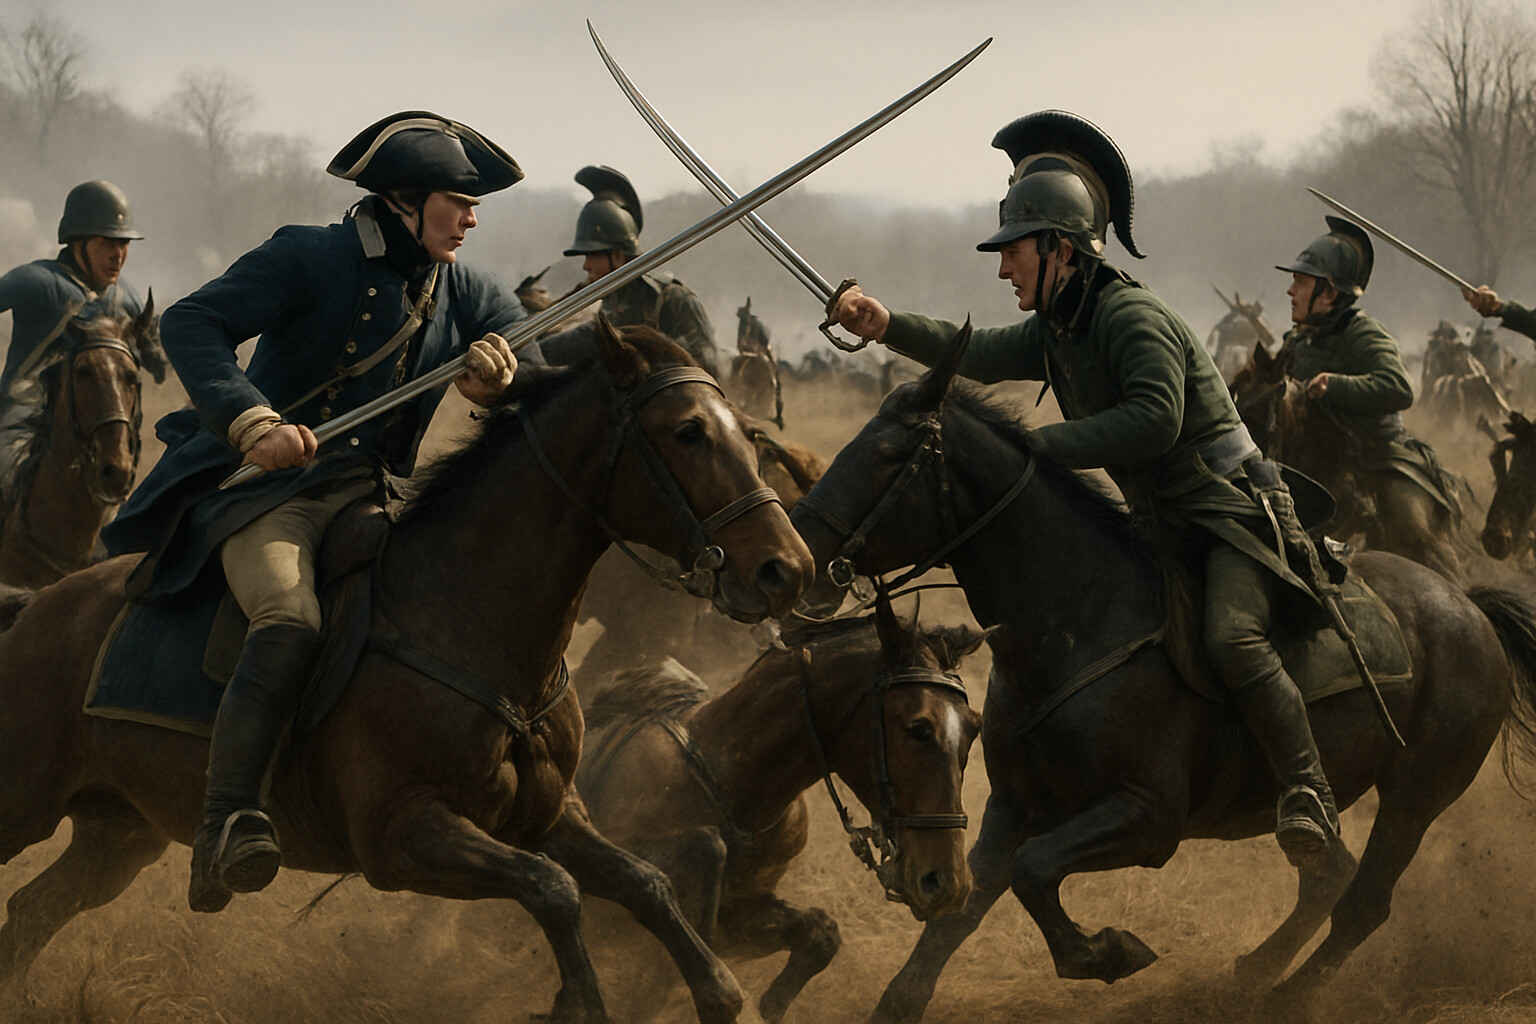
British cavalry—the Legion dragoons and the 17th Light Dragoons—carried the standard heavy cavalry saber and typically a brace of flintlock pistols. Their role was pursuit and exploitation of broken infantry; they were at a disadvantage against formed infantry that refused to break, and highly dangerous against disordered men in retreat. Morgan's decision to keep Washington's dragoons in reserve until the critical moment, rather than using them early, was part of what kept Tarleton from being able to exploit any American disorder until it was too late.
---
**The Cost and the Aftermath**
For the Americans, Cowpens was a victory of unusual decisiveness with unusually low cost. The approximately 12 killed and 60 wounded represented a tiny fraction of the force engaged, and the army left the field intact, its fighting power essentially undiminished.
For the British, the losses were strategically catastrophic beyond the raw numbers. Tarleton had been Cornwallis's primary instrument of rapid mobile warfare in the South. The Legion infantry was destroyed as a formed unit. The cavalry, though it escaped, was badly shaken and reduced. The two artillery pieces were gone. Cornwallis, upon receiving the news, was reported to have leaned heavily on his sword. The source for this image—the sword bending under his weight—appears in James Graham's biography of Morgan published in 1856 and in other nineteenth-century accounts; its reliability as a precise eyewitness record is uncertain, but it captures the weight of the loss accurately enough.
More broadly, Cowpens transformed the strategic situation in the South. Cornwallis, enraged, began a pursuit of Morgan and then Greene that eventually drew his army deep into North Carolina, stretching his supply lines to the breaking point. The campaign that followed—including the Battle of Guilford Courthouse in March 1781—weakened the British army to the degree that Cornwallis's subsequent move into Virginia, and ultimately to Yorktown, followed in part from the logic that the Carolinas had become untenable. The chain of cause and effect is complex and contested by historians, but Cowpens is consistently identified as one of the pivot points.
Morgan himself did not see the end of the campaign. His health, always troubled by the sciatica that had plagued him for years—a condition documented in his correspondence—forced him to request leave shortly after Cowpens. He departed the Southern army in late February 1781, missing Guilford Courthouse and the endgame of the Southern campaign. He would return to service briefly in 1794 to command Virginia militia during the Whiskey Rebellion, but Cowpens was his last major battle.
Congress voted him a gold medal on March 9, 1781, one of only a handful awarded during the entire Revolutionary War. The resolution honored his leadership at Cowpens. This is documented in the Journals of the Continental Congress. The medal itself—its design and whether it was actually struck and delivered during Morgan's lifetime—is a matter of historical record that researchers interested in the specific artifact should verify against material culture records and numismatic histories of Congressional gold medals.
---
**What the Record Says**
The primary sources for Cowpens are substantial by eighteenth-century standards. Tarleton himself wrote an account in his History of the Campaigns of 1780 and 1781, published in 1787. It is a valuable source for the British perspective, though it is an account by a man who had just suffered one of the most humiliating defeats of the war and must be read accordingly.
Lieutenant Colonel John Eager Howard, who commanded the Continental infantry and whose decision to face his men about contributed directly to the decisive volley, left accounts that historians have used extensively. Brigadier-General Andrew Pickens, who commanded the militia line, also left accounts. Morgan himself wrote letters in the immediate aftermath that survive.
Secondary scholarship on Cowpens is rich. Lawrence Babits's A Devil of a Whipping: The Battle of Cowpens (1998) is the most thoroughly researched modern tactical study, based on a close reading of pension records, unit returns, and physical terrain analysis. Babits's work revised some earlier estimates of unit strengths and positions, and anyone seeking precision on specific unit placements and casualty figures should consult it directly. Bobby Gilmer Moss's work on the rosters of participants also provides granular personnel data. Don Higginbotham's biography of Morgan remains a standard reference on Morgan's life and career.
The Cowpens battlefield is preserved as a National Park Service unit, Cowpens National Battlefield, in Cherokee County, South Carolina. Archaeological and terrain analysis conducted under National Park Service auspices has contributed to the scholarly understanding of unit positions.
Some details in the popular tradition of Cowpens—the exact wording of Morgan's instructions to the militia, the precise location of every unit, the details of the Morgan-Washington cavalry melee—exist in versions that have been refined, simplified, or embellished across two centuries of retelling. Careful historians separate what is documented from what is reconstructed, and readers who want precision should go to Babits and the primary sources rather than the many popular retellings.
---
**Why It Still Matters**
Cowpens is taught at military academies and staff colleges not as folklore but as a template. The double envelopment—fixing the enemy front while enveloping both flanks simultaneously—is one of the most difficult maneuvers in ground combat. It requires coordination, timing, and the ability to read the battlefield in real time. Morgan accomplished it with a mixed force of regulars and militia, against an aggressive and experienced enemy, in under an hour.
But the tactical lesson that most often draws instructors back to Cowpens is the militia problem. Every army in every era has a version of it: the unreliable component, the unit that might break, the element that cannot be trusted to do what formed regulars can do. Morgan's answer was not to pretend the weakness didn't exist or to place the militia where they would be least important. He placed them where they would be most useful, gave them a mission that played to what they could actually do, told them exactly how they would fight and exactly how they would withdraw, and built the withdrawal itself into the tactical plan.
The militia did not break. They performed their assigned role, re-formed under fire, and came back around the flank to close the trap. They did this because Morgan understood them and planned for what they were, not what he wished they were.
Daniel Morgan died on July 6, 1802, in Winchester, Virginia. He was in his mid-sixties—the exact birth year remains uncertain. He had been a wagoner, a rifleman, a prisoner of war, a battlefield commander, and one of the architects of American independence. At Cowpens, on a cold January morning in the South Carolina backcountry, with a river at his back and a fast-moving enemy at his front, he demonstrated that the difference between a rout and a victory can come down to whether the man in command truly understands the soldiers he is asking to fight.