The sun was still climbing toward noon when the first runners reached Lord Chelmsford with word that something had gone wrong at the camp.
Chelmsford was eight miles southeast of Isandlwana, moving with roughly half his column in pursuit of a Zulu force he believed to be the main enemy army. He had eaten breakfast at dawn in the camp, inspected the tents, looked back at the distinctive sphinx-shaped rock that gave the position its name, and ridden away. What he left behind — some 1,700 British regular soldiers, colonial troops, African auxiliaries, transport oxen, supply wagons, and enough commissariat stores to sustain an invasion — was, within hours, gone.
The Battle of Isandlwana, fought on 22 January 1879, is the worst defeat ever inflicted on a British army by an African enemy. It was not a skirmish or a rearguard action overrun by surprise. It was the destruction of a formed military force in broad daylight, on open ground, by an enemy that British commanders had consistently underestimated. Understanding how it happened requires understanding the man who ordered the invasion, the army he dismissed, the terrain he camped on, and the hour-by-hour collapse of a position that should, by every Victorian military doctrine, have held.
---
**The Man, the Mission, and the Miscalculation**
Frederic Augustus Thesiger, second Baron Chelmsford, was fifty-two years old in January 1879. He held the local rank of Lieutenant-General and commanded Her Majesty's forces in South Africa. His career had been solid rather than spectacular: service in the Crimea, the Indian Mutiny, Abyssinia, and most recently the Ninth Cape Frontier War of 1877–78, where his forces had subdued the Gcaleka and Ngqika Xhosa. That campaign had been grinding and difficult, fought against a dispersed enemy who used bush terrain to avoid pitched battle. Chelmsford had won it, and the lesson he appears to have drawn — perhaps the wrong one — was that African adversaries preferred evasion over direct confrontation.
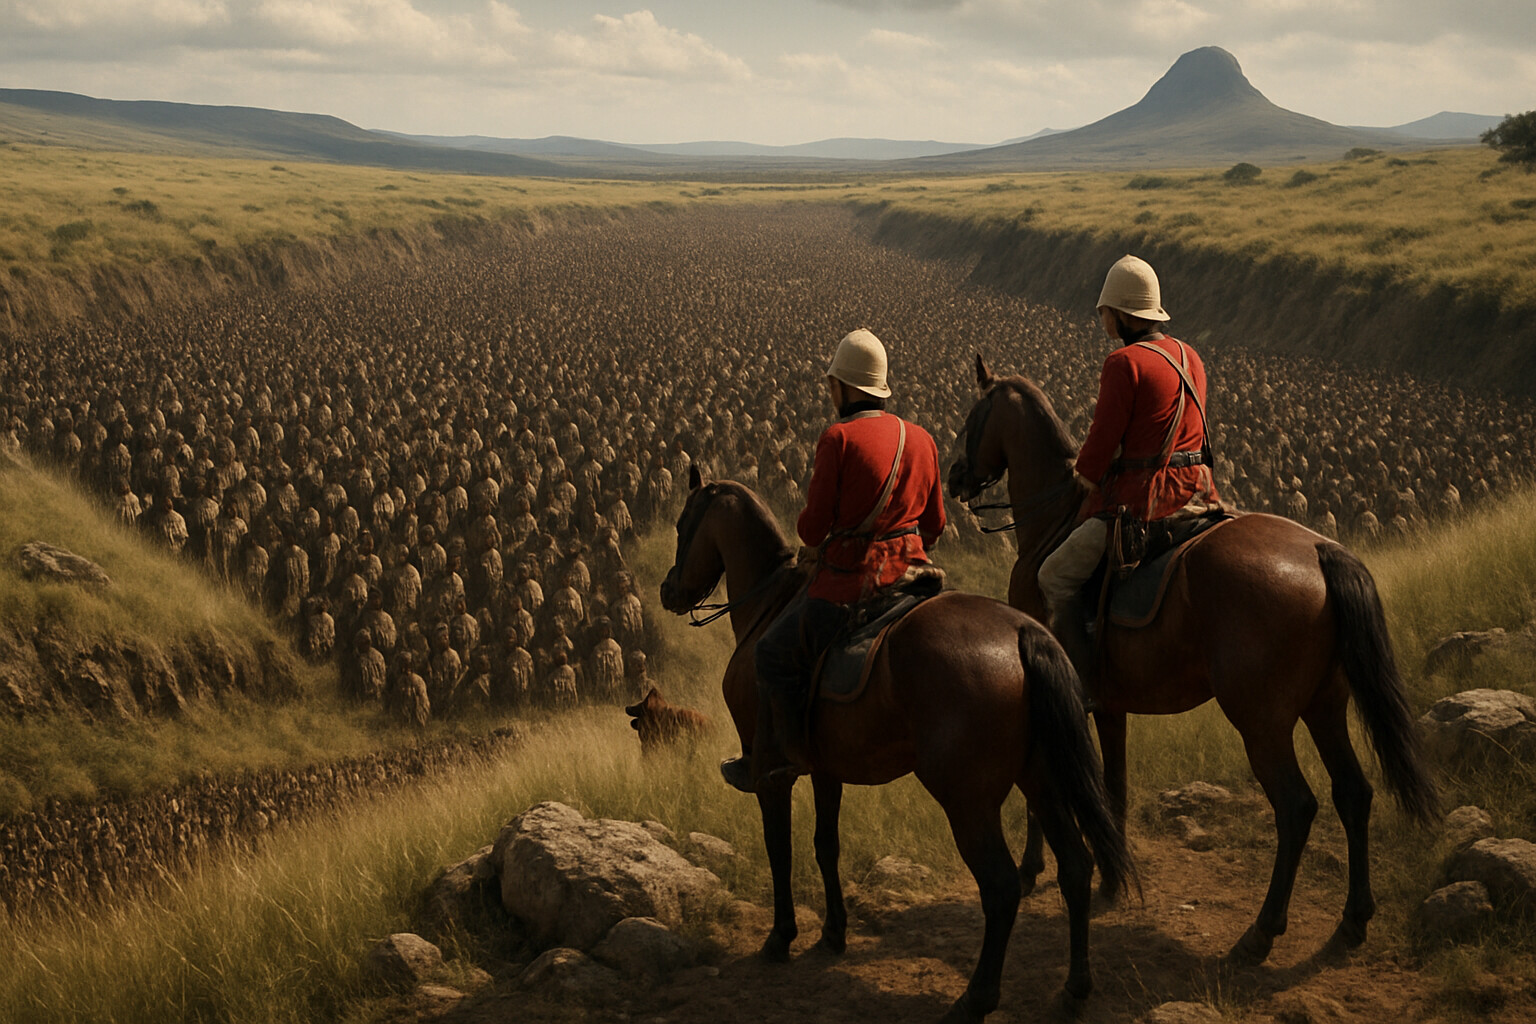
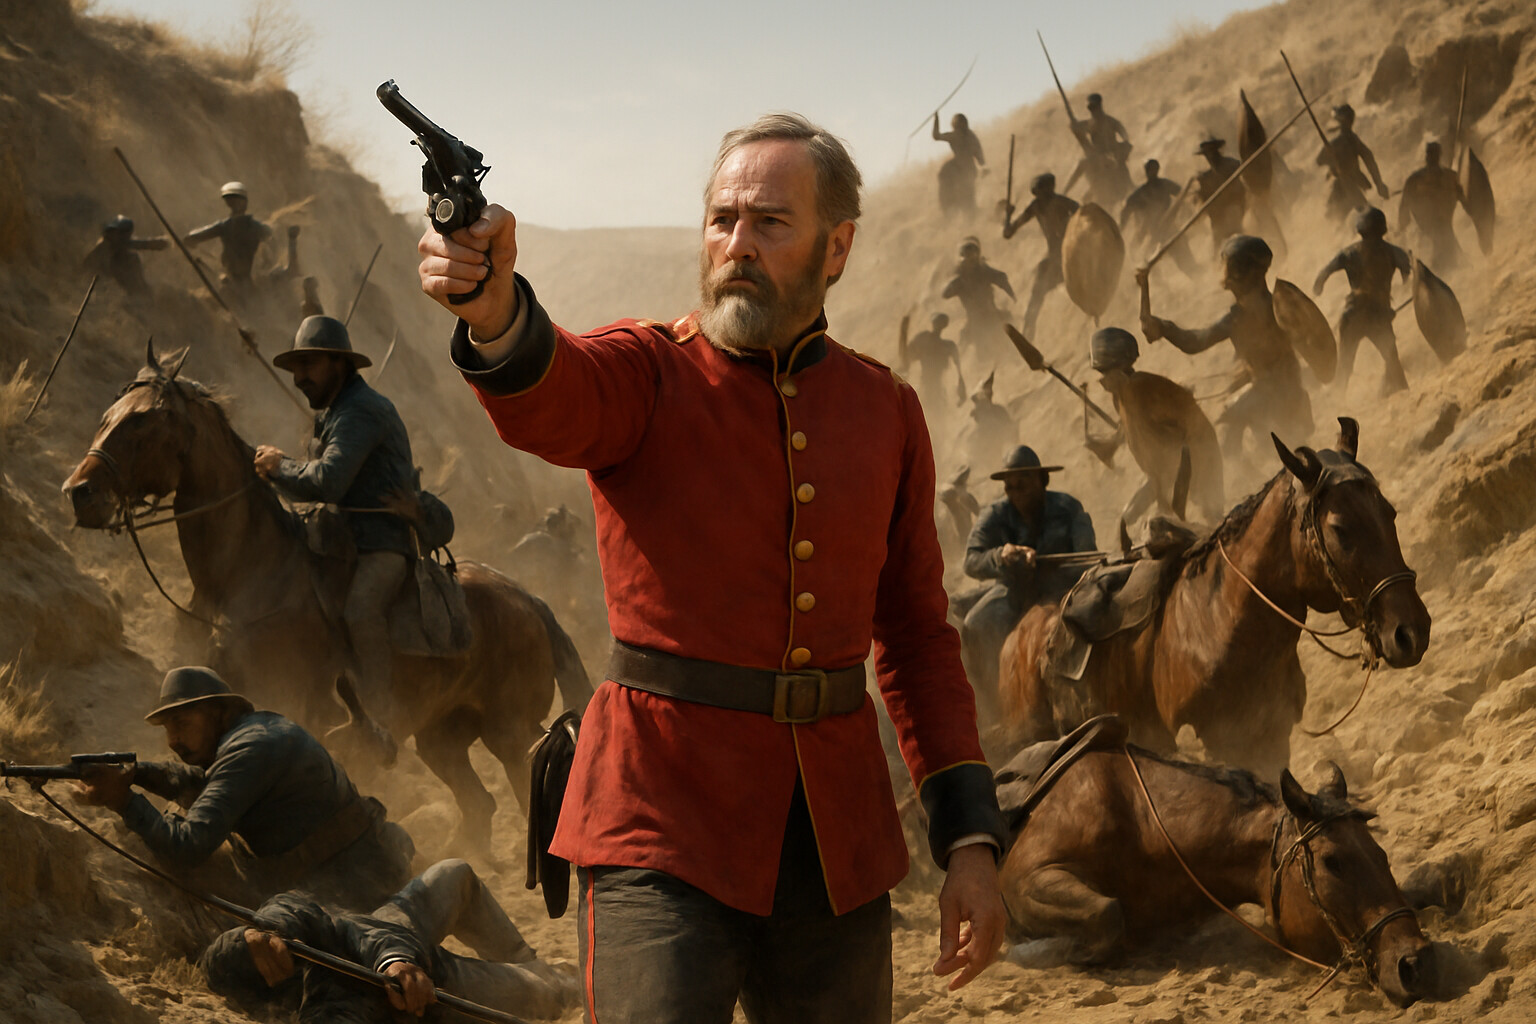
The Zulu were different in almost every respect. They were a militarized nation-state under King Cetshwayo kaMpande, whose standing army, the amabutho system, organized young men by age-regiment into disciplined formations capable of rapid movement and coordinated mass assault. The basic Zulu tactical formation, the impondo zankomo or 'chest and horns,' divided a force into a central striking mass and two flanking wings designed to envelop an enemy simultaneously. It had worked with devastating efficiency in Zulu wars for decades. British intelligence had access to accounts of this system. The danger was not unknown.
Chelmsford's war had a political origin as much as a military one. Sir Bartle Frere, High Commissioner for Southern Africa, wanted a confederation of South African territories under British control and saw the independent Zulu kingdom as the central obstacle. In December 1878, Frere issued an ultimatum to Cetshwayo demanding, among other things, the disbandment of the amabutho system — a demand that, as Frere likely knew, no Zulu king could accept. The ultimatum expired on 11 January 1879. Three days later, Chelmsford's forces began crossing into Zululand.
The invasion was organized in three columns converging on the Zulu royal homestead at Ulundi. The central column, No. 3 Column, was Chelmsford's own and the most powerful: six companies of the 1st Battalion, 24th Regiment of Foot (1/24th), four companies of the 2nd Battalion, 24th Regiment (2/24th), colonial mounted units, the Natal Native Contingent (NNC), artillery, and a vast supply train. The column crossed the Buffalo River at Rorke's Drift on 11 January and moved cautiously into Zululand, making its first camp at Isandlwana on 20 January.
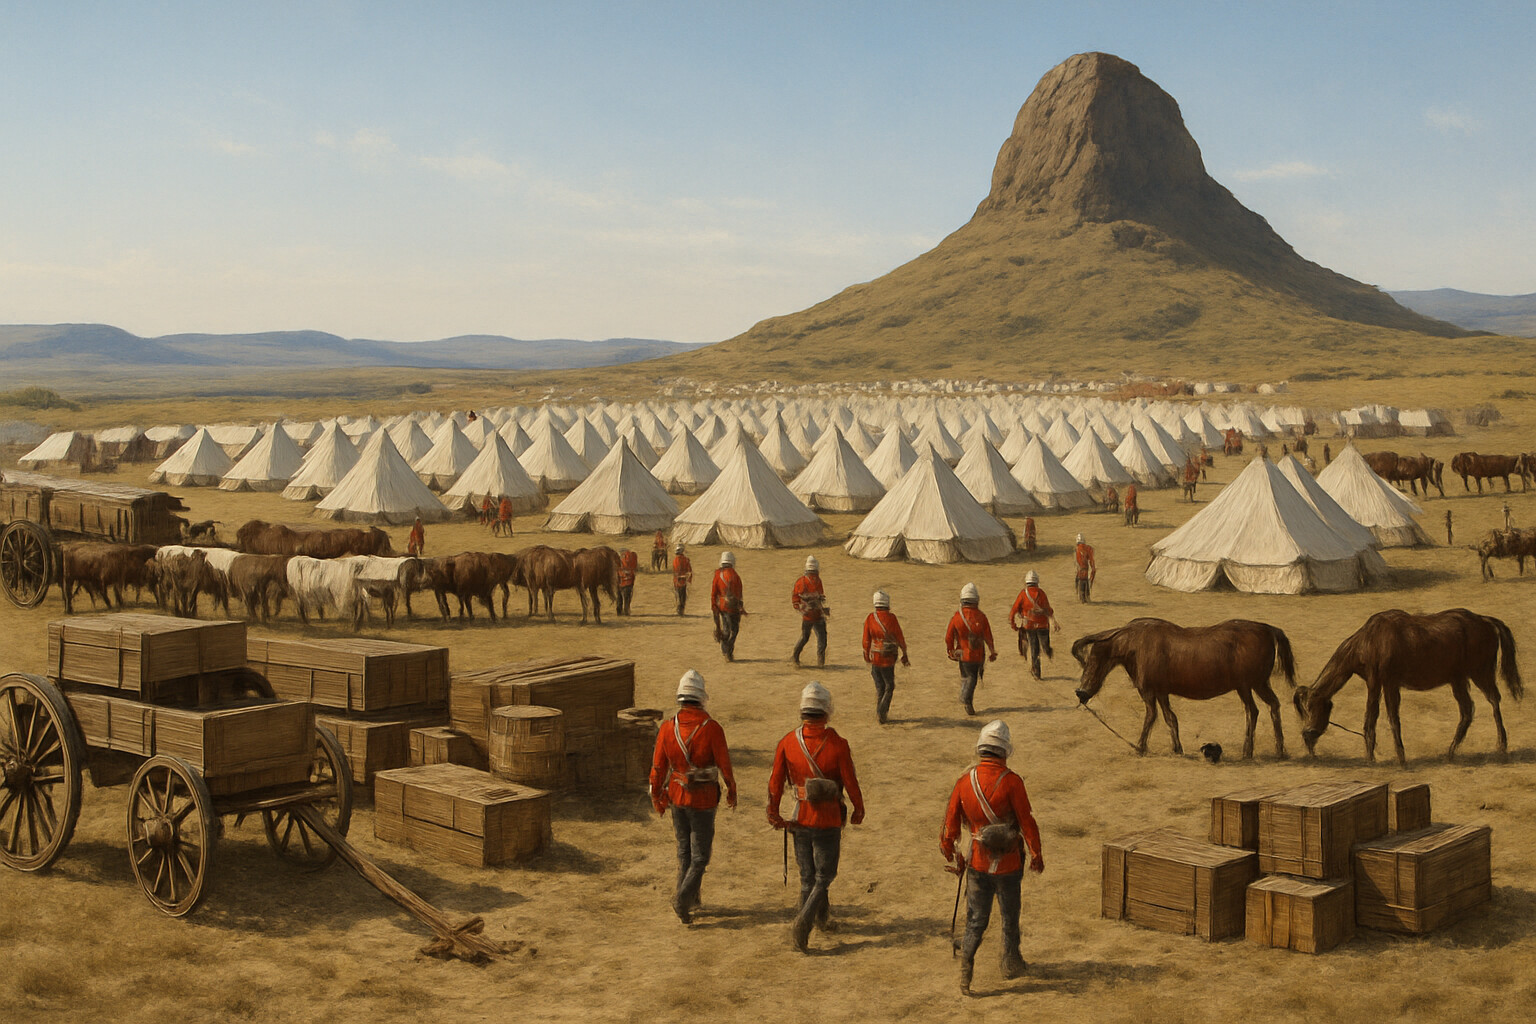
The camp at Isandlwana was large and, crucially, unfortified. British field regulations required that a camp be laagered — circled with wagons — or at minimum entrenched when stationary. Chelmsford chose not to entrench. His stated reason was pragmatic: the ground was too rocky for easy digging, and a fortified camp might signal to the Zulu that the British were afraid. The true reasoning, inferred from his dispatches and subsequent testimony rather than from any private record, appears to have involved both supply pressures and a general assumption, shared widely among the staff, that the Zulu would not attack the camp directly. They would maneuver, as the Xhosa had, and be caught and defeated in the field. Chelmsford planned to do the catching.
---
**The Ground**
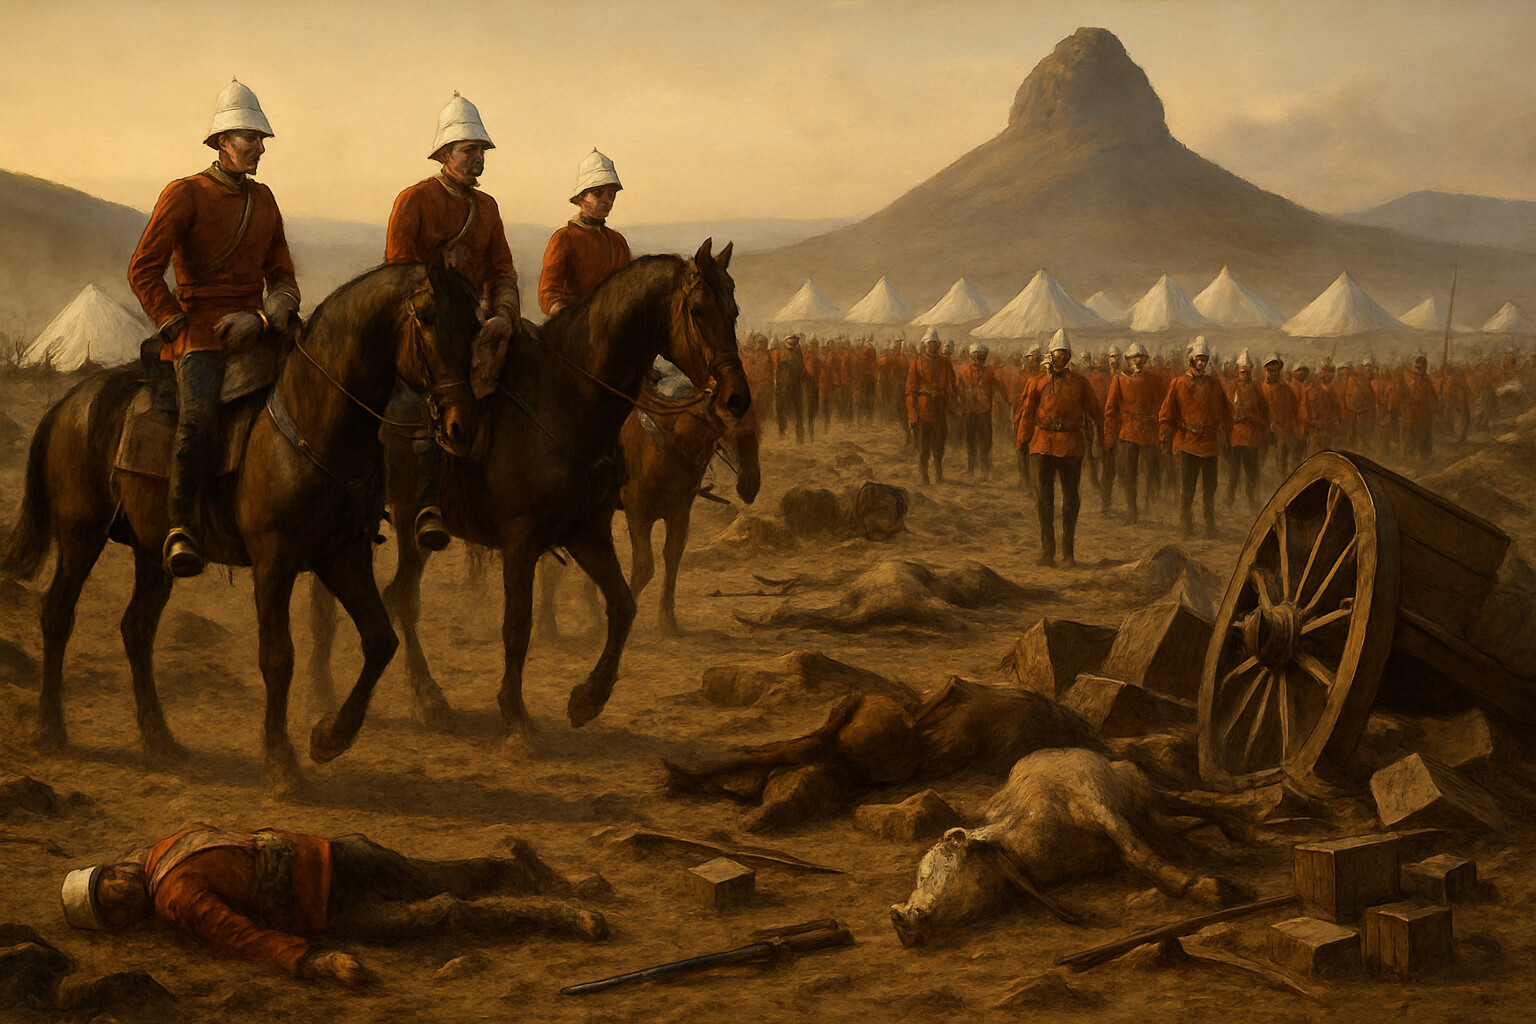
Isandlwana is not subtle terrain. The sphinx-shaped rock rises about 300 feet from a broad plain in what is now the KwaZulu-Natal province of South Africa. To the east and southeast, the ground falls away toward the Mangeni valley. To the northwest, a saddle connects the rock to a low plateau called the Nqutu. In January, this is high summer in the Southern Hemisphere — long days, intense light, grass long enough to conceal movement, and the occasional afternoon thunderstorm sweeping in from the northeast.
The camp was strung out along the western and southern base of the rock, tents arranged by unit in company streets. It occupied roughly a mile and a half of frontage. The track from Rorke's Drift — the column's lifeline — approached from the west. Pickets were pushed out to the northeast toward the plateau, but the plateau itself was broken country, cut through with dongas — dry watercourses — and folds that could hide large bodies of men.
On 21 January, a mounted patrol under Major John Dartnell of the Natal Mounted Police made contact with a substantial Zulu force in the hills southeast of the camp. Dartnell sent word to Chelmsford, who was already growing frustrated at his inability to locate the main Zulu army. The message arrived during the night. By dawn on 22 January, Chelmsford had decided: he would take the bulk of his fighting strength out of camp, march to reinforce Dartnell, and force the decisive engagement he had been seeking. He departed at approximately 4:30 a.m., taking with him the 2/24th, the mounted men, and most of the NNC — leaving behind roughly 1,700 men under the command of the column's second-in-command, Brevet Lieutenant-Colonel Henry Pulleine of the 1/24th.
Pulleine's orders were to defend the camp.
---
**The Garrison**
The force Pulleine commanded was substantial on paper. He had six companies of the 1/24th — roughly 400 British regulars armed with the Martini-Henry rifle, one of the finest infantry weapons of its era. He had artillery under Lieutenant Henry Curling, who retained command of two seven-pounder mountain guns after Lieutenant-Colonel Arthur Harness departed with Chelmsford. He had approximately 200 men of the 2/24th who had not marched out. He had Natal Native Contingent companies left behind. And late in the morning, he received reinforcement: Brevet Lieutenant-Colonel Anthony Durnford arrived at the camp with approximately 500 additional men, primarily NNC infantry and mounted Natal Native Horse.
Durnford was a Royal Engineer officer with long South African experience. He was senior to Pulleine, and his arrival created an immediate command ambiguity. The question of who commanded the camp's defense on 22 January 1879 — and whether the decisions made were Pulleine's or Durnford's or a result of their failure to coordinate — became one of the most contentious issues in the subsequent inquiry. What is documented is the outcome of those decisions.
Durnford, characteristically aggressive, declined to consolidate behind a defensive perimeter. When reports came in that Zulu were massing on the Nqutu plateau, he took his mounted Natal Native Horse northeast to probe and, if possible, check any advance. Pulleine extended the infantry line north and northeast of the camp. The defensive frontage grew. The companies spread thin.
---
**The Martini-Henry and the Mathematics of Fire**
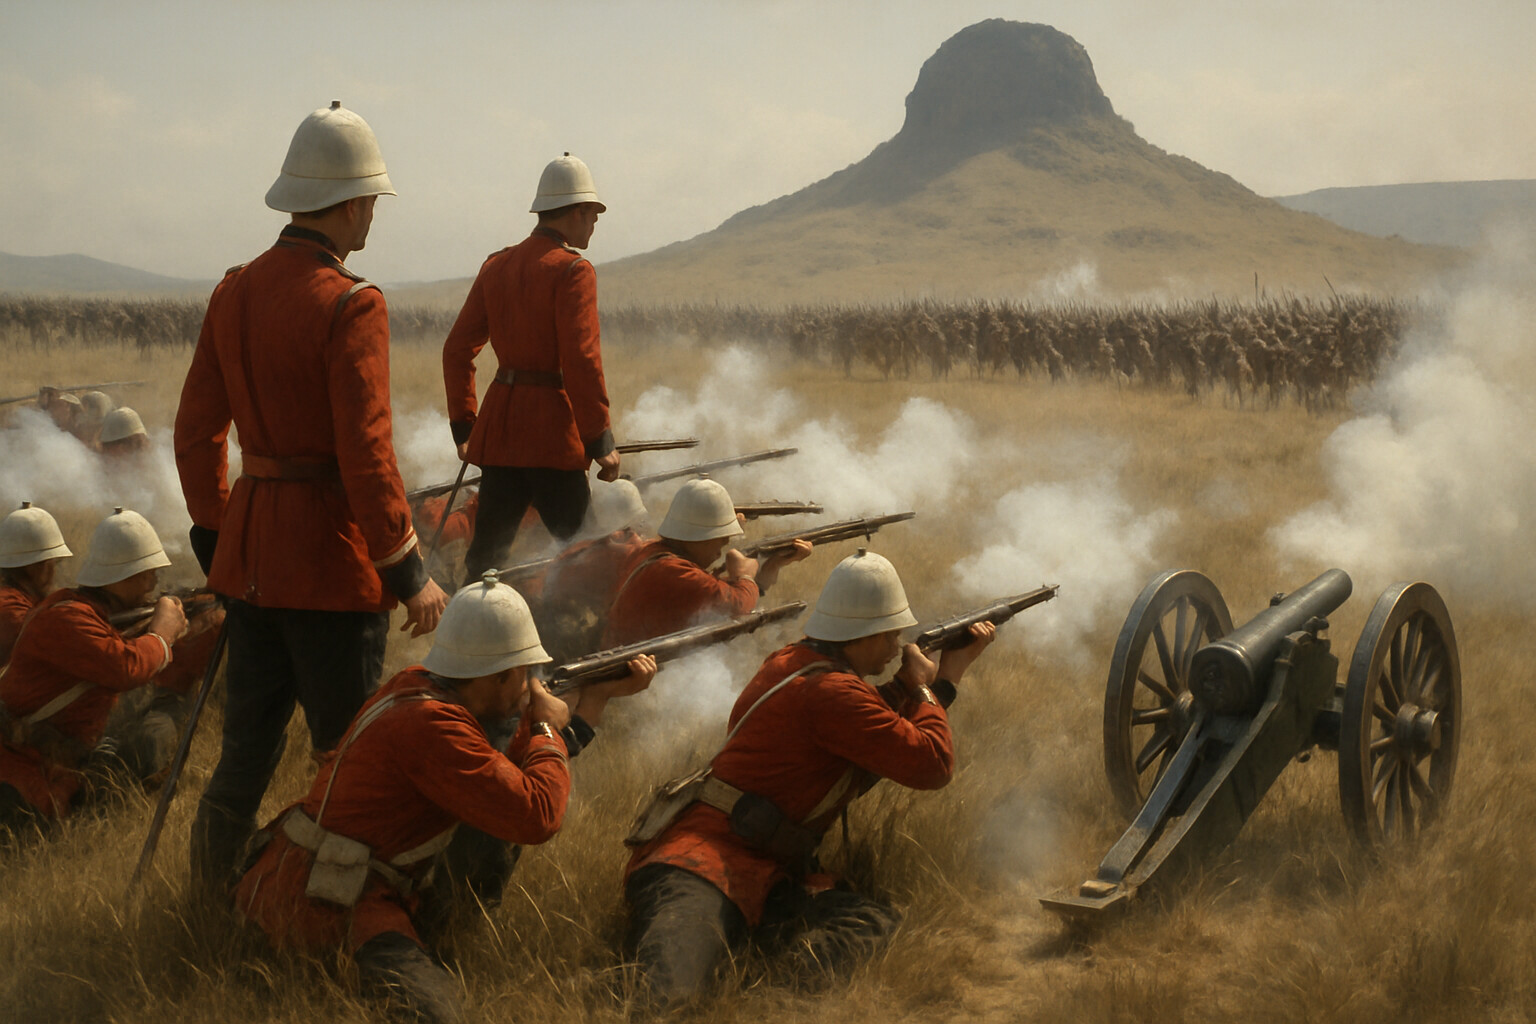
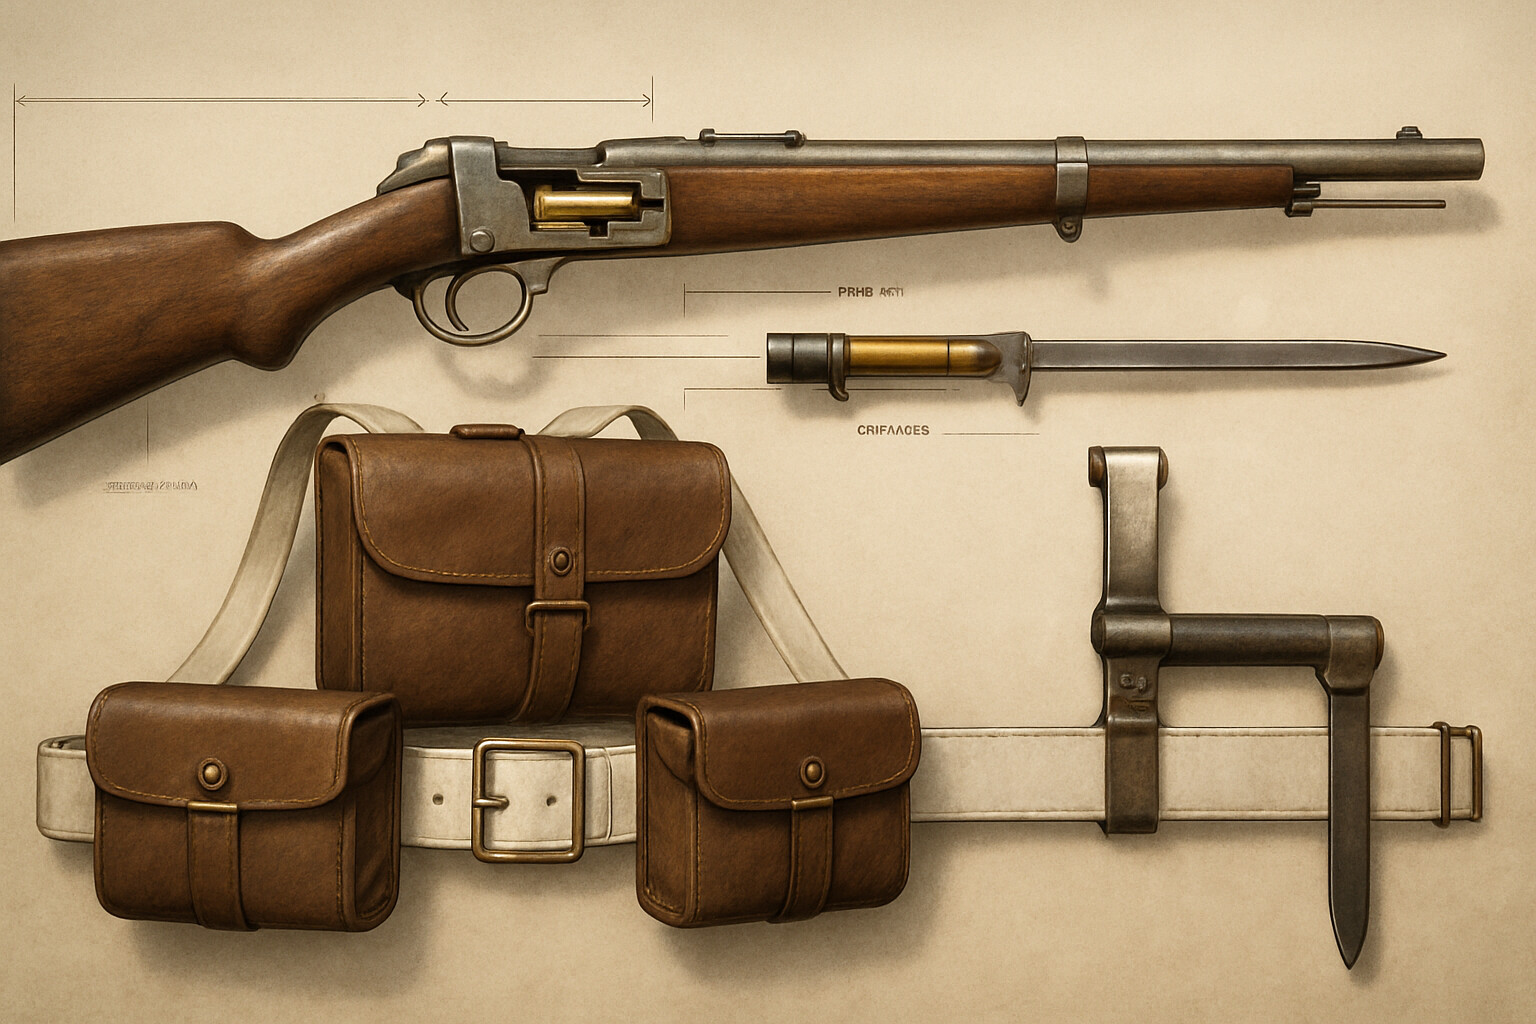
The British soldier of 1879 carried the Martini-Henry Mark II rifle, a single-shot breech-loading weapon that fired a .450-caliber lead bullet from a drawn brass cartridge. Adopted by the British Army in 1871, it replaced the earlier Snider-Enfield conversion and represented a significant advance in infantry firepower. The Martini-Henry was accurate to 400 yards in trained hands, and its heavy bullet was lethal at considerably greater range. The standard infantry load was seventy rounds per man in the field pouches, with additional ammunition in the battalion reserve boxes.
On paper, six companies of infantry armed with Martini-Henrys — perhaps 400 rifles — could generate sustained, accurate fire sufficient to stop almost any frontal assault. The tactical assumption behind British colonial doctrine of the period was precisely this: disciplined volley fire from a steady line, with the bayonet as the final argument, would defeat any indigenous army attempting a mass charge. The formula had worked in India, in West Africa, and against the Xhosa. Against a Zulu impi attacking from multiple directions simultaneously across open country, it would prove incomplete.
The ammunition question became a point of bitter controversy after the battle. Reserve boxes were secured with screws and copper straps, and some survivor accounts — given weeks or months after the engagement — describe difficulties obtaining resupply as the firing intensified, whether from the physical challenge of opening boxes under pressure, the breakdown of the supply chain in a deteriorating situation, or other causes. This claim appears in some accounts and is absent from others. Historians including Lt Col Mike Snook have argued it was a material factor in the collapse; others are unconvinced. The precise role of ammunition supply in the defeat remains actively contested and should be treated as unresolved. What is documented is that the battle ended with British positions overrun, not with British defenders running dry — though the two are not mutually exclusive.
---
**The Morning: Contact and Escalation**
Around 7:30 a.m., a report reached Pulleine that large numbers of Zulu were moving on the plateau. He sent a message to Chelmsford: 'Report just come in that the Zulus are advancing in force from the left front of camp.' This message — one of the few direct communications from the camp that survives — has been scrutinized closely. Its tone is informational rather than urgent. At that hour, the situation was still developing.
At approximately 11:00 a.m., Lieutenant Charles Raw of the Natal Native Horse, scouting on the plateau with a small party, crested a rise and looked down into a massive donga. In it, sitting in near-silence, was the main Zulu army.
The iMpi — estimated by most subsequent historians at between 20,000 and 24,000 warriors — had crossed onto the Nqutu plateau the previous day under the command of Ntshingwayo kaMahole Khoza, one of Cetshwayo's most experienced commanders, with Mavumengwana kaNdlela Ntuli as co-commander. Their intention had been to attack on 23 January, when conditions would be more favorable and their preparations complete. Raw's stumbling discovery forced their hand. The impondo zankomo — the chest and horns — began to move.
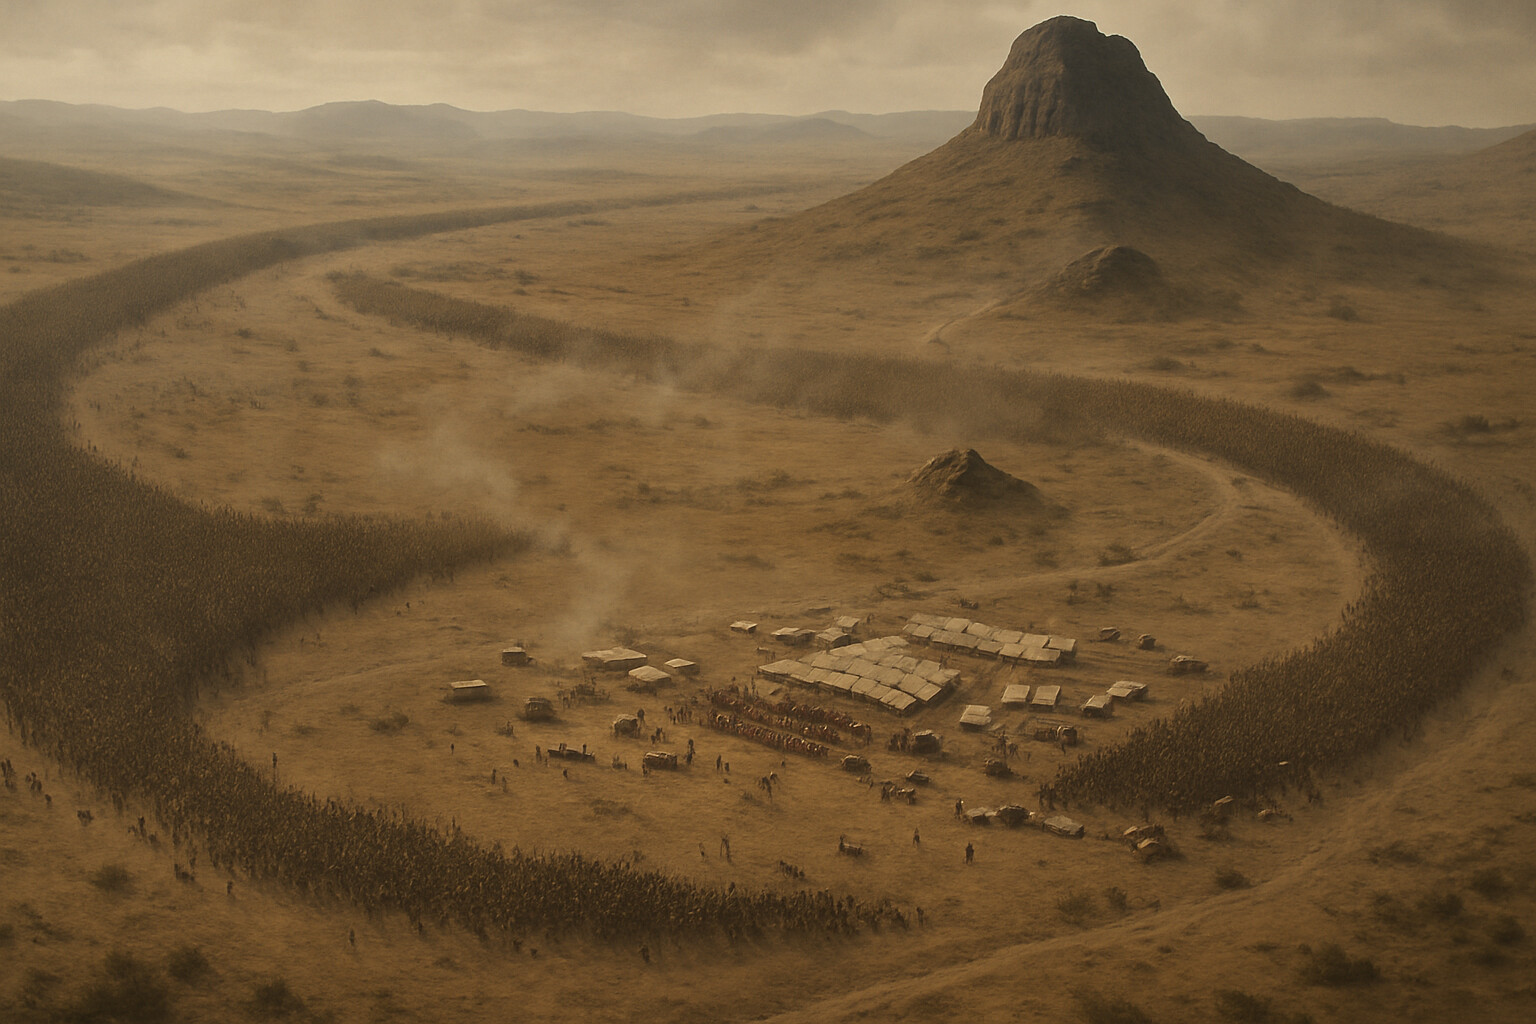
Raw's men fired into the leading formations and fell back toward the camp, pursued by the Zulu right horn. The right horn swept around and to the north in a great arc toward the camp's rear. The chest came straight down the slope from the plateau. The left horn curved south and then west, aiming for the road to Rorke's Drift — the camp's only line of retreat.
The camp's defenders had perhaps twenty to thirty minutes from the time the alarm was raised to the time the Zulu were within rifle range.
---
**The Battle: A Systematic Collapse**
Pulleine deployed his companies in a line roughly a mile and a half north and northwest of the camp. The companies of the 1/24th extended across the front, with Durnford's mounted men on the right flank to the north. The two seven-pounders were positioned on the neck between the camp and the plateau approach.
The initial phase went as British doctrine intended. The Martini-Henry volleys checked the advance of the Zulu chest at range. The guns fired case shot, then common shell. The NNC companies, positioned in front of and alongside the British regulars, contributed fire. For perhaps thirty to forty-five minutes — survivor accounts vary — the British line held. Zulu casualties were heavy at this stage; the open ground offered little cover, and the Martini-Henry's stopping power was real.
But the mathematics were wrong. The impondo zankomo was not a frontal charge. The left horn, moving fast and low through the broken ground south of the camp, reached the road to Rorke's Drift and cut it. The right horn swept around the northern end of the line, toward the camp's rear. Durnford's mounted men, who had ridden north to check the right horn's advance, were pressed back relentlessly. His ammunition ran low. He pulled back to a donga near the camp's eastern edge and formed a firing line — he and his men held there for a time, covering the withdrawal of men from the north, before they were overwhelmed.
As the flanks bent, the 1/24th companies began receiving fire from multiple directions. The NNC, less well-armed — many carried only assegais and a smattering of percussion muskets — began to give way. Their withdrawal exposed the flanks of the British companies. Pulleine sent runners to Chelmsford; the messages either never arrived or arrived too late to matter.
Around 1:00 p.m. — reconstruction from this point depends heavily on survivor accounts given weeks or months after the battle — the line broke. It may have broken on the right first, where the northern horn had reached the camp perimeter. It may have broken in the center as Zulu warriors pressed through gaps left by the retreating NNC. What is agreed is that once the line broke, the battle became a series of last stands.
The 1/24th companies did not rout in disorder. The evidence — from survivors and from the positions in which bodies were found in the days afterward — suggests that most companies withdrew fighting, maintaining some cohesion until they were physically surrounded. Small groups of redcoats, backs to the rock of Isandlwana or to wagons, continued to fire until they could not. Curling attempted to limber up and withdraw the guns; neither piece reached safety.
By approximately 1:30 p.m. — the timing is approximate, anchored partly by a solar eclipse that witnesses on both sides later recalled — organized British resistance at Isandlwana had effectively ended. The camp was in Zulu hands.
---
**Durnford's End and the Fugitives' Trail**
Anthony Durnford's last stand in the donga east of the camp has been reconstructed from physical evidence and from the accounts of a small number of survivors who passed near his position. No British officer present at the end of that stand survived to give a direct account. His body was found there after the battle, identifiable by a distinctive ring. He had not fled. Whether his aggressive forward movement earlier in the day contributed materially to the disaster — a question Chelmsford's subsequent court of inquiry pursued with considerable energy, conveniently shifting blame toward a dead officer — remains a matter of genuine historical debate. Historians including Ian Knight and John Laband have argued that Chelmsford's own decisions, particularly the failure to entrench and the division of the column, were the primary causal factors.
Some men did escape. The road south to Rorke's Drift was cut, but a narrow track along the Buffalo River offered an alternative. Estimates of how many survivors reached and crossed the river vary across sources; a commonly cited range is roughly 55 to 60 men, though no definitive roll exists. Among them, according to accounts from the period, were Lieutenants Teignmouth Melvill and Nevill Coghill of the 1/24th, who were carrying the Queen's Colour of the battalion. Both were killed at or near the river crossing. Their bodies were found the following day. The Colour was recovered from the river shortly after. Both officers were posthumously awarded the Victoria Cross in 1907 — among the first posthumous VC awards made by the British Crown — for their attempt to save the Colour.
Most who attempted the flight to the river were caught on the plain before they reached it. The bodies found in the days after the battle, scattered across miles of veld, document the pursuit.
---
**Chelmsford's Return**
Chelmsford received fragmentary, confusing messages during the morning. The ambiguity of early reports, combined with his conviction that the main Zulu army was with Dartnell southeast of the camp, led him to discount the warnings. He did not hurry back. When the scale of the catastrophe became undeniable, he turned the column around — but by the time he reached Isandlwana in the late afternoon, it was a scene of total ruin.
The tents were still standing. The Zulu, following custom, had not burned the camp, though they had thoroughly looted it. The bodies of the British and colonial dead lay where they had fallen. The vast majority had been disemboweled in accordance with Zulu practice — a custom connected to beliefs about releasing the spirit of the slain and understood by Zulu scholars in that context, whatever the shock it produced in British observers. The supply wagons had been overturned or ransacked. Horses, oxen, and mules were dead or driven off.
Chelmsford could not stay the night at Isandlwana. His force had no supplies and no ammunition reserve. He withdrew to Rorke's Drift, where he expected to find another ruin — only to discover that the small garrison there had held through the night against a Zulu force of some 3,000 to 4,000 warriors. The Battle of Rorke's Drift, fought while Chelmsford was still in the field, produced eleven Victoria Crosses and, in the Victorian and subsequent public imagination, partially overshadowed the catastrophe that preceded it.
---
**The Cost**
The British and colonial losses at Isandlwana were severe by any measure. Killed: approximately 1,329 men, including roughly 579 British officers and men of the 24th Regiment and other regular units, approximately 67 officers and men of the colonial units, and some 471 members of the Natal Native Contingent. The precise figures vary slightly across sources, reflecting the difficulty of accounting for NNC men whose rolls were imperfect.
No reliable figure for Zulu losses was ever established. Estimates range from several hundred to over a thousand killed, with the heaviest casualties coming in the open-ground approach before the British line collapsed. Zulu custom did not produce formal casualty records accessible to British investigators, and British estimates made after the battle are of uncertain accuracy.
Beyond the numbers: at Isandlwana, the British Army lost its camp entire. Six artillery pieces were captured or destroyed. Over 1,000 Martini-Henry rifles, together with vast quantities of ammunition, fell into Zulu hands. The supply train — food, medical stores, equipment — was looted or destroyed. The central column of Chelmsford's invasion was functionally annihilated as an offensive force.
The 1st Battalion, 24th Regiment of Foot lost more men killed in a single action than any British regular infantry battalion since the Indian Mutiny. The 2nd Battalion, which had marched out with Chelmsford and was therefore mostly spared the camp's destruction, would go on to hold the army together and eventually participate in the final campaign that ended the war. The regiment, which became the South Wales Borderers after the Childers Reforms of 1881, carries the memory of Isandlwana in its regimental history to this day.
---
**Inquiry, Blame, and the Historical Record**
Chelmsford survived the battle physically. He did not survive politically, though the process took months. In London, the government was stunned. The defeat arrived at a moment when Disraeli's ministry was already managing multiple imperial crises, and the loss of an entire column to a force armed primarily with spears — however imprecise that characterization was — was a public shock. Queen Victoria's private letters document her alarm. Chelmsford's dispatches, in which he emphasized Durnford's actions and the unexpectedness of the Zulu attack, were scrutinized with increasing skepticism.
Chelmsford's court of inquiry into the disaster, convened in February 1879, was dominated by officers serving under his command and was widely criticized as insufficiently independent. It placed considerable blame on Durnford — who was dead and could not respond. The inquiry did not ultimately resolve questions about the ammunition supply breakdown, the failure to entrench, or the decision to divide the column on the morning of 22 January.
Chelmsford was eventually superseded by General Sir Garnet Wolseley, sent out to take command in June 1879. Before Wolseley arrived, Chelmsford fought the Battle of Ulundi on 4 July 1879, defeating the Zulu army in a square formation — exactly the tactic critics said he should have used from the beginning — and effectively ending organized Zulu resistance. He returned to England having, in a technical sense, completed his mission. He was never given another field command.
The scholarly consensus, as reflected in the major modern histories of the battle — particularly Ian Knight's comprehensive works, John Laband's studies of the Zulu kingdom, and the earlier work of Donald Morris in 'The Washing of the Spears' (a narrative classic whose details have been partially revised by later scholarship) — is that responsibility for Isandlwana rested primarily with Chelmsford himself. His failure to fortify the camp, his division of his force based on faulty intelligence, his departure with the bulk of the mobile combat power, and his initial dismissal of warning messages created the conditions for the disaster. Pulleine and Durnford were left in an untenable position with inadequate time to correct it.
Cetshwayo, for his part, had not ordered a direct assault on the British camp. Ntshingwayo and Mavumengwana acted when Raw's patrol stumbled onto their position. The battle was triggered by accident — but the Zulu army was present because Cetshwayo had mobilized in response to an ultimatum designed to provoke exactly this confrontation, and the iMpi performed with devastating effectiveness when the moment came.
---
**The Zulu Weapons and the Warrior**
The Zulu warrior of 1879 was not an improvised opponent. The amabutho system produced men who trained for war from young adulthood, who carried the iklwa — a short-handled, broad-bladed stabbing spear developed under Shaka kaSenzangakhona in the early nineteenth century — as the primary close-quarters weapon, along with a large cowhide shield. The isijula, a lighter throwing spear, was also carried for use at range. By 1879, many Zulu warriors also carried firearms: trade guns, muskets, and some modern rifles acquired through various channels. These were used with varying effectiveness; Zulu fire tactics were not as disciplined as their close-quarters assault, and the firearms in their possession were of mixed quality.
The speed of the Zulu advance was the factor that most confounded British expectations. The impondo zankomo, once set in motion, could cover ground at a pace that outran the assumptions of British tactical doctrine. An infantry line designed to deliver fire at 400 yards assumed time to deliver that fire. When an assaulting formation crossed open ground under fire faster than the defense could reload and re-aim in sufficient volume across a mile and a half of front, the mathematical advantage of the Martini-Henry was partially negated.
The chest absorbed fire and died in the approach, but those casualties bought the flanking horns the time to reach the camp's rear. Once the horns closed, the battle was over.
---
**Legacy and Memory**
Isandlwana has not been forgotten, and the reasons it has not been forgotten are worth considering carefully.
For the British Army, it became a textbook case in the dangers of overconfidence, inadequate field fortification, and divided command. Every major military analysis of the battle from the 1880s onward — in staff college lectures, in regimental histories, and eventually in academic military history — identified the same failures. The lesson was absorbed at some cost: subsequent colonial operations in Africa showed greater attention to camp security and greater respect for indigenous military capability, though the institutional tendency toward underestimation took decades to fade.
For the Zulu, Isandlwana remains a source of remembered pride. The battle demonstrated the effectiveness of the amabutho system, the quality of Ntshingwayo's generalship, and the discipline of warriors who crossed open ground under heavy rifle fire to close with an enemy. Cetshwayo's kingdom did not ultimately survive: Ulundi came six months later, the king was captured, and the Zulu political structure was broken apart by British administrative reorganization. But Isandlwana stands in Zulu historical memory as the day the kingdom fought at its peak.
The battlefield today is a protected heritage site in KwaZulu-Natal. White cairns mark where the dead fell across the plain. The sphinx-shaped rock still dominates the landscape. The dongas where Durnford's men made their stand are still there. The saddle between the rock and the plateau, where the guns were positioned, can still be walked.
On the morning of 22 January 1879, Chelmsford rode away from a camp he believed was secure. He was gone by 4:30 a.m. The camp was overrun before early afternoon. What happened in the hours between — the decisions made, the warnings dismissed, the line extended too thin across too much ground — remains one of the most analyzed military catastrophes in British imperial history, precisely because it should not have happened, and yet did.