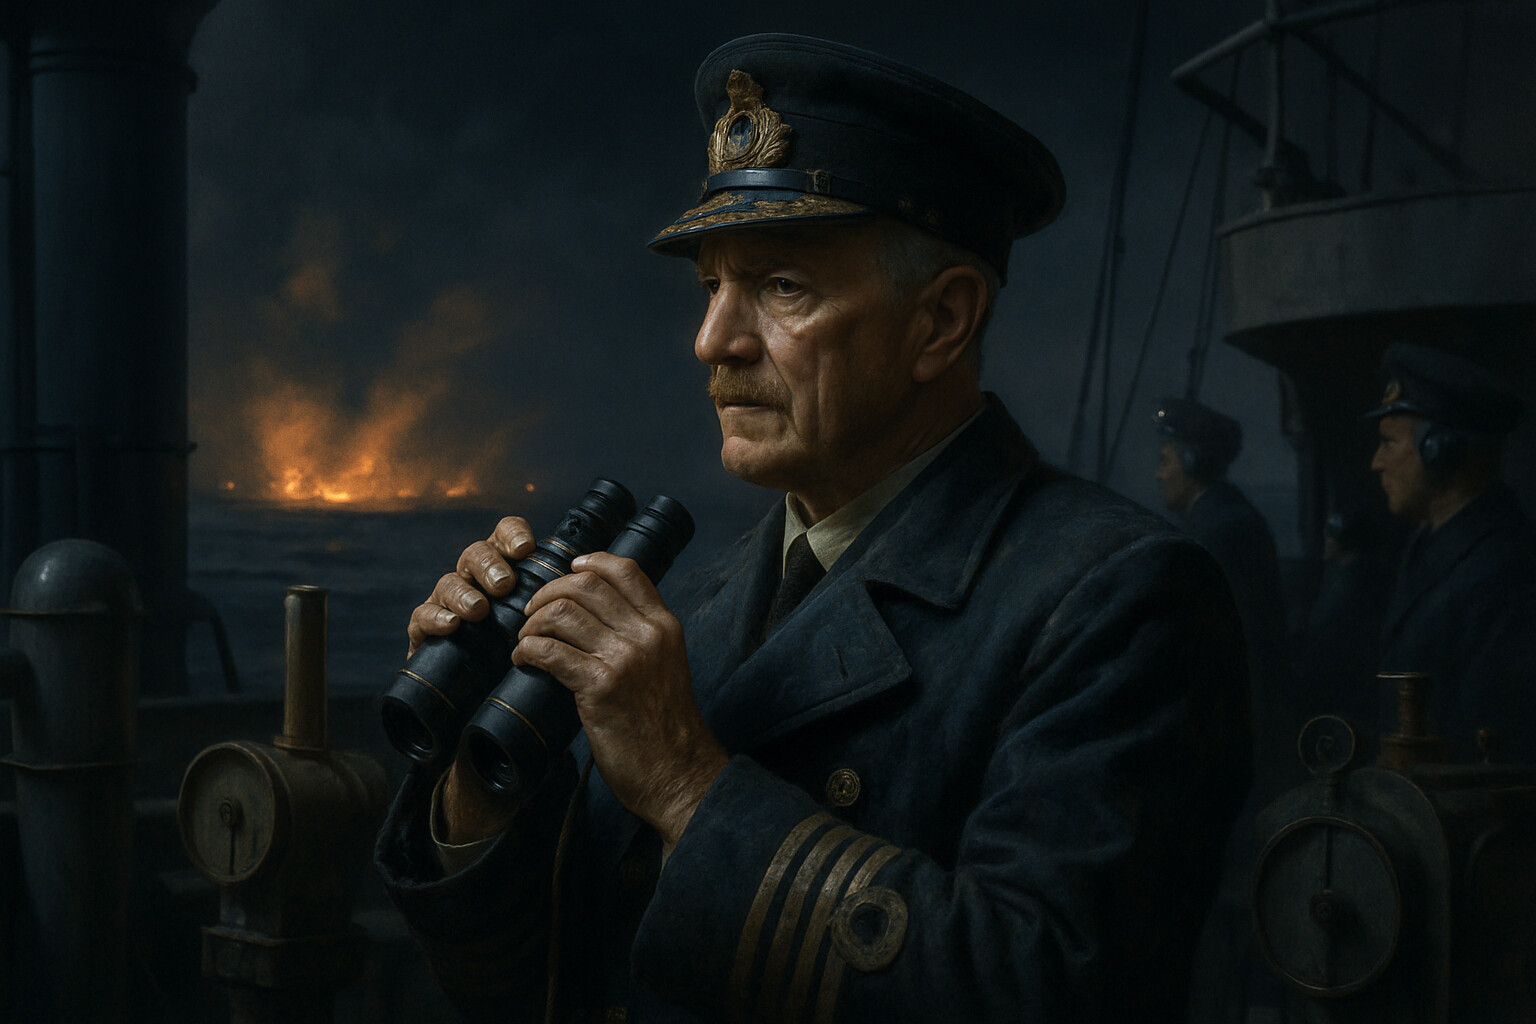
The smoke drifted across the North Sea in long, low ribbons. On the bridge of HMS Warwick, Vice-Admiral Roger Keyes could feel the operation unraveling. It was the early hours of 11 April 1918, and after months of planning, rehearsal, and false starts, the wind had shifted at the worst possible moment—pushing the artificial smokescreen away from the Belgian coast and leaving his attack force exposed in the moonlight. Keyes gave the order to abort. He turned the fleet around.
He would try again.
Eleven days later, on the night of 22–23 April 1918—St. George's Day—Keyes brought his ships back to Zeebrugge. This time there would be no turning back.
---
To understand why a British admiral would stake so many ships and so many lives on a plan to stuff a harbor entrance with concrete-filled cruisers, it is necessary to understand what Zeebrugge had become by the spring of 1918.
The Belgian port sat on the North Sea coast roughly fifteen miles north of Bruges. When Germany occupied Belgium in 1914, it inherited a canal network that engineers quickly recognized as strategically valuable. By dredging the canal connecting Bruges to the coast, the Germans created an inland submarine base that was largely beyond the reach of Royal Navy surface guns. Bruges, ten miles from the sea, housed the submarines and torpedo boats in hardened facilities. Zeebrugge was the canal's northern outlet; Ostend, twelve miles to the southwest, was the southern one. Together they formed the exit points of what the British called the Bruges Pocket—a sheltered triangle through which German destroyers raided the English Channel and U-boats slipped out to prey on Allied shipping.
The scale of the problem was not abstract. By 1917, German U-boats had brought Britain to the edge of a supply crisis, sinking merchant tonnage faster than Allied yards could replace it. The Admiralty introduced convoys in May 1917, which helped, but the Flanders Flotilla based at Bruges remained a persistent threat to Channel traffic and coastal convoys. Closing—or even seriously disrupting—the Bruges Pocket was a strategic priority.
Earlier efforts had failed. Aerial bombing damaged dockyard facilities but could not close a waterway. Coastal bombardment proved largely ineffective against hardened infrastructure. What was needed, British planners concluded, was a physical obstruction placed directly in the canal entrance at Zeebrugge.
The man who made that plan operational was Roger John Brownlow Keyes.
---
Keyes was forty-five years old in 1918, a career naval officer who had built his reputation on aggressive action. Born in 1872 in what is now Pakistan, the son of a soldier, he entered the Royal Navy as a teenager and compiled a service record marked by a consistent preference for the sharp end. He had served in China during the Boxer Rebellion, commanded submarines in the early years of that branch, and distinguished himself—though not without controversy—at Gallipoli in 1915, where he pressed for renewed attempts to force the Dardanelles long after the operation had stalled. By 1918 he was serving as Commander of the Dover Patrol, responsible for defending the English Channel from German surface raiders and submarines.
In August 1917 the Admiralty began serious planning for a blocking operation against the Bruges canal exits. Keyes was given command of the enterprise in January 1918. He threw himself into preparation with the intensity his subordinates had come to expect. The plan he developed required precise timing across dozens of vessels yet depended on conditions—weather, tide, wind direction—that could not be controlled.
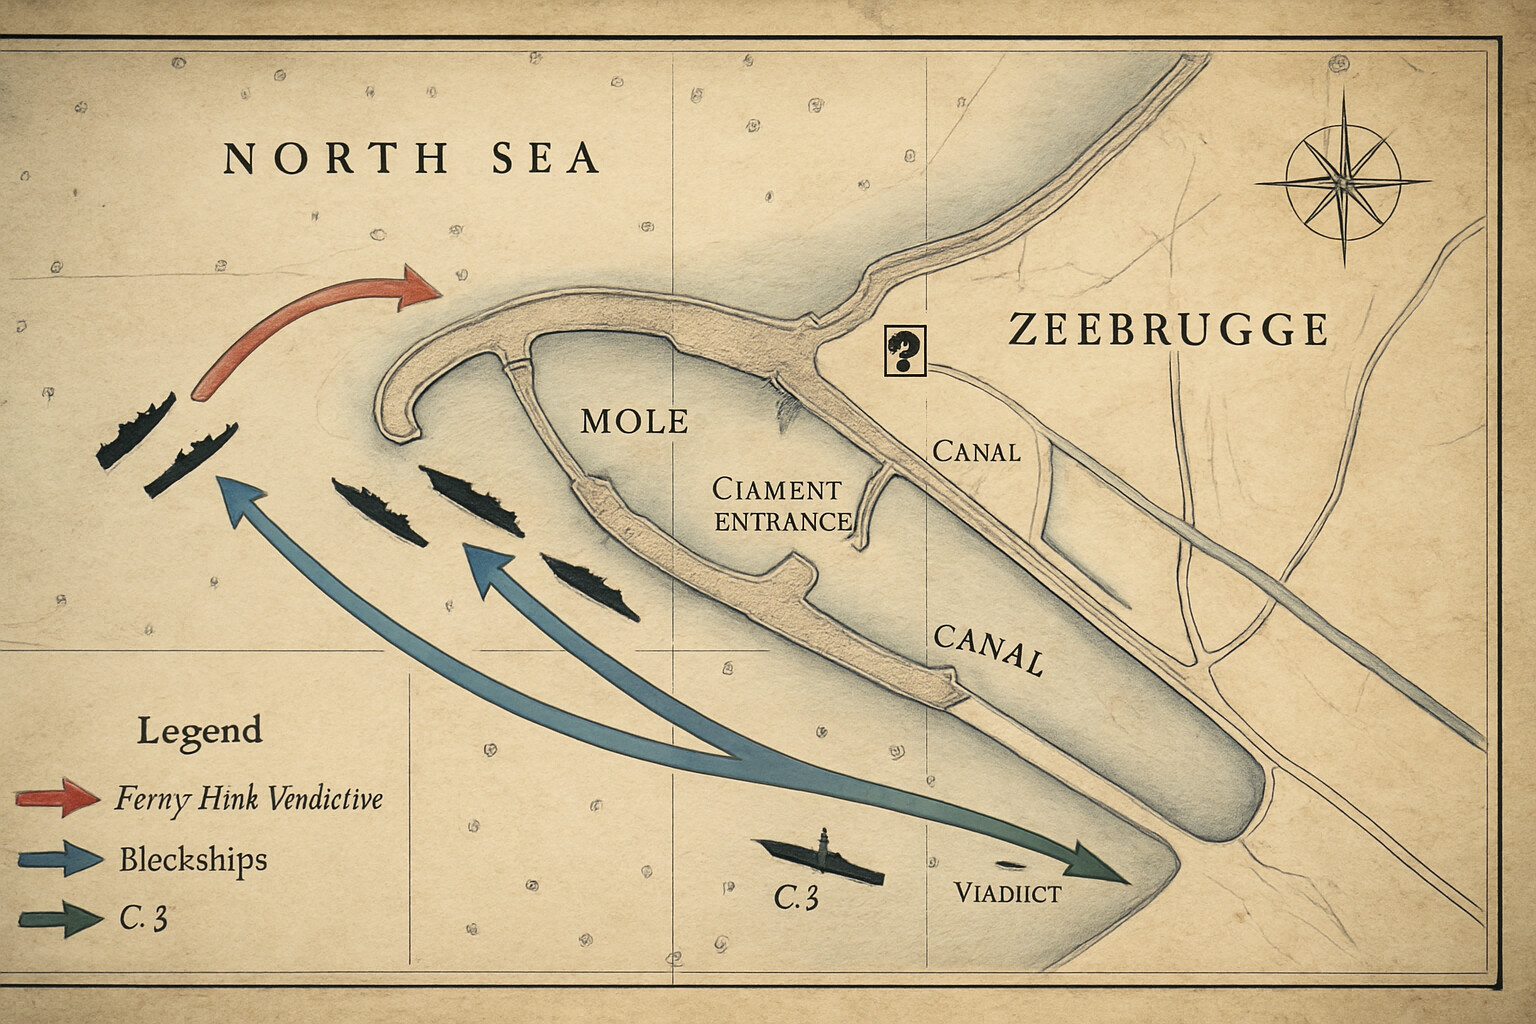
The essential idea was this: old cruisers, stripped of their armament and packed with concrete, would be sailed into the canal entrance at Zeebrugge and scuttled in the channel. If properly placed, they would block the passage of submarines and destroyers from Bruges to the sea. A simultaneous assault at Ostend would employ the same method against the southern outlet.
The complication was the Zeebrugge Mole.
The Mole was the dominant geographic feature of the harbor—a massive curved stone breakwater stretching roughly a mile and a quarter into the North Sea, connected to the shore by a steel-girder viaduct. The Germans had fortified it heavily. At its seaward end sat a lighthouse and a battery of heavy guns. Along its length were anti-aircraft positions, artillery pieces, machine-gun emplacements, a seaplane hangar, a destroyer shelter, and garrisons of naval infantry. Any blockship approaching the canal entrance would have to pass within range of those guns. The guns had to be suppressed, or at least distracted, long enough for the blockships to get through.
Keyes's solution was the Mole assault itself: a direct landing by Royal Marines and Royal Navy seamen on the Mole, to be carried out by HMS Vindictive—an Arrogant-class cruiser extensively modified for the task—and two Mersey ferries, Iris II and Daffodil, similarly converted. The landing parties would storm the Mole, engage the German defenders, destroy what they could, and—critically—hold the garrison's attention while the blockships made their approach. The assault on the Mole was always understood to be a diversion. It was also, by any measure, the most dangerous assignment in the plan.
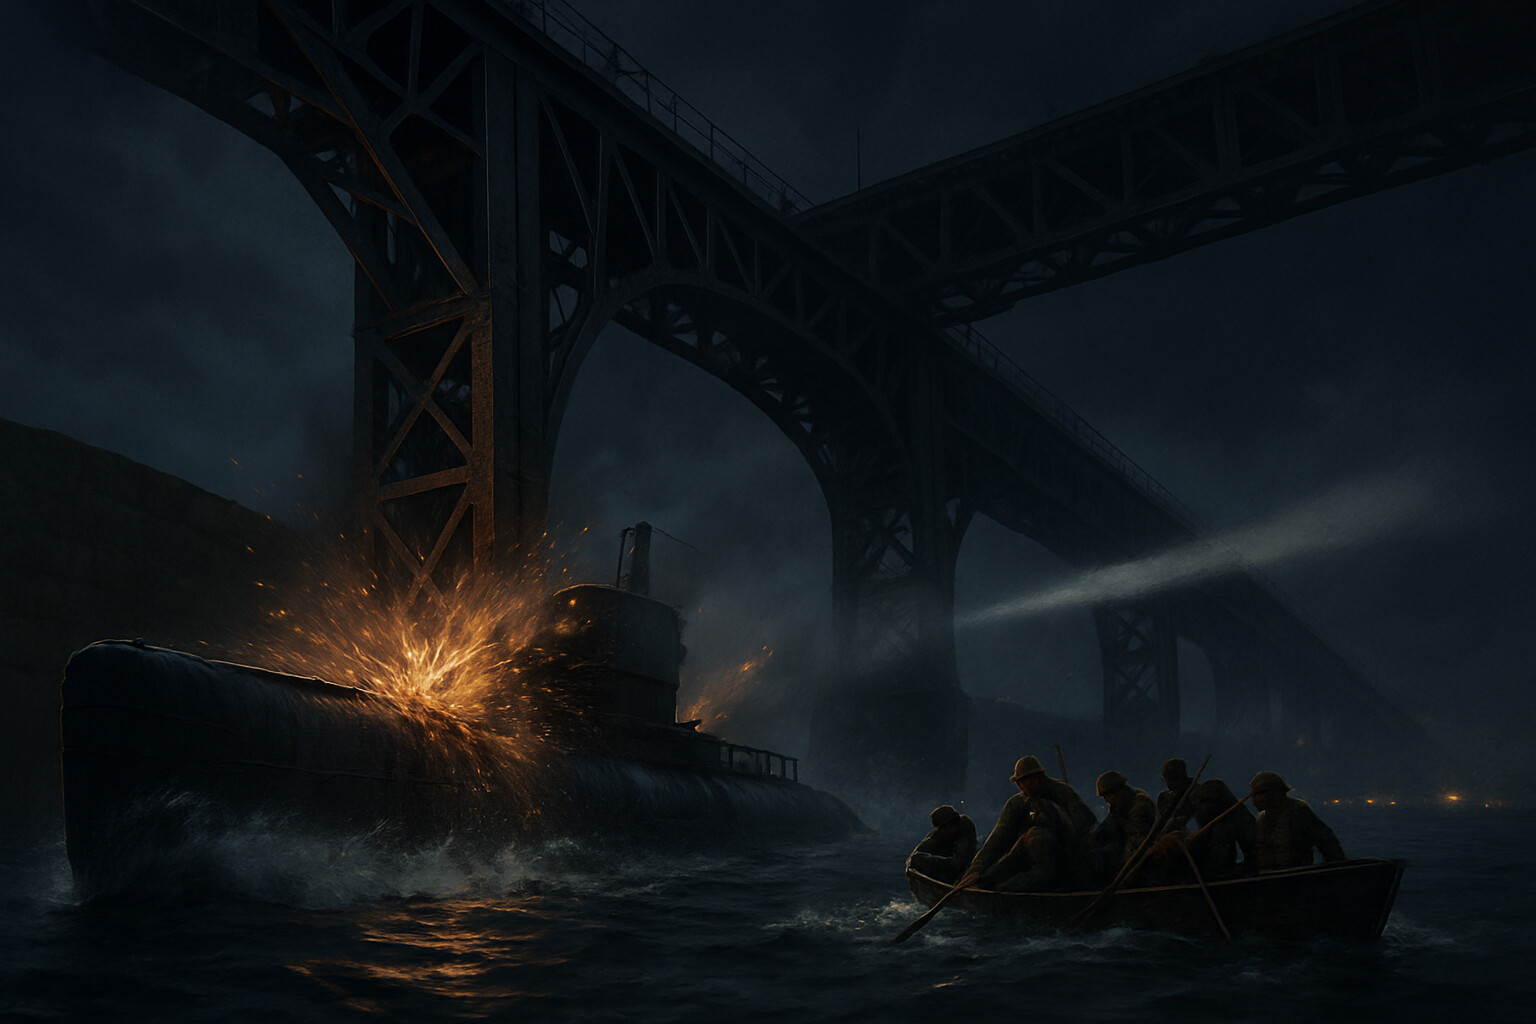
Additionally, a force of old submarines packed with explosives would be driven into the steel-girder viaduct connecting the Mole to the shore, blowing a gap in it to prevent German reinforcements from moving out along the Mole during the attack. Two submarines were allocated to this task: C1 and C3.
Volunteers were called for throughout the fleet. Popular accounts frequently state that the number of men who came forward greatly exceeded requirements, though precise figures are difficult to verify from available primary sources and this detail should be treated as tradition rather than confirmed record. What is well-documented is that specific units were selected, rehearsals were conducted at Chatham and at sea, and by April 1918 the force was as ready as intensive preparation could make it.
Then came the first attempt. On the night of 11 April, with the fleet already committed and approaching the Belgian coast, the wind shifted. The smoke that was intended to conceal the approach dissipated. To attack without it would have meant sailing into the full illumination of German star shells with no cover. Keyes aborted. He brought his ships back to harbor and began the agonizing wait for another suitable tide, another suitable wind, another suitable night.
---
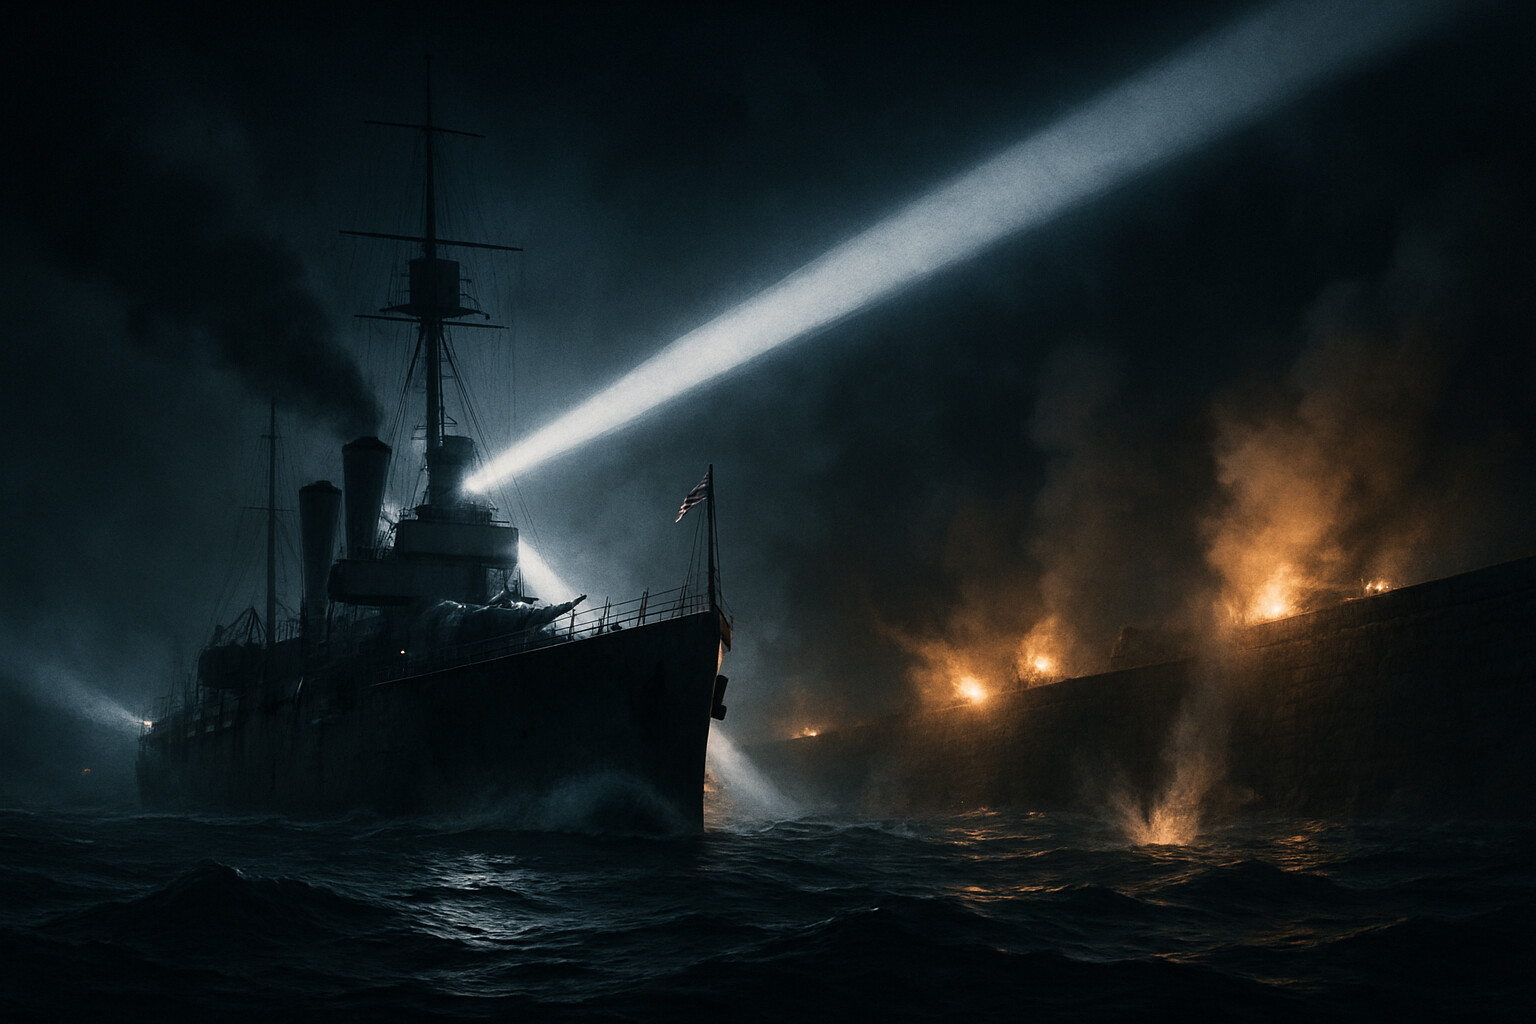
St. George's Day, 22 April 1918. The conditions were better—not perfect, but workable. The wind was from the northwest, which would carry the smoke toward the coast. There was a favorable tide. Keyes gave the order.
The force that sailed that evening was substantial: HMS Vindictive as the primary assault vessel; the ferries Iris II and Daffodil; three blockships for Zeebrugge—HMS Thetis, HMS Intrepid, and HMS Iphigenia—all former cruisers with their hulls filled with concrete; the submarines C1 and C3; and an escort and support screen of destroyers, monitors, motor launches, and coastal motor boats. Monitors—shallow-draft vessels carrying heavy naval guns—would bombard the Mole batteries from offshore. Coastal motor boats would lay the smoke and, where possible, attack with torpedoes.
The force approached the Belgian coast in darkness. Motor launches began laying the artificial smokescreen—generated by chemical means, a relatively new technique—along the intended approach path. For a time it worked. The fleet closed the distance to Zeebrugge under cover.
Then, again, the wind shifted.
At approximately 11:56 p.m.—the exact timing varies slightly across secondary sources and should be treated as a close estimate—a change in wind direction opened gaps in the smokescreen. German searchlights caught Vindictive. For several hundred yards on her final approach, the old cruiser ran through clear air, fully illuminated, while German guns on the Mole opened up at close range.
What happened to Vindictive in those minutes constituted one of the most concentrated short-range naval engagements of the war. German batteries on the Mole, now firing at a target they could see clearly, hit the cruiser repeatedly. Her upper deck was swept. Gun positions were destroyed or their crews killed. The specially constructed ramps and brows—the equipment by which landing parties were supposed to cross onto the Mole—were damaged. Senior officers positioned on the upper deck to lead the assault were cut down. Captain Arthur Carpenter, commanding Vindictive, survived. Brigadier-General Arthur Elliot, commanding the Royal Marines aboard, was wounded early in the approach.
Vindictive reached the Mole at approximately midnight, but in the confusion of smoke and shifting wind she came in roughly 340 yards north of her intended landing point—too far from the battery positions her landing parties were meant to engage. This displacement figure appears consistently in standard histories, though it should be verified against primary Admiralty after-action records. The ship ground against the Mole's stone wall in a heavy swell. Getting the brows across was a fight in itself; the gangways swung as the ship rose and fell. Men began crossing under fire.
Daffodil had been assigned to guide Vindictive into position. When Vindictive grounded short of the mark, Daffodil came alongside and pushed her against the Mole wall, holding her there for the duration of the landing—a task requiring continuous engine work against both the sea and the ship's own weight. Iris II attempted to land her own parties further north on the Mole but had severe difficulty fixing grapnels in the heavy swell and took heavy casualties in the attempt.
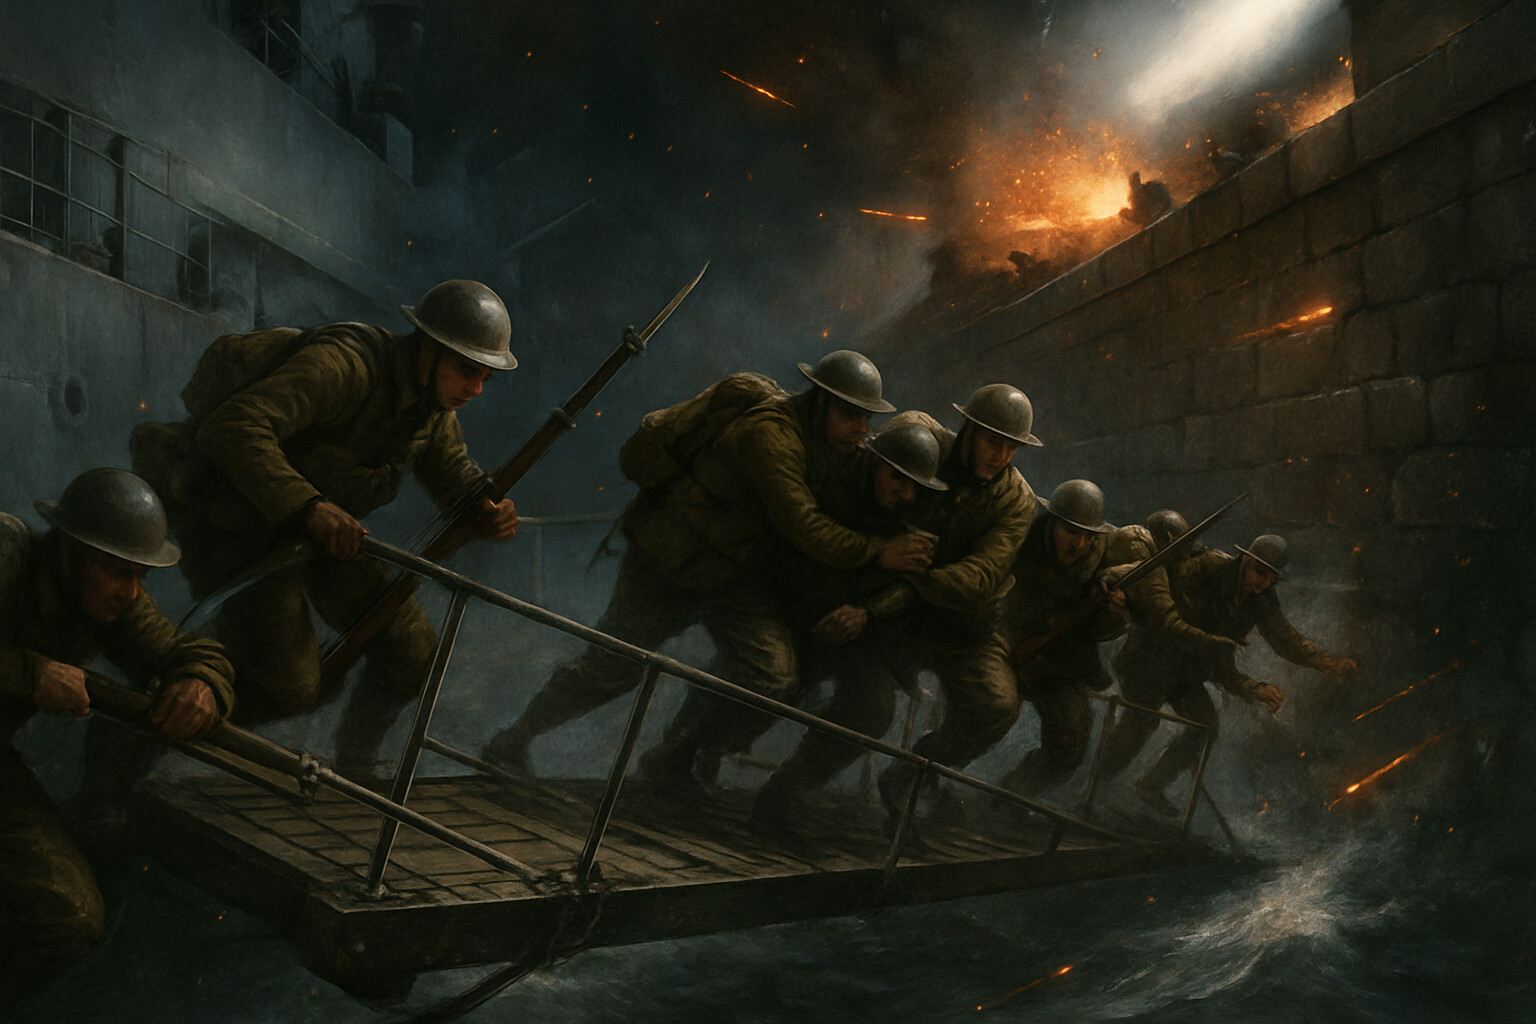
The landing parties that made it across the brows found themselves on a wide stone breakwater under direct fire from German positions further along the Mole. The plan had called for the Marines to advance toward the battery at the seaward end. The displacement from the intended landing point, combined with the fire and the physical chaos of the crossing, meant that the advance never reached those positions. Parties fought on the Mole for roughly an hour—approximately midnight to 12:50 a.m.—engaging German defenders in close-range firefights amid gun emplacements and structures. German forces on the Mole, based on the resistance the landing parties encountered, responded with discipline once the initial shock of the assault passed, though the precise composition and strength of the garrison that night requires verification against German naval records.
While the Mole fight occupied German attention—at least partially—the blockships were making their approach.
---
HMS Thetis led the three blockships toward the canal entrance. She ran into the anti-torpedo net defenses outside the harbor, became entangled, and could not reach the canal mouth before her crew scuttled her short of the intended blocking point. Her sacrifice may have helped the ships behind her by drawing fire and breaching part of the net defenses—a tactical inference consistent with the record, though not definitively established by it.
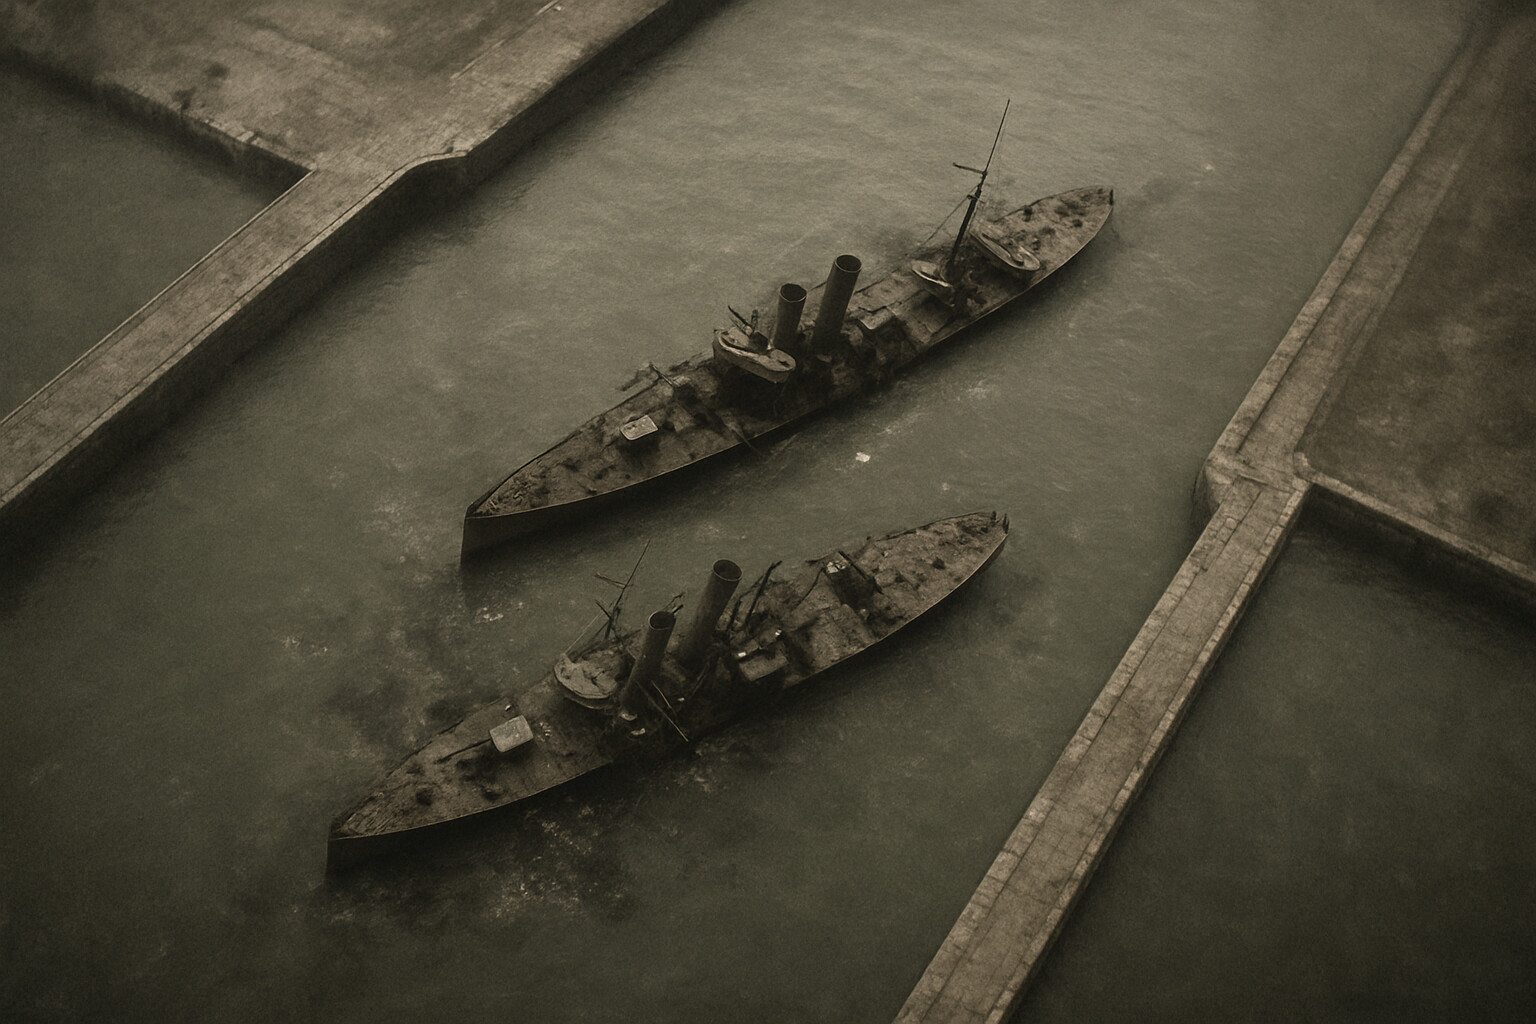
HMS Intrepid, commanded by Lieutenant Stuart Bonham-Carter, and HMS Iphigenia, commanded by Lieutenant Edward Billyard-Leake, followed close behind. Both ships penetrated the canal entrance. Under fire from German positions along the canal banks, their crews steered to positions across the channel and opened the sea-cocks, then set off explosive charges to accelerate sinking. Both ships settled in the canal entrance. The names Bonham-Carter and Billyard-Leake appear consistently in standard histories, but their specific award status should be verified against the London Gazette and Admiralty records before any decoration claim is published.
The blocking was not complete. Post-operation assessments, including aerial photography and later German reports, indicated that while the canal entrance was significantly obstructed, the ships did not form a full seal. Submarines could still move through at high water by navigating the clearance that remained around the wrecks—a fact that became apparent within days. The canal was not permanently closed.
At the same time, submarine C3 was executing its own mission. Commanded by Lieutenant Richard Sandford, C3 was driven under engine power directly into the steel latticework of the viaduct connecting the Mole to the shore. Sandford and his crew set the fuses and evacuated by small skiff under fire. The charges detonated, blowing a significant gap in the viaduct structure. Whether this fully prevented German reinforcement during the critical minutes of the assault is debated, and the record does not resolve it with certainty. The physical destruction of the viaduct section was confirmed. Sandford was wounded during the withdrawal and was awarded the Victoria Cross for the action.
At approximately 12:50 a.m. on 23 April, Keyes—observing from HMS Warwick—signaled recall. The landing parties on the Mole were brought back across the brows to Vindictive in a withdrawal that was itself costly: men crossing damaged and swaying gangways under continued German fire. Vindictive and the surviving vessels pulled away from the Mole and turned for the open sea.
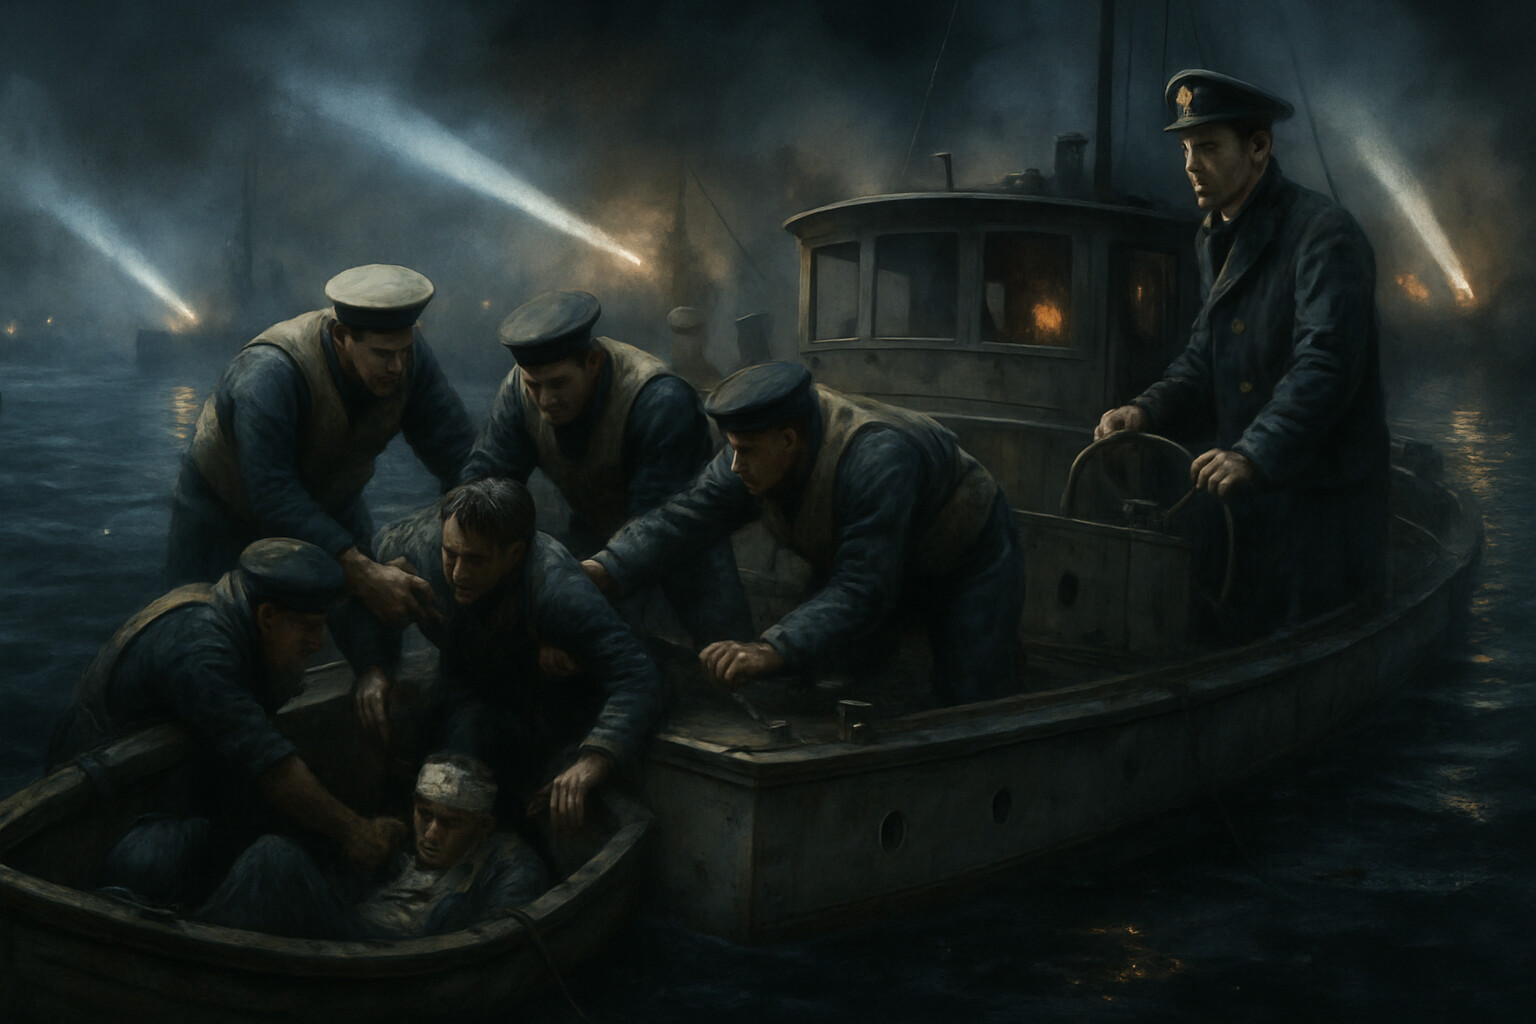
Of the vessels that had gone in, some did not return. Motor launches sent to recover blockship crews from the canal entrance operated in the most exposed waters of the harbor, under direct fire, in complete darkness broken only by searchlights and gun flashes. Several launches were lost. Others, damaged, made their way back to the fleet with wounded men aboard and bullet holes through hull and superstructure.
The simultaneous operation at Ostend was less successful. The two blockships assigned there—HMS Sirius and HMS Brilliant—were misled by a German-displaced navigational buoy and grounded short of the harbor entrance, failing to block the Ostend canal exit. A second attempt at Ostend was mounted on 9–10 May 1918; Vindictive herself, now converted to a blockship, was used in this second attack. She was scuttled in the Ostend channel, providing a partial obstruction, but the harbor was not definitively closed.
---
The human cost at Zeebrugge was significant. British casualties numbered approximately 200 killed, with a larger number wounded—precise figures vary across secondary sources and should be verified against official Admiralty casualty records before being cited as definitive. The attack force had committed hundreds of officers and ratings to an operation in which the most exposed parties—the Mole landing force, the blockship crews, the motor launch recovery parties—faced sustained fire at close range with limited ability to take cover or respond effectively.
On Vindictive alone, casualties among the upper-deck parties during the approach and landing were severe. Several senior officers positioned to lead the assault were killed or incapacitated in the first minutes of contact with the Mole's guns. The men who crossed the brows did so knowing the gangways were damaged, that the ship was moving unpredictably in the swell, and that German machine guns and artillery were firing directly at the crossing point.
For the Mole landing parties—predominantly Royal Marines—the fight on the breakwater was a grinding close-range engagement against defenders who had the advantage of prepared positions and who, after the initial shock of the assault, responded with discipline. The Marines advanced as far as conditions allowed, engaged German positions, and held the garrison's attention. Whether that attention-holding contributed decisively to the blockships' passage is a question the record does not resolve with certainty: the blockships also benefited from smoke, the confusion of the wider attack, and the division of German fire across multiple targets simultaneously.
The men in C3 carried perhaps the most clearly bounded risk: they were sailing an explosive-laden vessel into a steel structure with the intention of detonating it beneath them. Sandford's skiff evacuation under fire, and his subsequent wounding, are documented. All six crew members got away, though several were wounded. Their survival was not a foregone conclusion.
The motor launch crews who entered the harbor to recover blockship survivors worked in conditions that participant accounts describe as chaotic: harbor lights, sweeping searchlights, and fire from multiple directions, in a confined space, searching for men in the water or in small craft.
---
The Victoria Cross recommendations that followed the Zeebrugge Raid reflected both the intensity of the action and a distinctive procedural circumstance. For certain unit actions where multiple men had performed acts of valor under similar conditions, the awards were decided by ballot—a provision in the Victoria Cross warrant for situations where selecting one individual would be unjust to others who had performed equally. At Zeebrugge and Ostend combined, eight Victoria Crosses were awarded, several of them by this ballot procedure. The recipients included officers and ratings across the different elements of the operation: the Mole assault, the blockship crews, the submarine attack, and the recovery parties. The complete list of recipients, with their specific citations and the names of those awarded by ballot, should be verified against the London Gazette entries for 1918 before any formal publication.
Roger Keyes received the Knight Commander of the Bath for the operation, not the Victoria Cross—the VC being an award for personal acts of valor under fire rather than for the command and planning of an operation. His role was that of architect and commander-at-sea, present aboard Warwick throughout the night, making the decisions that held the operation together after conditions deteriorated. That the attack was launched at all on a second attempt, after the aborted first effort on 11 April, owed substantially to his persistence.
Captain Arthur Carpenter of HMS Vindictive received the Victoria Cross for his conduct during the operation. Lieutenant Richard Sandford received the Victoria Cross for the C3 viaduct attack. Other awards by ballot recognized men from the Mole storming parties and the recovery launches—an acknowledgment that in an action of that character, where groups of men had performed similar acts under the same fire, singling out individuals was both necessary by regulation and acknowledged to be imperfect.
---
How effective was the Zeebrugge Raid?
The question has been debated since the morning of 23 April 1918, when the first British aerial photographs showed the wrecks in the canal entrance. The immediate assessment, widely shared in the British press and in official Admiralty communications, was that the operation had succeeded: the U-boat base was blocked, the German threat from Flanders significantly reduced. The public presentation was triumphant—eight Victoria Crosses, a daring assault on a fortified position, the Royal Navy demonstrating it could strike the enemy's coast.
The operational reality was more qualified. German engineers were at work within days. Within weeks, submarines were using the canal again by navigating the limited clearance that remained around the wrecks at high water. The Bruges Pocket was not closed. The Flanders Flotilla was not eliminated. The strategic effect that the Admiralty had hoped for—a meaningful reduction in U-boat activity from the Belgian coast—was not achieved in the months following the raid.
Later scholarship has generally confirmed this more cautious assessment. Historians including Paul Halpern, in his study of First World War naval operations, have noted that the blocking was incomplete and that the raid's military impact fell well short of the contemporary British public presentation. Some have gone further, arguing that Keyes maintained public optimism about the operation's success against evidence that reached him relatively quickly—a question the record does not fully resolve but which remains a subject of scholarly discussion.
This does not erase what the men did. The gap between strategic outcome and individual courage is one of the recurring features of military history, and it is nowhere more stark than in an operation where men crossed exposed gangways under machine-gun fire, drove explosive-laden submarines into steel bridges, and navigated small boats through a defended harbor in darkness—and where the physical objective they achieved was partially undone by enemy engineers within weeks.
What the Zeebrugge Raid did achieve, beyond the partial and temporary obstruction of the canal, is harder to measure. It demonstrated that the Royal Navy could plan and execute a complex amphibious operation against a heavily defended position, absorb severe casualties in the attempt, and complete enough of its objectives to constitute a qualified rather than a catastrophic failure. In April 1918, with the German Spring Offensive—launched on 21 March, just thirty-three days before the raid—driving deep into British lines on the Western Front, that demonstration carried a weight the raw operational arithmetic did not capture. Keyes's operation inserted itself into the public record at a moment when the news from France offered little else to hold onto.
---
Roger Keyes went on to further service. He commanded the Central Mediterranean Force, was promoted to Admiral of the Fleet, and returned to prominence in the Second World War as Director of Combined Operations under Churchill—a role in which his First World War experience with audacious, combined-arms coastal assault was directly relevant. He was created Baron Keyes of Zeebrugge in 1943, a title that formalized what had been clear for twenty-five years: that the night of 22–23 April 1918 was the defining moment of his operational life. He died on 26 December 1945.
The Mole at Zeebrugge still stands. The canal still runs from Bruges to the sea. The wrecks of Intrepid and Iphigenia were removed by Belgian authorities after the war; the site of their scuttling is now a working industrial waterway with no visible trace of the 1918 action. The names, however, are in the record. The London Gazette entries for the Victoria Cross awards are dated 1918. The Royal Marines who crossed the brows of Vindictive are in the casualty lists.
Part of Vindictive's bow section, preserved in Ostend, remains as a physical remnant of both operations.
The story of the Zeebrugge Raid sits in that particular historical register where the courage of the individuals involved is unambiguous and the value of the strategic enterprise is genuinely debatable. The men who crossed onto the Mole that night did not know whether the blockships would get through. The blockship crews did not know whether the channel would stay blocked. Richard Sandford did not know whether his skiff would reach safety before the charges went off. They acted without guarantees, in conditions of severe and immediate danger, on the basis of orders that asked them to accept personal risk in service of an outcome that was, at best, uncertain.
That is what the record shows. Everything else is the proper work of historians.
---
A note on sources: The Zeebrugge Raid is exceptionally well-documented by the standards of a single-night operation. The London Gazette VC citations, Admiralty after-action reports, the accounts of participants published in the years following the war, and subsequent scholarly histories including work by Paul Halpern and others provide a substantial factual foundation. However, specific timings, precise casualty figures, and some tactical details vary between sources, and researchers should treat any single secondary account—including this one—as a starting point rather than a definitive record. The claim that eight Victoria Crosses were awarded for the combined Zeebrugge and Ostend operations is supported by standard references, but the precise ballot procedures and the specific names of all recipients should be verified against the official London Gazette entries and Admiralty records before being cited in academic or formal contexts.