The smoke had not yet lifted from Tennoji when a rider brought word to Tokugawa Ieyasu's field headquarters. Chronicle accounts record that the old shogun, master of Japan, reacted with visible alarm.
Sanada Yukimura was coming for him.
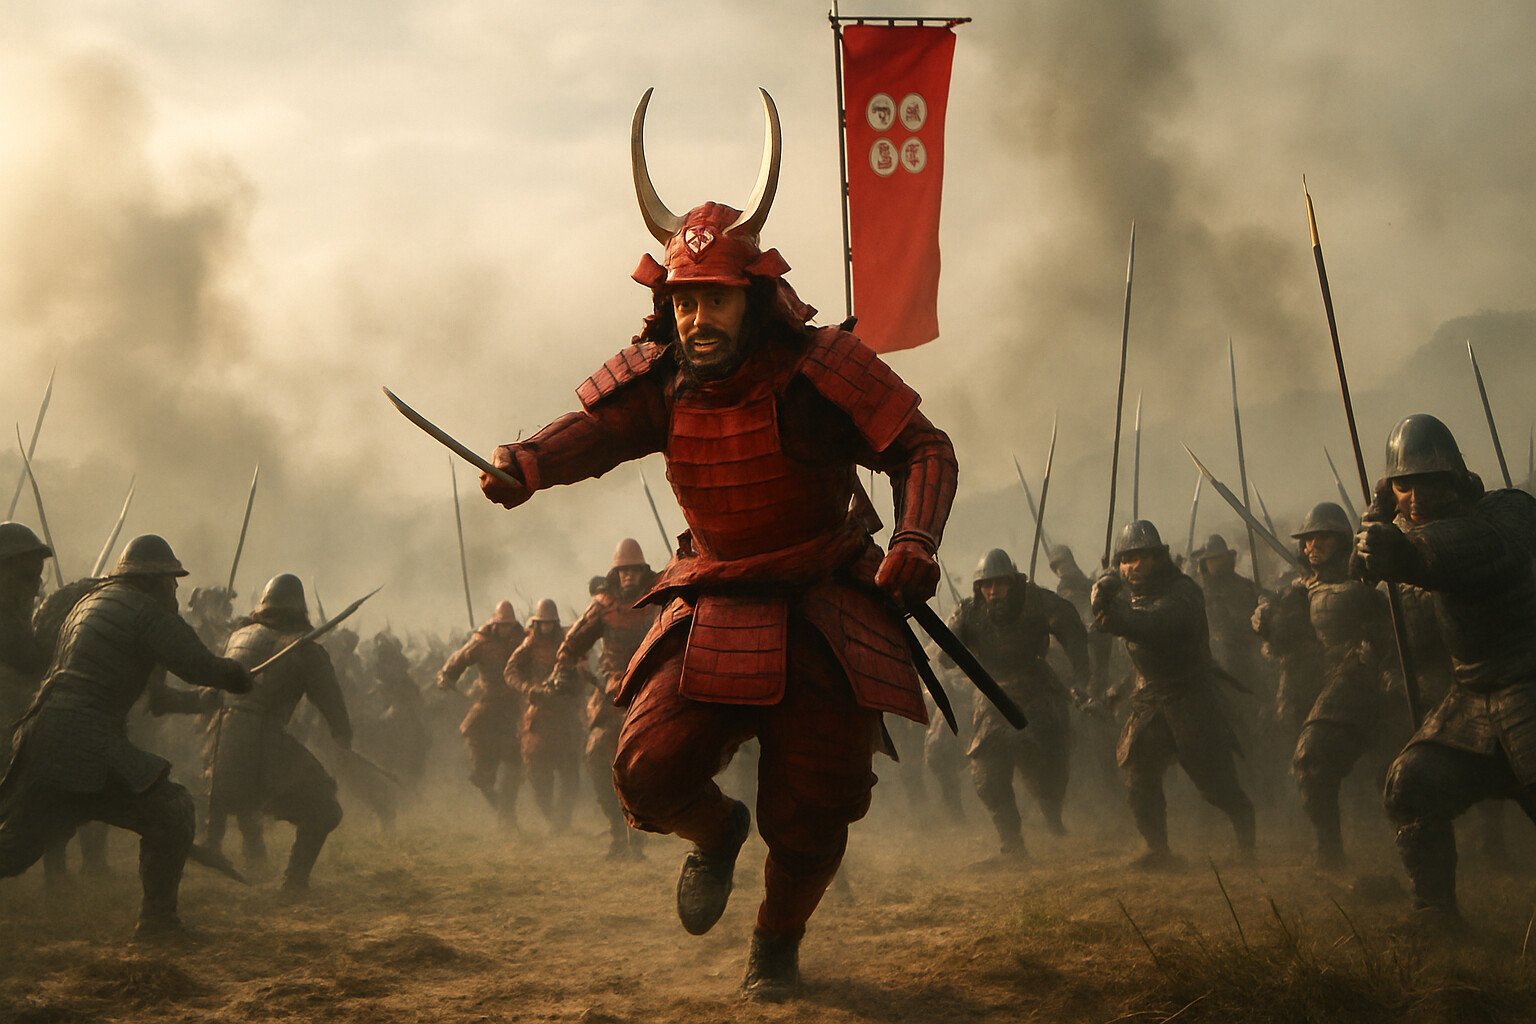
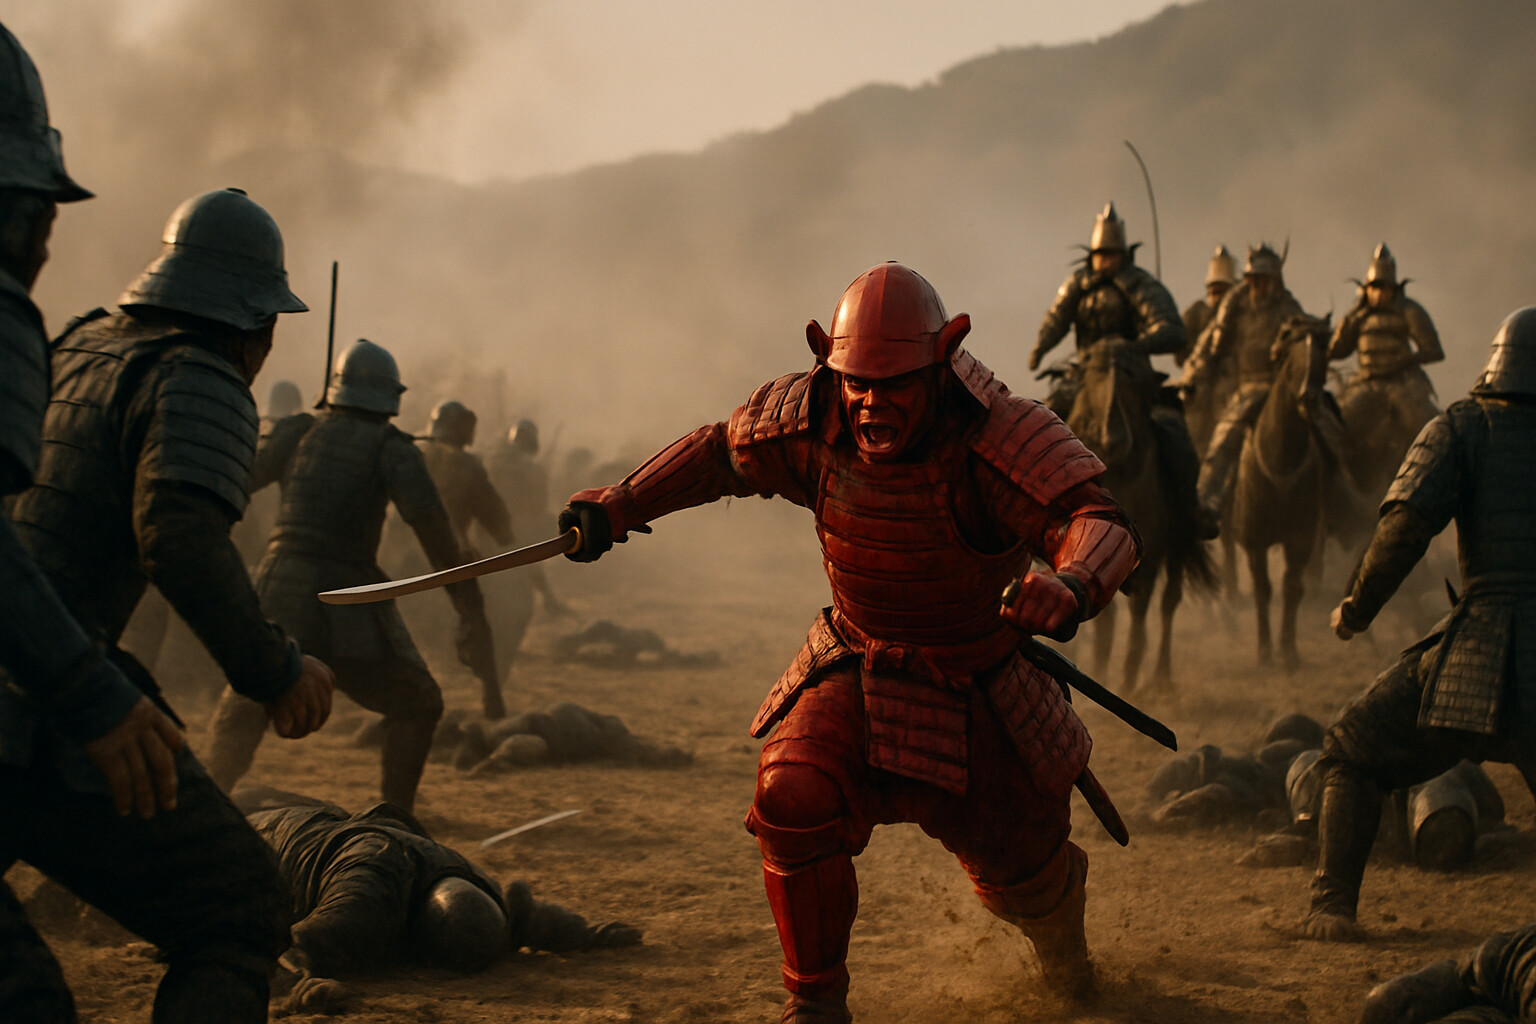
The Tokugawa cavalry closed around the general's position. Ieyasu, seventy-three years old and undefeated through decades of consolidating power, watched from his command post as red-armored samurai cut through his forward guards and drove toward the rear. The charge would not reach him. But the chronicle record agrees it came close enough that the story of that proximity has been retold ever since—with the degree of embellishment varying considerably by source.
That moment—the last desperate surge of a man who had spent eighteen months holding an impossible position—is where the popular memory of Yukimura lives. But the popular memory does not explain the wall. It does not explain the planning, the engineering, the tactical intelligence, or the disciplined stubbornness with which Sanada Yukimura turned the southern approach to Osaka Castle into the most heavily contested ground of the early Edo period.
To understand what happened on June 3, 1615, you have to go back much further.
---
**The World That Made Him**
Sanada Yukimura was born around 1567—the exact year is debated among scholars—into a warrior family whose loyalty and tactical ingenuity had already earned them a dangerous reputation. His documented given name was Nobushige. Yukimura is the name history uses, drawn from later usage and chronicle tradition; the precise origin and timing of that designation are themselves subjects of scholarly discussion. His father, Sanada Masayuki, was a provincial lord of Shinano Province in central Japan, celebrated for his ability to play major powers against one another without being consumed by any of them.
The Sengoku period—the era of the Warring States, running roughly from the mid-fifteenth century into the early seventeenth—was not a metaphor. It was a century and a half of near-continuous armed conflict between regional lords, the collapse of centralized authority under the Ashikaga shogunate, and the violent emergence of new power structures. By the time Yukimura came of military age, three men had spent decades trying to reunify Japan by force: Oda Nobunaga, who came closest and died by betrayal in 1582; Toyotomi Hideyoshi, the low-born general who completed the project and died of illness in 1598; and Tokugawa Ieyasu, the patient eastern lord who waited, watched, and struck at the Battle of Sekigahara in 1600.
Sekigahara determined everything. It was the decisive engagement of Japanese reunification: roughly 160,000 men across both sides, fought in a single day in a mountain valley in Mino Province on October 21, 1600. The Tokugawa eastern coalition won. The Toyotomi western coalition lost. And the Sanada clan, which had divided its loyalty between sides as a calculated hedge, found itself negotiating from a weakened position.
Yukimura had fought for the western side. His father's diplomatic maneuvering bought them a measure of survival, but the price was steep: Yukimura was sent to Kii Province as a hostage—more precisely, to the temple complex at Kudoyama, where he spent the next fourteen years in enforced exile under the supervision of the Kishu domain. He was in his early thirties when Sekigahara was fought. He was in his late forties when the next war began to take shape.
Those fourteen years are sparsely documented. What the record shows is that he was not idle. Correspondence survived, including letters to his family. He maintained relationships and watched the political situation evolve. When word came in the autumn of 1614 that Osaka Castle was gathering Toyotomi loyalists for what most observers understood would be a final confrontation with the Tokugawa, Yukimura left Kudoyama and made for Osaka.

The escape is documented in domain records and later chronicles. The authorities noticed. A warrant for his arrest followed. He arrived at Osaka Castle before it could catch him.
---
**The Castle and the Problem**
Osaka Castle in 1614 was among the most formidable fortifications in Asia. Toyotomi Hideyoshi had begun its construction in 1583 on the site of an earlier stronghold, employing the labor of tens of thousands of workers and the wealth of a unified Japan. By the time of the siege, the castle occupied a naturally strong position on a plateau bounded by rivers and marshland on three sides. The Yodo River ran to the north and west. Swamps protected the eastern approaches. The southern approach—the Tennoji plain—was the only direction from which a large army could advance effectively.
The garrison defending the castle for the Toyotomi clan in 1614 numbered somewhere in the range of 90,000 to 100,000 men by most historical estimates, though these figures should be treated with the usual caution applied to early modern Japanese military counts. Commanding on behalf of Toyotomi Hideyori—Hideyoshi's son, now in his early twenties and technically lord of the castle—was a council of senior commanders.
Yukimura was not initially the senior figure. He arrived as a ronin, a masterless samurai seeking to fight for the Toyotomi cause. His reputation preceded him, and his counsel was sought. But it took his proposal for an outwork on the southern approach to make his position in the defense indispensable.
Tokugawa Ieyasu's army, when it arrived in the autumn of 1614, was massive. Estimates of the Tokugawa force vary considerably across sources, but figures of 160,000 to 200,000 have been cited in major English-language and Japanese scholarship, including the work of Stephen Turnbull, whose syntheses of samurai warfare provide useful English-language summaries of the period. The castle was outnumbered. The garrison knew it.
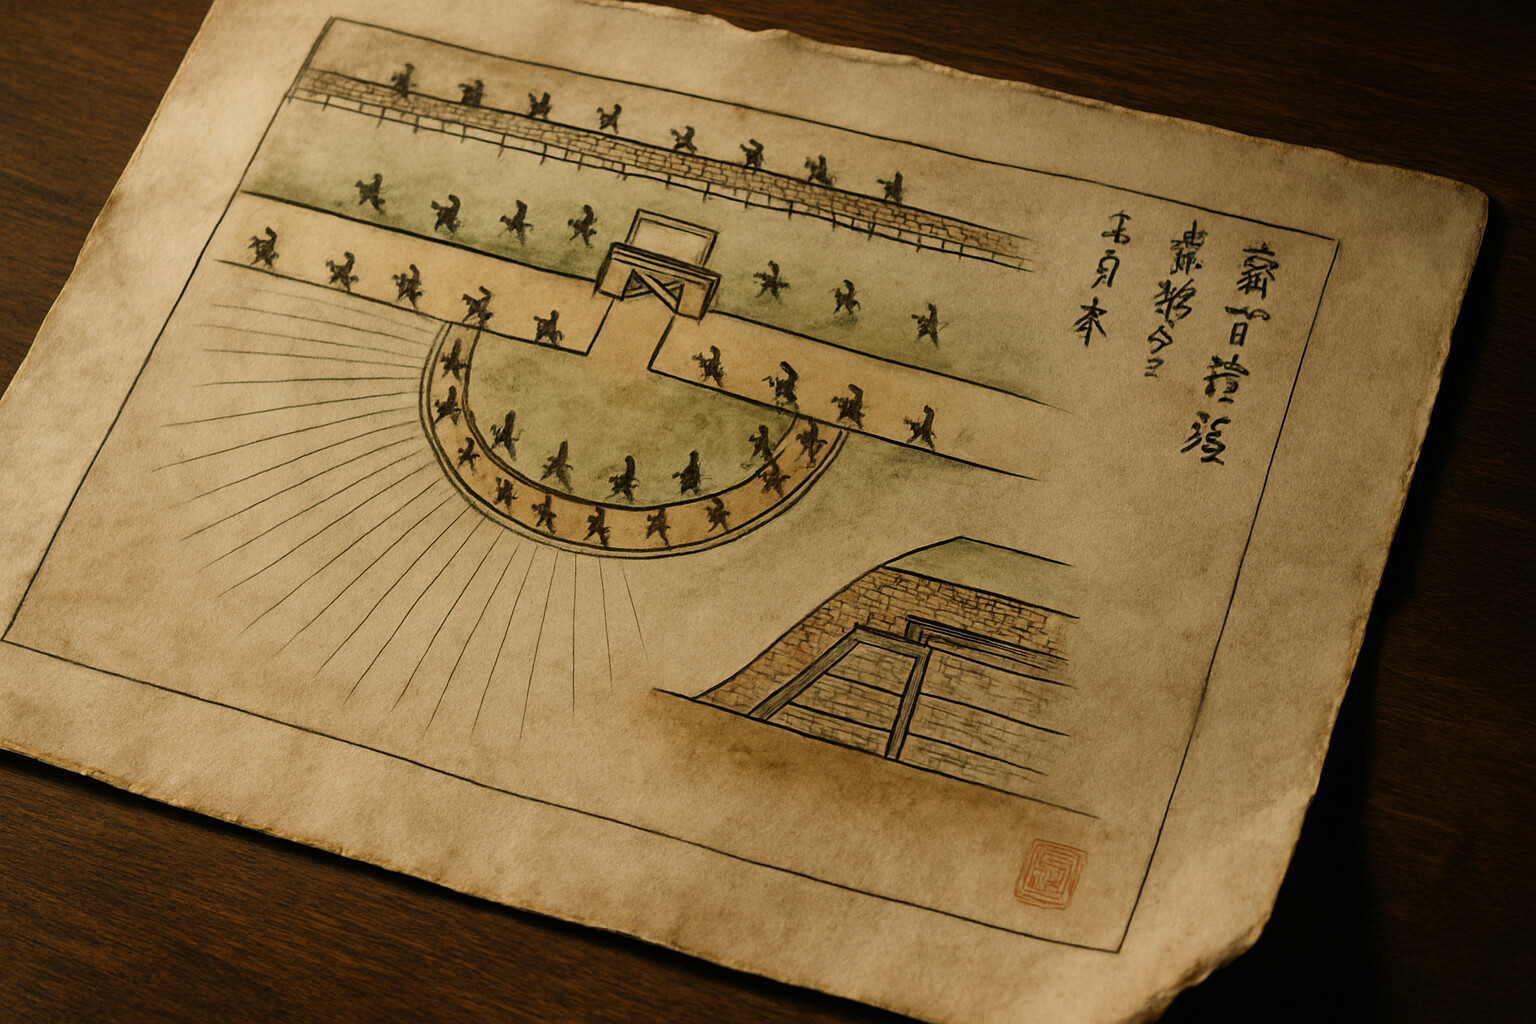
What Yukimura argued—according to later chronicle accounts, which attribute the proposal to him while noting that precise attribution in medieval military councils always involves reconstruction—was that the key to the defense was not passive resistance behind walls. It was controlling the southern approach before the main Tokugawa force could concentrate its firepower against the castle's outer works. To do that, he proposed building an independent fortified position south of the castle: a detached outwork that would project the defense forward, force attackers to fight through it before reaching the main walls, and provide a base from which counterattacks could be launched.
The proposal was not universally popular among the Toyotomi council. Building a fortification outside the main defensive perimeter meant committing troops to a position that could potentially be surrounded and cut off. Other senior commanders argued for concentrating entirely behind the main walls. The debate, reported in chronicles and later military histories, represents a genuine tactical disagreement, not simply factional stubbornness.
Yukimura supervised the construction after persuading enough of the council leadership to proceed. The structure became known as the Sanada-maru.
---
**The Sanada-maru**

The Sanada-maru is the architectural centerpiece of Yukimura's military reputation. Located at the southern base of the castle's outer defenses, it was a roughly semicircular earthwork fortification—a type of construction adapted from continental and domestic Japanese defensive practice. The exact dimensions are not preserved in precise documentary form, and the site has not been fully excavated; the structure's boundaries are reconstructed from chronicle description and archaeological inference. What is clear is that it was substantial enough to require significant labor to build and to mount a meaningful firearms defense.
This matters for understanding the winter siege of 1614. By 1614, Japanese armies had been using firearms—specifically the tanegashima matchlock arquebus introduced by Portuguese traders in 1543—for approximately seventy years. The weapon had transformed Japanese warfare decisively, most famously at the Battle of Nagashino in 1575, where Oda Nobunaga's coordinated use of arquebusiers in fortified positions dismantled the Takeda cavalry. The popular account of three rotating volleys has been questioned by some historians as overstated, but the centrality of firearms in prepared positions to that victory is not in dispute. By the time of the Osaka siege, arquebuses were integrated into all major Japanese armies, and the Tokugawa force also possessed imported European-style artillery, including cannon obtained through foreign merchants and advisors.
The Sanada-maru was designed to exploit this firepower context. Positioned to provide overlapping fields of fire across the southern approach, it turned the open ground between itself and the Tokugawa lines into a defended kill zone. Attackers advancing toward the main castle walls would first have to pass through or eliminate the Sanada-maru, under sustained fire from its defenders.
The Winter Siege of Osaka—the Fuyu no Jin, which ran from approximately November 1614 to January 1615—tested this concept directly.
---
**Winter: The Fuyu no Jin**
The Tokugawa assault on the Sanada-maru is documented in multiple sources, including the official Tokugawa chronicle Honko Kokushi Nikki and various domain records. The assault waves sent against the outwork suffered severe casualties. The approach to the walls was contested by arquebus fire from defenders in prepared positions—a configuration that would be recognizable to any student of fortification across any era.
Specific casualty figures for the assault on the Sanada-maru are difficult to verify with precision. Japanese military chronicles of the period are often inconsistent on numbers, and sources available to Western scholars are largely filtered through later compilation and translation. What is documented is that the direct assault on the Sanada-maru failed, and that Tokugawa commanders shifted to other approaches.
The Tokugawa strategy then pivoted to artillery bombardment of the main castle. Tokugawa Ieyasu had acquired large cannon—sources identify these as including pieces obtained through Dutch and English traders, and possibly domestically produced pieces influenced by Portuguese designs—and employed them in a sustained bombardment of Osaka Castle's outer towers and walls. The psychological impact of the bombardment is well-attested: cannon fire struck close to the inner keep where Hideyori and his mother, Yodogimi, resided, and the shock of this appears to have destabilized the castle's leadership. Yodogimi's reaction is cited in several chronicle accounts as a factor in the decision to seek terms, though as with much detail of the inner council's deliberations, the precise chain of causation involves reconstruction from sources that reflect the interests and perspectives of their authors.
Diplomacy followed. In January 1615, a ceasefire was negotiated. The terms were disastrous for the Toyotomi side: the outer moats were to be filled in, and several secondary fortifications were to be demolished. Contemporary accounts and later historical analysis suggest that the filling of the moats was carried out more extensively than Toyotomi commanders anticipated—in some accounts, Tokugawa engineers filled inner moats as well, significantly reducing the castle's defensive depth. Whether this exceeded the agreed terms or was technically within them is a contested point in the historiography.
The Sanada-maru itself was demolished as part of the peace terms. Yukimura had built the most effective fortification of the campaign, and the ceasefire required him to tear it down.
The peace lasted approximately five months.
---
**Summer: The Natsu no Jin**
By the spring of 1615, both sides were maneuvering toward a resumption of hostilities. Chronicle accounts cite Tokugawa complaints about Toyotomi conduct and the refusal of Hideyori to accept exile from Osaka—the implicit demand behind the ceasefire terms. The structural cause ran deeper: Tokugawa consolidation of power was not compatible with the survival of a major Toyotomi stronghold at Osaka capable of serving as a rallying point for dissent.
The Summer Campaign—the Natsu no Jin—began in earnest in May 1615. The Tokugawa army mobilized again, larger now and pressing against a castle whose outer moats were filled and whose Sanada-maru was gone. The castle was measurably weaker than it had been in November.
The Toyotomi strategic situation was close to untenable. With the castle's reduced defenses, the garrison could not sustain a prolonged siege on the terms of the winter campaign. The logical response—emerging from the records of strategic debate as reported in later chronicle sources—was to refuse the siege entirely and take the battle outside the walls.
The plan that developed, attributed in chronicles to Yukimura's advocacy while acknowledging the uncertainty inherent in any reconstruction of a medieval military council, was to bring the Toyotomi forces out in a coordinated offensive. The garrison would advance across the Tennoji plain and attack the Tokugawa army before it could concentrate fully around the castle. If successful—or even sufficiently disruptive—the battle might break Tokugawa cohesion and force terms.
The operative word is if.
---
**Kizugawaguchi and the Approach**
In the days before the decisive engagement, several subsidiary actions took place across the Osaka area. A Toyotomi force under Ono Harunaga engaged Tokugawa troops near Kizugawaguchi. Another column moved toward Domyoji. These preliminary engagements went badly for the Toyotomi in aggregate, though individual unit performances varied. The Toyotomi army was being compressed, its room to maneuver reduced, its position under growing pressure.
Sanada Yukimura's force was assigned the southern axis—the Tennoji sector—which was also the direction from which the main Tokugawa push would come. Other senior Toyotomi commanders were positioned across the arc of the battle, but the Tennoji fight, which would become the decisive engagement, centered on his sector.
The morning of June 3, 1615—the fifteenth day of the fifth month of Keicho 20 in the Japanese calendar—is described in several chronicle accounts as misty. This detail is climatologically plausible for early summer in the Osaka region, and the accounts are consistent with one another on this point, though independent verification is not possible. Mist would have affected visibility across the open Tennoji plain, potentially delaying the recognition of enemy formations and the opening of effective arquebus fire on both sides.
Yukimura's force—its precise size is not established, with estimates ranging across sources from a few thousand to upward of six or seven thousand men—positioned south of the castle and prepared to engage the Tokugawa vanguard.
---
**The Battle of Tennoji**
The engagement that began in the morning hours of June 3 was chaotic even by the standards of Sengoku-period warfare. Multiple Tokugawa formations were advancing. The Toyotomi sortie forces were attempting to coordinate across a broad front. Communication between units operating on separated axes was limited to riders and visual signals, easily disrupted by the speed and confusion of close action.
What is documented across multiple sources—including domain records, the Tokugawa chronicle tradition, and later compilations such as the Osaka Gunki, which must be used critically given its variable reliability and later composition—is this: Sanada Yukimura's force engaged the advancing Tokugawa formations and inflicted significant damage in the early phase of fighting. The Toyotomi attack achieved local success in the Tennoji sector, pressing the Tokugawa vanguard back to a degree that the chronicles describe as creating genuine alarm in the Tokugawa rear.
Tokugawa Ieyasu, commanding from the rear with his senior staff, is reported in several accounts to have reacted with visible alarm at the forward momentum of the attack. Some sources describe preparations for withdrawal. The degree to which his personal safety was actually threatened varies significantly across the source record, and the details have grown in the retelling; the claim should be treated as chronicle tradition rather than confirmed fact. What the sources agree on is that Yukimura's charge penetrated deeply enough into the Tokugawa formation to cause serious disorder at the command level.
The Toyotomi push could not be sustained. The Tokugawa army's numerical superiority began to tell as reinforcements stabilized the line. The Toyotomi momentum—built on aggression, concentrated fighting quality, and the pressure of men who had no viable retreat—exhausted itself against the mass of the force opposing it.
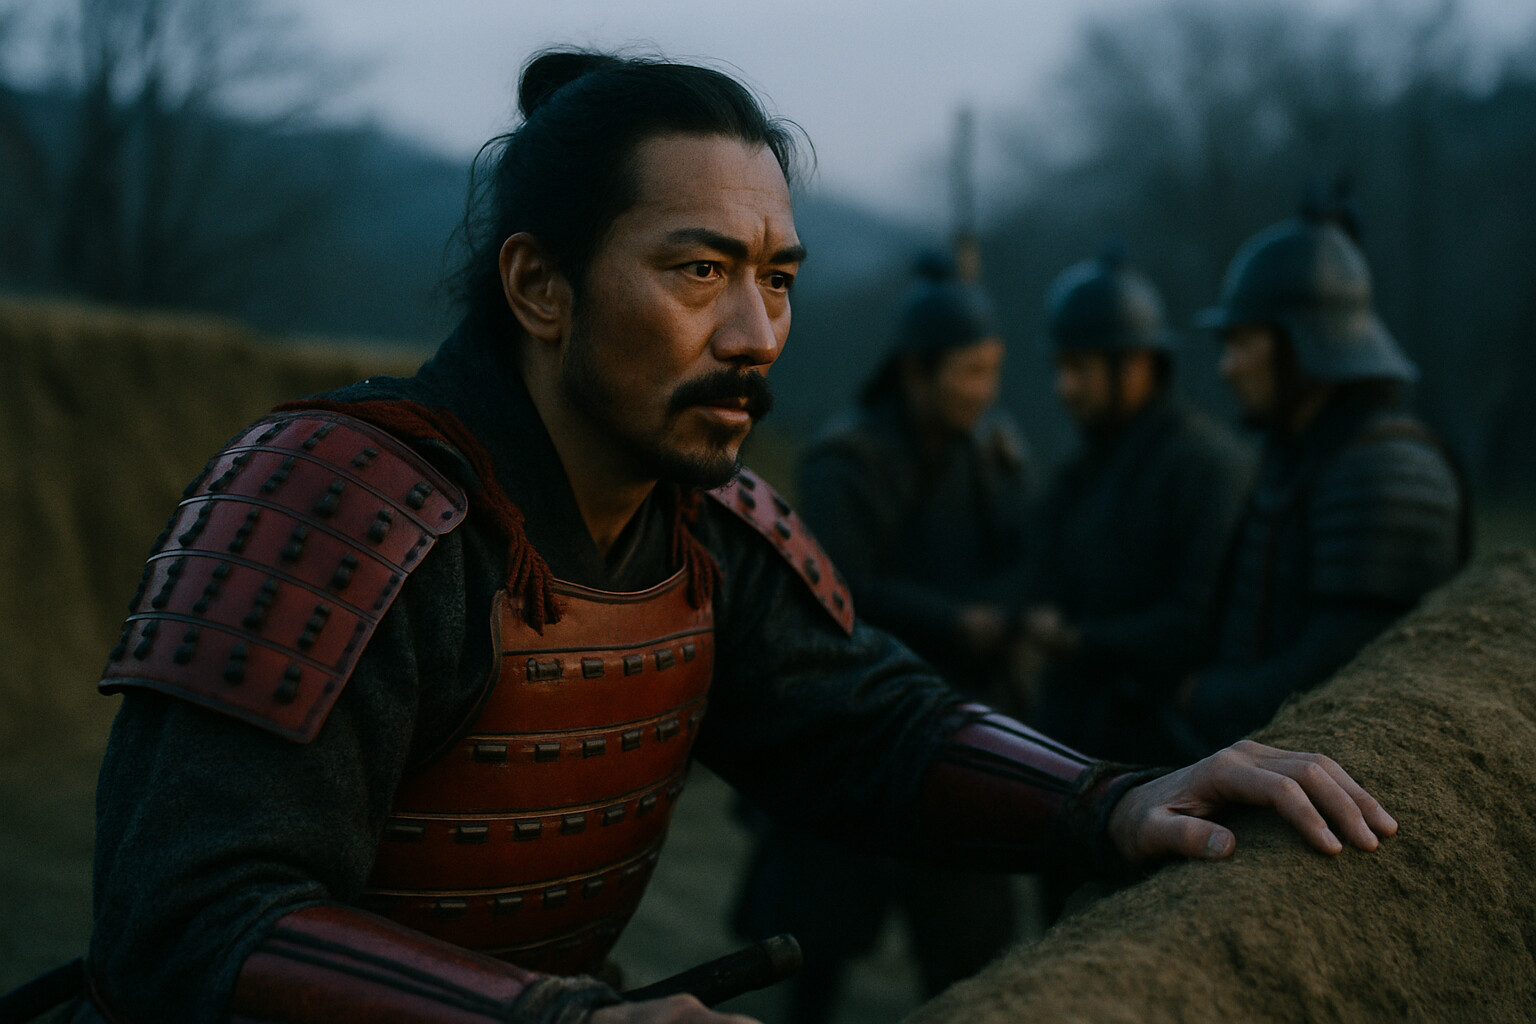
Yukimura, by the late stages of the battle, had either been wounded or was physically spent—accounts differ on the specifics. Several sources describe him as having dismounted or sat down, no longer able to continue the assault. The image of a commander at rest—not fleeing, not surrendering, simply at the end of what the body could give—is among the most repeated in the chronicle tradition surrounding his death.
He was killed in the fighting that followed. Chronicle accounts name Nishio Nizaemon, a Tokugawa-aligned samurai, as the man who killed him, though other accounts offer different names and the precise circumstances of his death are not definitively established in any single authoritative source. He was approximately 49 years old.
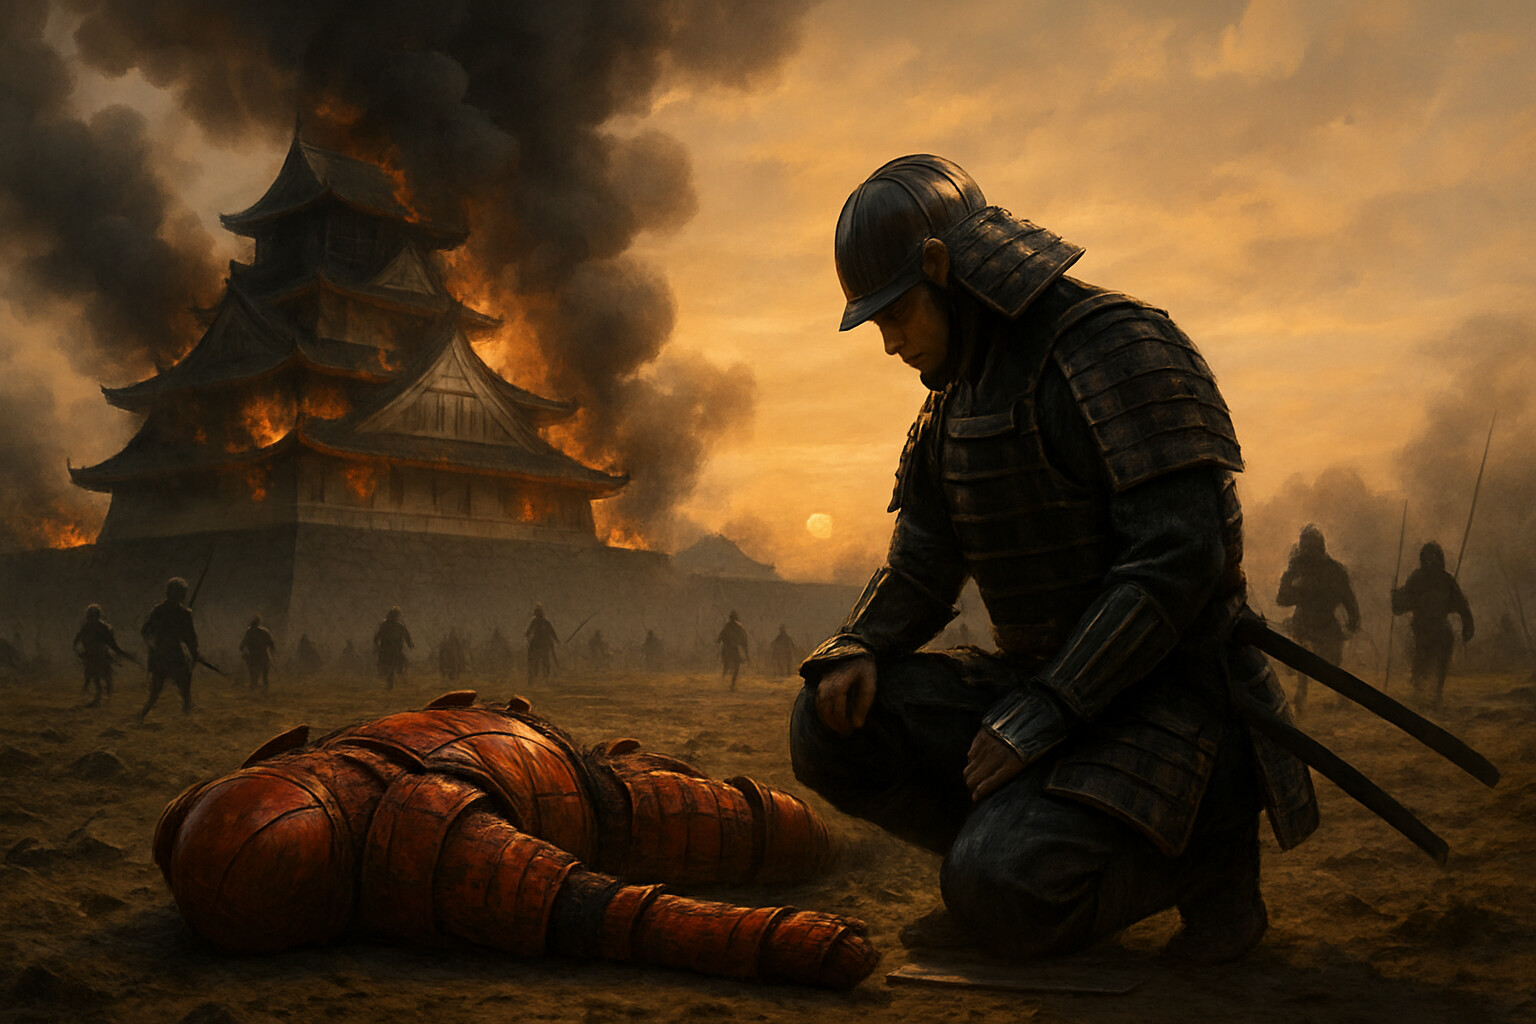
Osaka Castle fell that same day, burned by fire during the fighting. Toyotomi Hideyori died in the collapse—by suicide, according to most accounts. His mother, Yodogimi, died as well. The Toyotomi line was extinguished.
---
**Equipment and the Tools of the Fight**
To understand what Yukimura's men faced—and what they wielded—requires a brief accounting of the instruments of warfare at Osaka.
The primary personal weapon of the samurai of this period remained the tachi or uchigatana—the curved single-edged Japanese sword, present in various lengths and configurations, the product of centuries of metallurgical development. By 1615, the sword existed in a battlefield context shaped by body armor, polearms, and firearms. Armor of the period—tosei-gusoku, the articulated full-body armor developed through the Sengoku era—had evolved to provide reasonable protection against cutting weapons while remaining flexible enough for mounted and dismounted combat. Helmets, breastplates, shoulder guards, and skirt armor of lacquered iron or leather plates protected the major body mass.
The yari—the straight-bladed Japanese spear—remained critical in massed infantry engagement. In formation fighting, where individual sword technique was often less relevant than collective discipline and reach, yari-bearing ashigaru determined the outcome of infantry melee. The weapon's length—typically between 180 and 360 centimeters in common battlefield configurations—gave reach advantage against swordsmen and was effective in disrupting cavalry.
The tanegashima matchlock arquebus was by 1615 a standard weapon for substantial portions of any major Japanese army. Based on the Portuguese espingarda introduced to Japan via Tanegashima Island in 1543, the weapon had been replicated and refined in large numbers by Japanese smiths within a decade of its introduction. By the Osaka siege, production was extensive and quality was high. The weapon required a lit match cord for ignition, making wet weather a significant operational constraint, but in dry conditions it was an effective infantry arm capable of penetrating most armor at moderate range. Japanese arquebuses of the period were typically in the range of 11 to 20 bore—roughly equivalent to calibers between approximately 12mm and 18mm—and their effective battlefield range against armored opponents is generally cited in the literature as somewhere between 50 and 100 meters, with lethal range extending further under favorable conditions.
The Tokugawa army also employed cannon—large-bore artillery pieces that had been decisive in forcing the winter ceasefire. These weapons were not a continuous feature of the open field fighting at Tennoji in the way they had been during the siege phase, but their earlier use had already altered the strategic balance by forcing the demolition of the outer defenses and the filling of the moats.
---
**The Cost**
The Toyotomi cause was finished on June 3, 1615. The castle burned. The family was dead. The loyalists who survived scattered—some executed, some hiding, some eventually pardoned over years of Tokugawa consolidation.
For the Tokugawa, the victory was total. Ieyasu had effectively controlled Japan since Sekigahara, but the survival of Osaka Castle and the Toyotomi line had represented a residual political problem—a potential rallying point for anyone dissatisfied with Tokugawa authority. That problem no longer existed.
Ieyasu himself died a year later, in June 1616, of illness. He did not live to see the full consolidation of the system he had built, but the Tokugawa shogunate he established would govern Japan for the next 250 years, until the Meiji Restoration of 1868.
For the men who had followed Yukimura into the castle—the ronin, the loyalists, the Toyotomi retainers—the cost was measured in lives, in the extinction of a lineage, and in the end of an era. The Sengoku period, the age that had made men like Yukimura possible and necessary, was over. What followed was the beginning of a long peace.
---
**The Record and Its Limits**
The sources for Sanada Yukimura's life and death are varied, and their reliability requires careful handling.
The most contemporaneous materials are domain records, official Tokugawa chronicle compilations, and correspondence that survived the period. The Tokugawa chronicles—including the Honko Kokushi Nikki and later the Tokugawa Jikki—were compiled under Tokugawa authority and reflect the interests and perspective of the winning side. They document Yukimura's resistance and death but are not disinterested sources.
The Osaka Gunki and similar compilations of battle accounts are useful but were compiled after the events, sometimes generations later, and include material of uncertain provenance. The line between documented fact and chronicle embellishment is not always clear in these sources.
Western scholarship on the period is limited in comparison to the Japanese-language historiography. Stephen Turnbull's works, including his studies of samurai warfare and the Osaka siege specifically, provide useful synthesis for English-language readers but are largely dependent on the same Japanese chronicle tradition. His work should be read alongside primary Japanese scholarship. Japanese-language historians including Fujiki Hisashi and others have worked directly with primary documents, but translation of this scholarship into accessible English-language form remains incomplete.
The attribution of specific strategic arguments and tactical decisions to Yukimura in chronicle sources should be treated with proportionate skepticism. Medieval and early modern Japanese chronicle tradition frequently assigned words and reasoning to notable figures in ways that reflect later literary and moral convention as much as historical record. The broad outlines of Yukimura's actions—the construction of the Sanada-maru, his role in the summer offensive, his death at Tennoji—are attested across multiple sources well enough to be treated as documented. The specific texture of his decisions and their rationale often rests on chronicle reconstruction.
His popular honorific—the phrase preserved in several sources identifying him as the finest warrior in Japan, attributed in tradition to an enemy samurai's testimony—is one of the most cited details in any account of his life. The specific provenance of this attribution, including who said it, in what context, and when it was first recorded, has not been traced to a single verified primary source in the materials available for this account. It should not be stated as straightforward historical fact without that verification.
---
**Legacy**
Sanada Yukimura did not win. He did not save the castle. He did not preserve the Toyotomi line or reverse the outcome of Sekigahara. By every measurable strategic criterion, the campaign he fought ended in total defeat.
What he accomplished was something more durable than victory: he defined what the defeated side looked like at its best. The Sanada-maru demonstrated that a well-conceived prepared position, aggressively defended, could blunt the momentum of a vastly superior force and deny it early success. His willingness to fight outside the walls when the walls alone could not win—to take the battle forward into the open where it could be decided on terms more favorable to his smaller force—reflected tactical judgment that commanders across other eras and contexts would recognize.
And his final charge—red armor driving through the Tokugawa formation toward its commanding general, getting close enough to cause serious disorder, then failing and dying in the attempt—became the visual and emotional anchor of the entire Sengoku era as Japanese culture looked back on it.
Within decades of his death, Yukimura was the subject of kabuki plays and illustrated chronicles. By the Edo period, his story had entered popular imagination as the archetype of the loyal warrior fighting an impossible cause with complete commitment. The crimson armor—worn by him and his retainers at Osaka, a deliberate visual statement of presence and defiance—became an iconic image. That the precise shade and construction details of the armor vary across period illustrations is worth noting; the core detail of red armor is consistent across multiple source types and is treated as well-attested.
Modern Osaka still marks his presence. The site of the Sanada-maru is identified with a historical marker in the Tamatsukuri area. The Sanada clan's distinctive six-coin mon appears on tourist materials and historical markers throughout the region. In 2016, NHK's annual historical drama series featured Sanada Yukimura as its protagonist, reaching a national audience of millions and prompting renewed scholarly and popular discussion of his life.
That attention is not simply sentimentality. It reflects a persistent recognition that how someone fights a losing cause tells you something essential about what they valued—and that the record of that fight, even filtered through chronicle embellishment and popular retelling, contains something worth examining carefully.
He built a wall. He held it. He tore it down by treaty and then charged out to fight without it. He died in the effort.
The record says that much with reasonable confidence. The rest is what the era chose to make of him—and what it still does.